2 min read
Stencil Art & CNC Cutting
How laser cutting, CNC routing, and digital tools like StencilVector have transformed stencil making — from design to precision manufacturing.
StencilVector Team850 views
Stencil Art Meets CNC and Laser Cutting
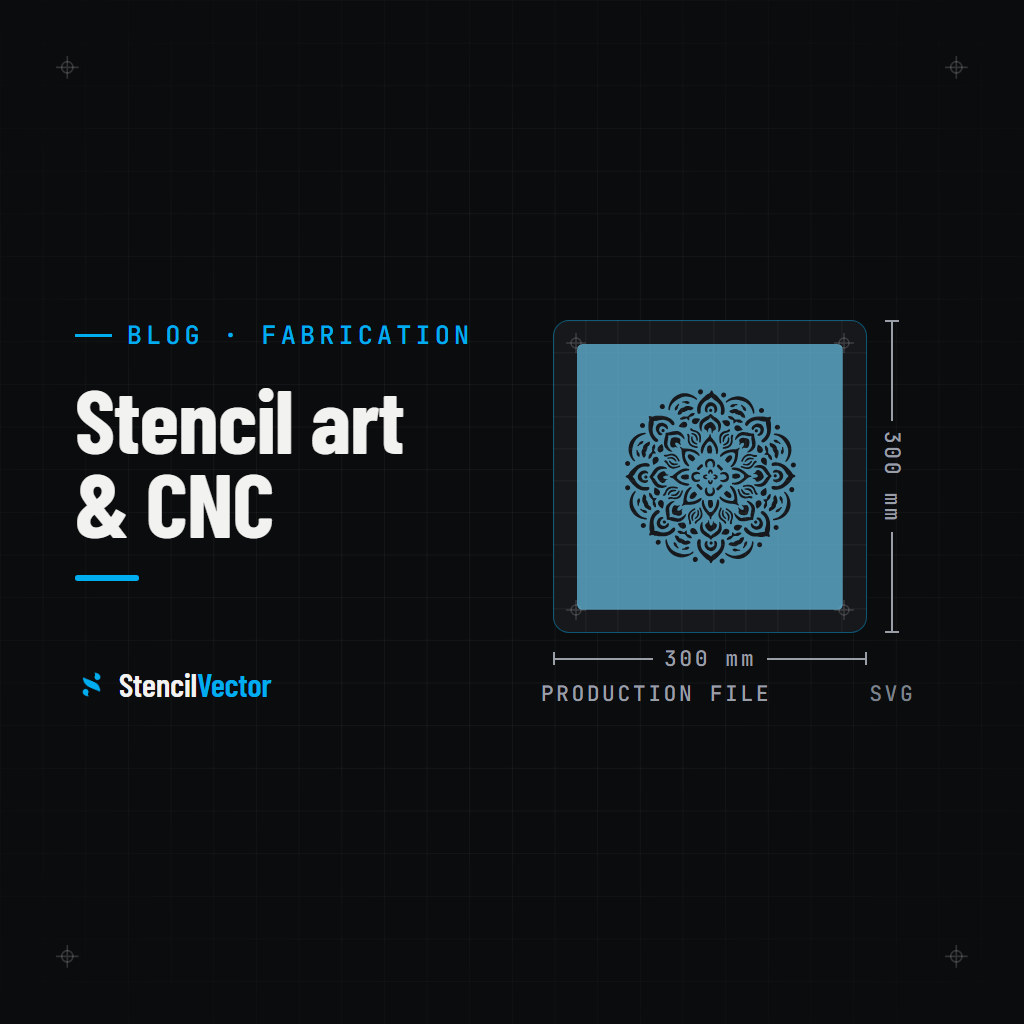
The intersection of traditional stencil art and modern cutting technology has opened up possibilities that were unimaginable just a decade ago. With CNC routers, laser cutters, and digital design tools like StencilVector, anyone can produce stencils with extraordinary precision and complexity.
Laser Cutting: The Gold Standard for Stencils
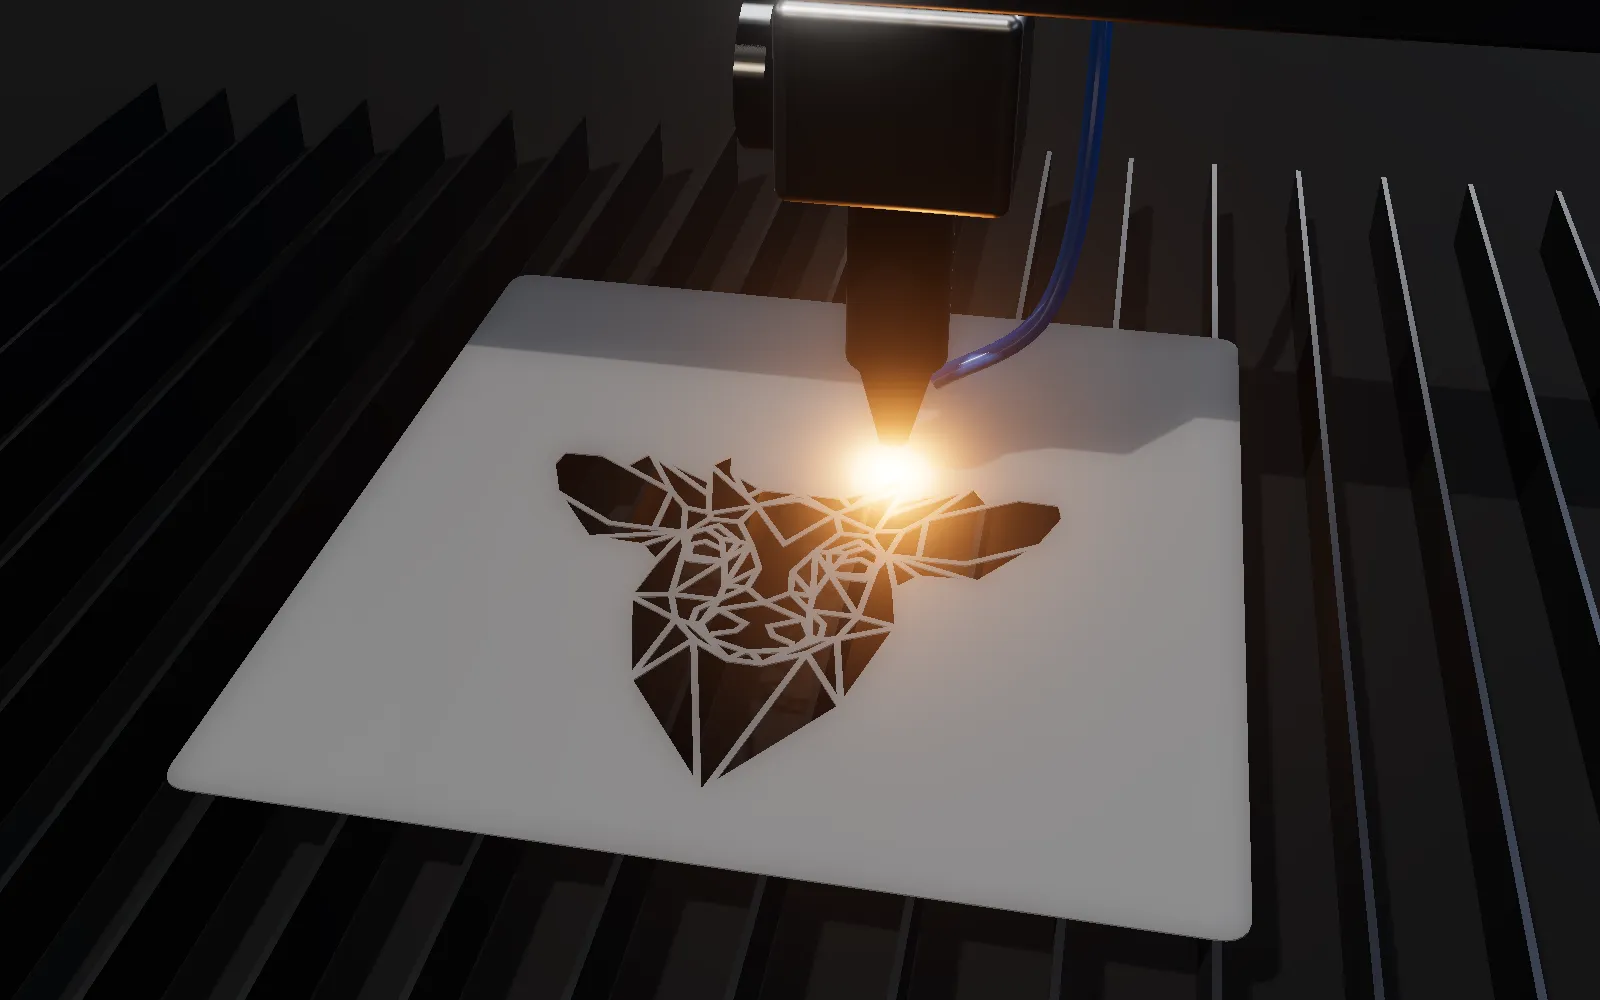
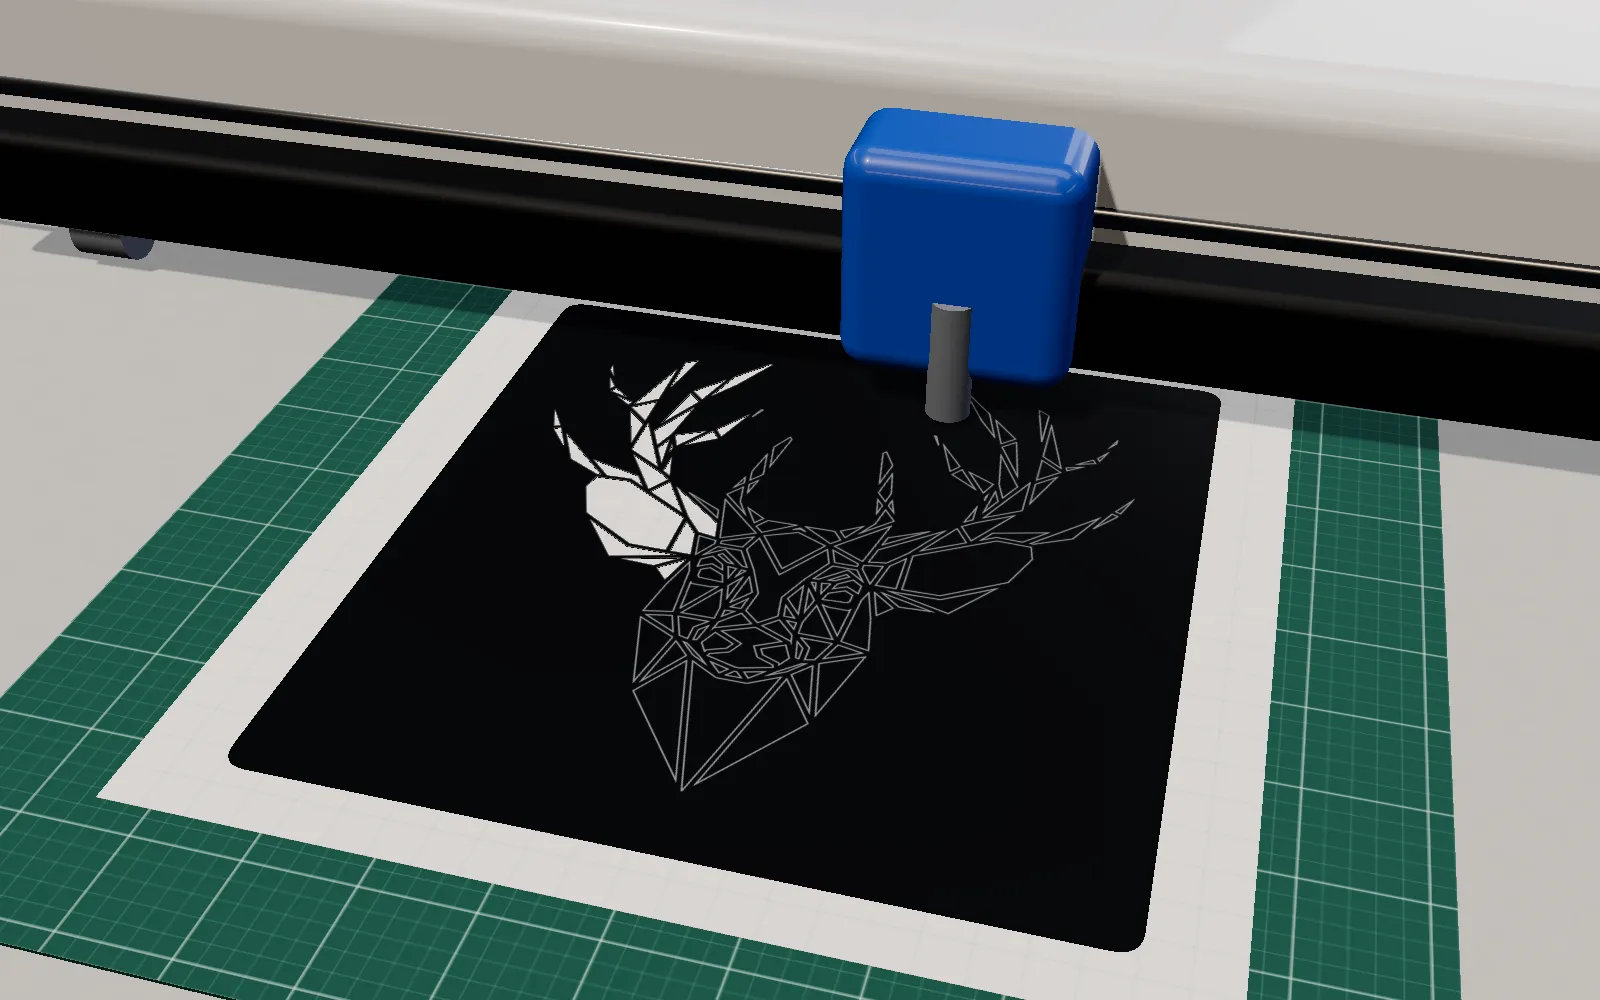
Laser cutting uses a focused beam of light to vaporize material along an exact path. For stencil makers, this means:
- Incredible detail — Lines as thin as 0.1mm are achievable
- Perfect consistency — Every cut is identical, even in batch production
- No tool wear — The laser never dulls, maintaining precision over thousands of cuts
- Sealed edges — On plastics like PET, the laser seals cut edges, preventing fraying
- Speed — A complex stencil can be cut in under a minute
CNC Routing for Thicker Materials
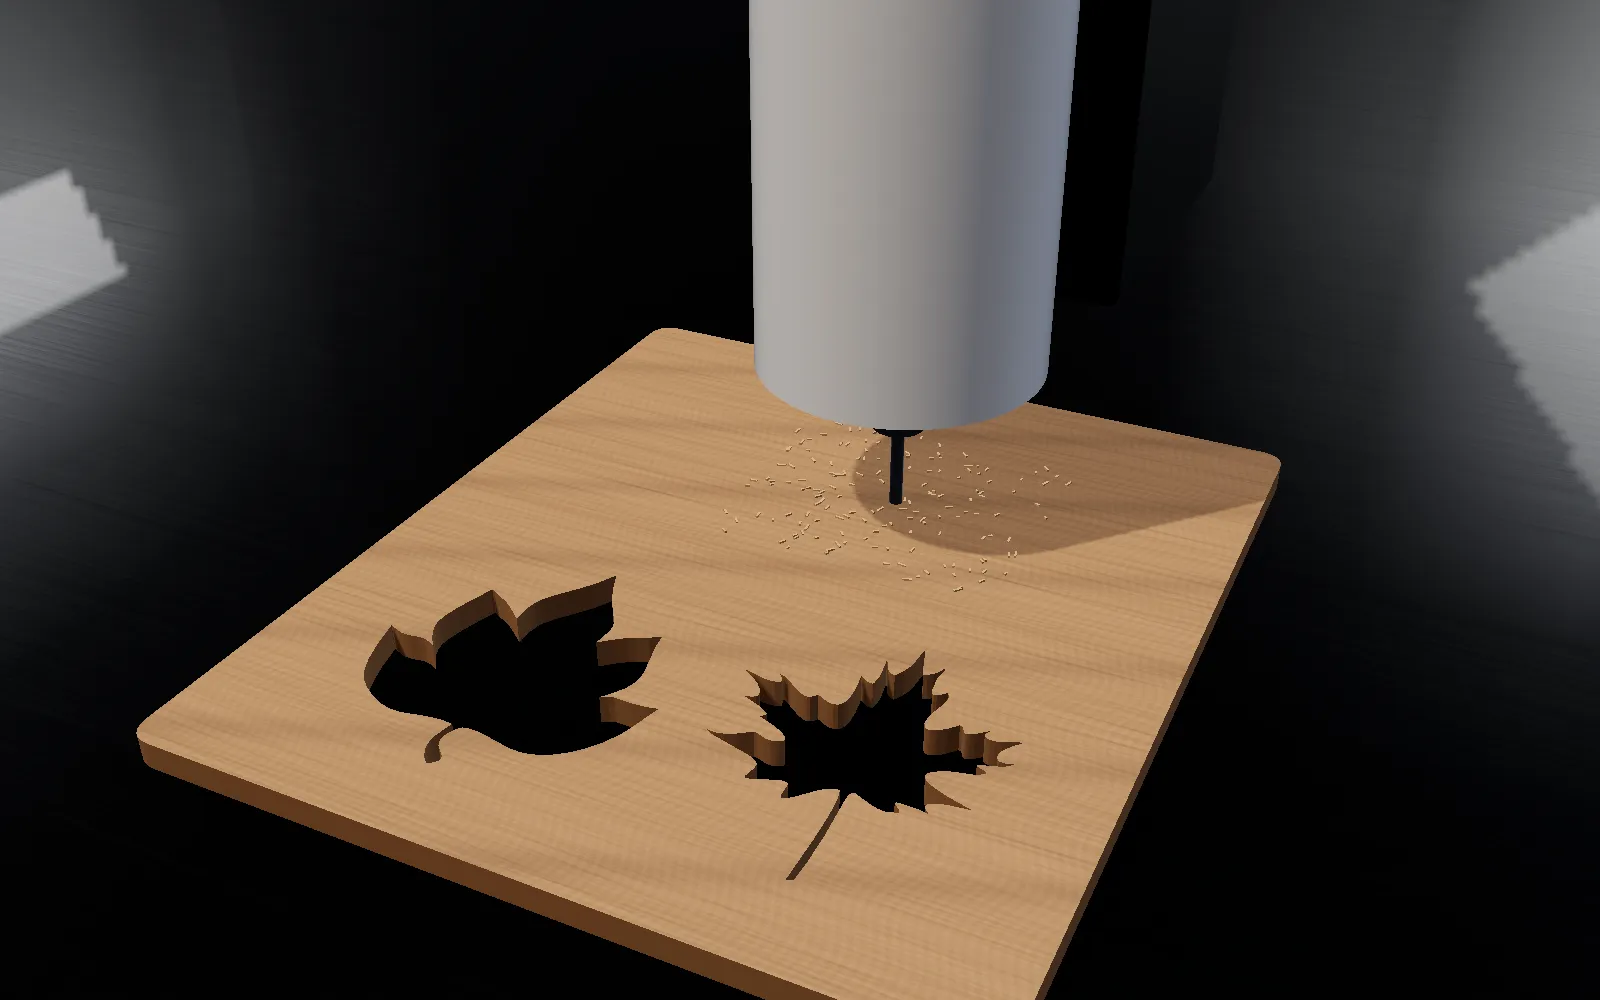
CNC routing uses a spinning bit to carve out the stencil design. It excels with thicker materials — wood, thick acrylic, composite panels — and larger stencils. While not as precise as laser for very fine details, CNC routing handles materials that lasers cannot cut efficiently.
Vinyl Cutting for Adhesive Stencils
Vinyl cutters use a small blade to cut through thin adhesive-backed material. Perfect for adhesive stencils used in sign making, airbrush art, glass etching, and temporary applications where the stencil needs to stick to the surface.
The Digital Design-to-Cut Pipeline
Modern stencil creation follows a streamlined digital pipeline:
- Upload your image to StencilVector's free Stencil Maker
- Choose a conversion method — 7 algorithmic methods available, from threshold to edge detection, sketch and more, or let Smart Auto pick one
- Edit and refine — Use the eraser, brush, and flood fill tools to perfect your design
- Bridge optimization — StencilVector automatically adds structural bridges and runs stability analysis
- Set dimensions — Enter exact width and height in millimeters
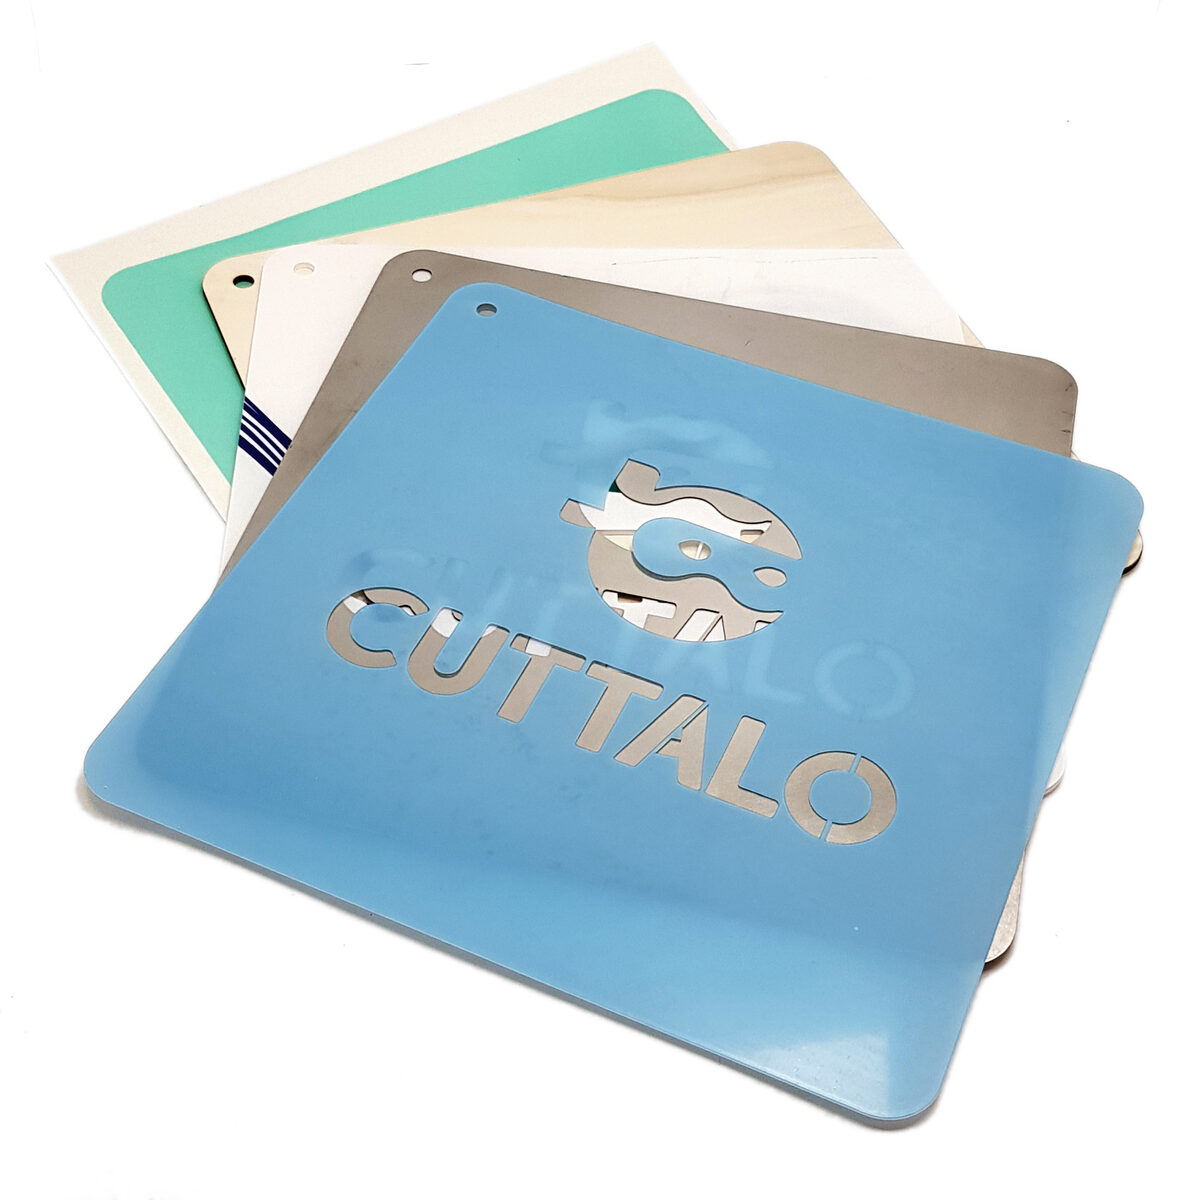
- Export SVG — Download and send to your laser cutter, CNC router, or order from Cuttalo.com
Tips for Machine-Ready Stencils
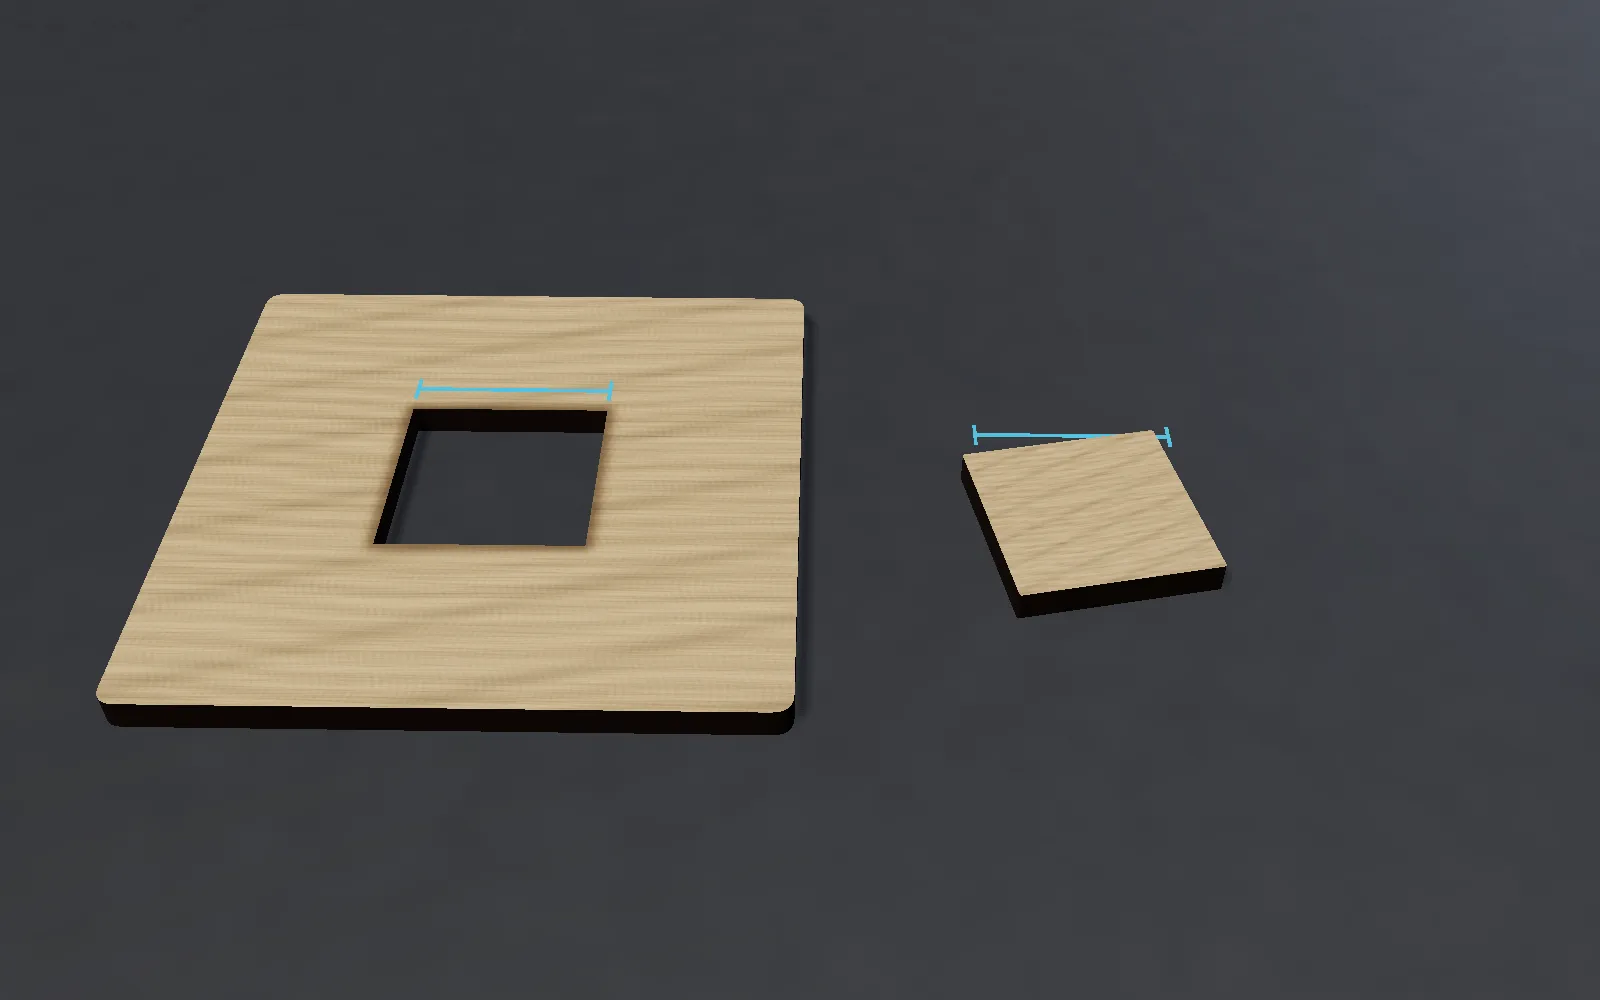
- Minimum bridge width: 1mm for laser, 2mm for CNC routing
- Minimum feature size: 0.5mm for laser, 1mm for CNC
- Margins: Always add at least 10mm border for handling and clamping
- Material thickness: Thicker materials need wider bridges — adjust accordingly
- Test cut: Always run a test on scrap material before your final piece
Preview with Augmented Reality
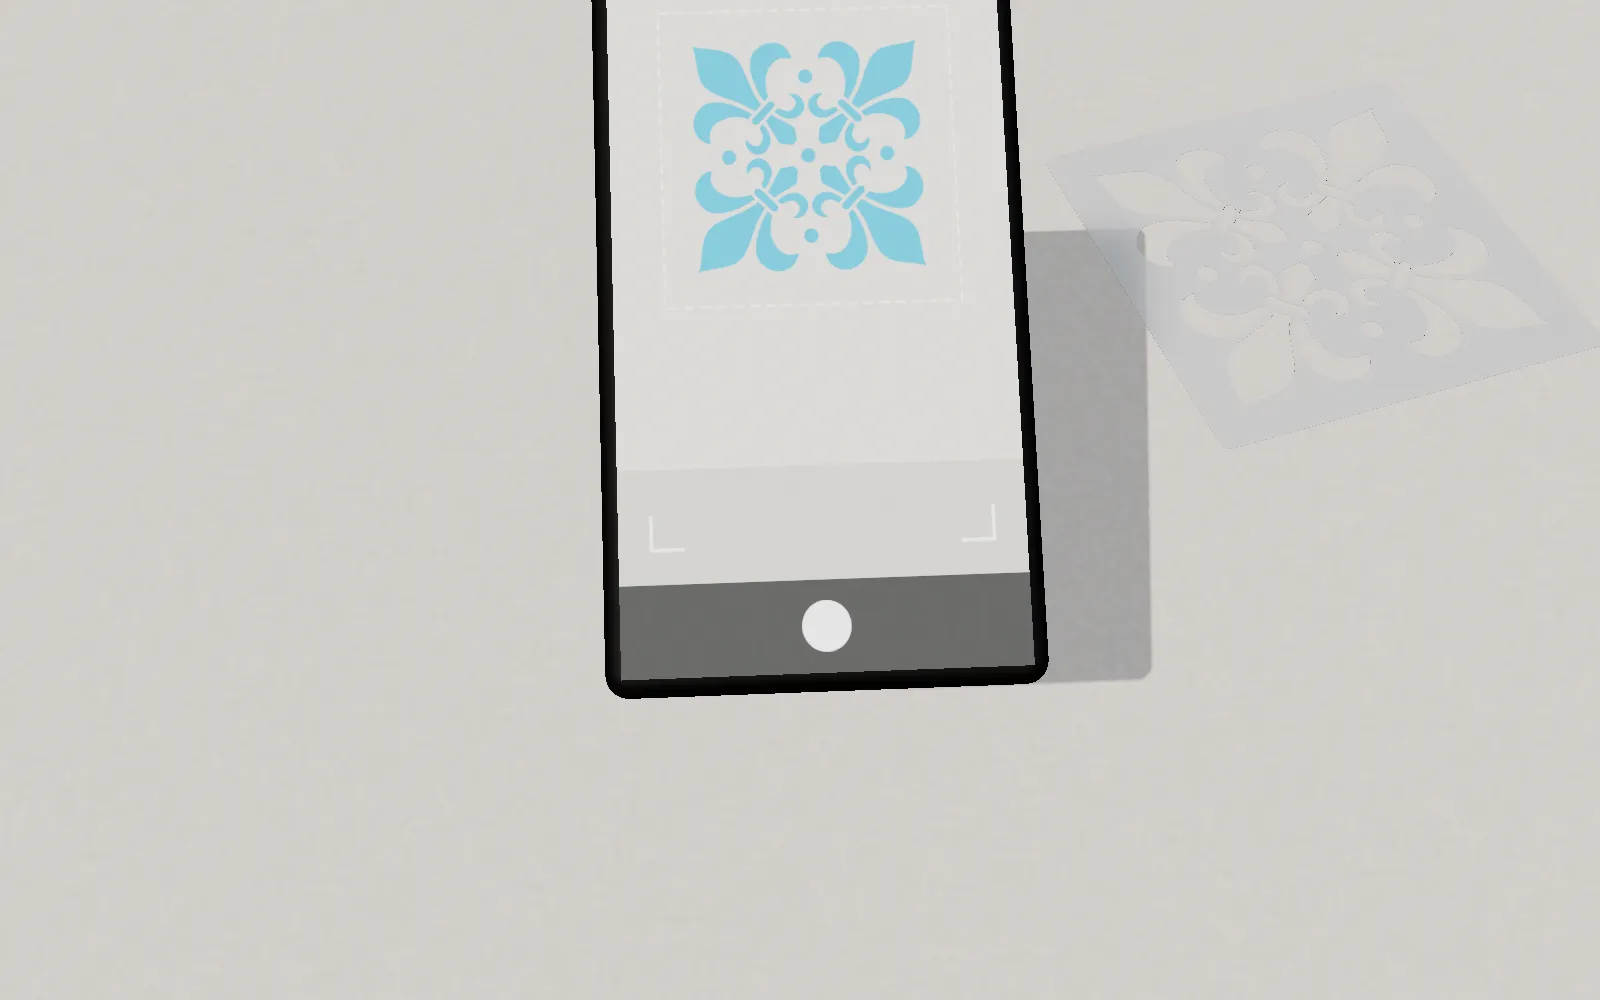
Before cutting, use StencilVector's AR Viewer to see your stencil at real scale on any surface. Point your phone camera at a wall, table, or floor and see exactly how the stencil will look — including dimensions and proportions. This can save material and time by catching sizing issues before you cut.
From Gallery to Laser Cutter
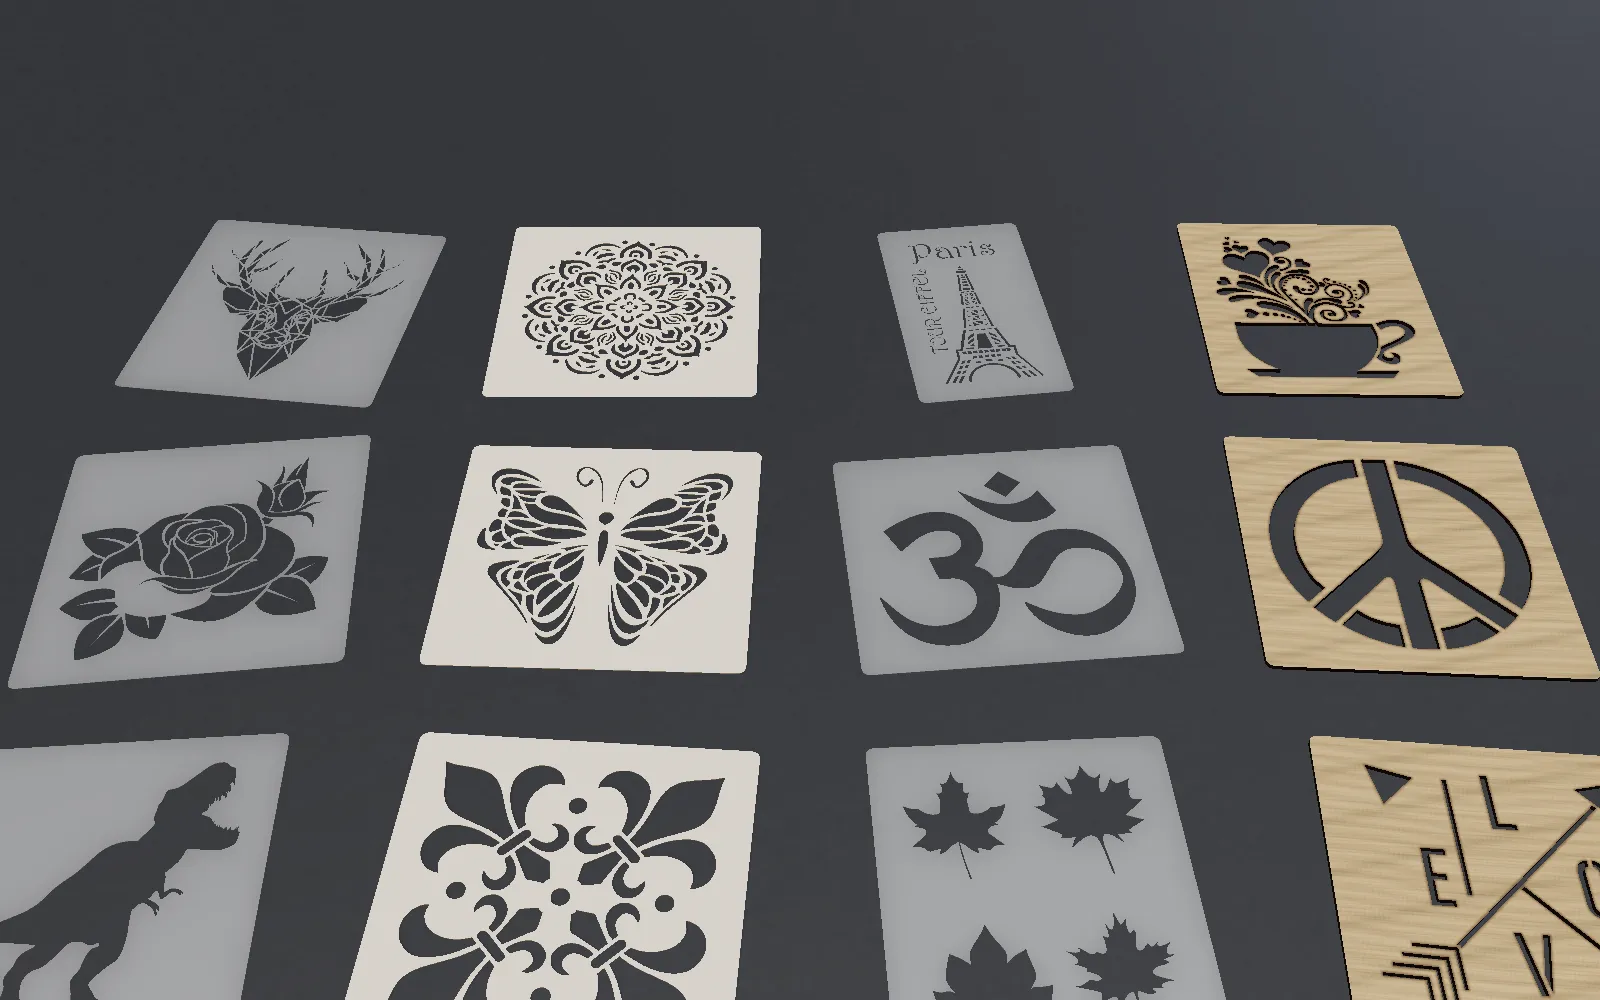
Do not have an image to start from? Browse the StencilVector Gallery with 1275+ free stencil designs ready to download in SVG format. Every design is laser-ready with pre-optimized bridges and structural integrity.
Not sure which machine to buy? Answer 7 questions and find the one that fits.
- cnc
- laser-cutting
- technology
Stencil Maker
Ready to create your own stencil?
Upload any image, check the bridges and download a laser-ready file.