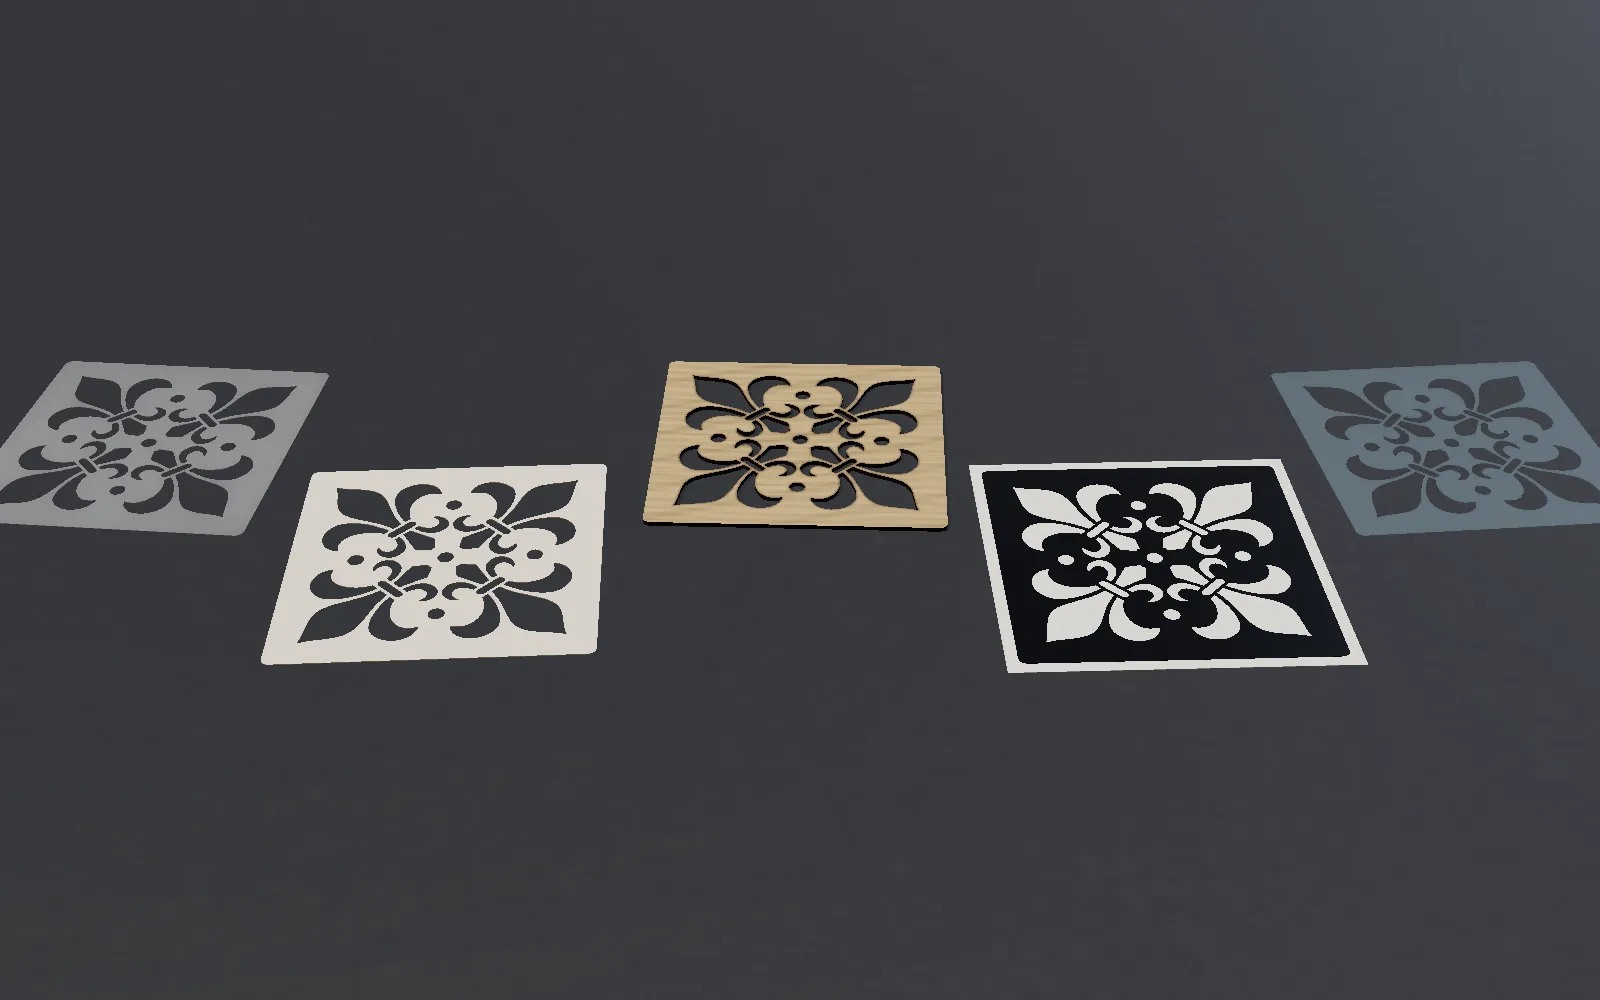
Diode laser
Desktop lasers with a blue diode module, from a few watts to a few tens of watts of optical output
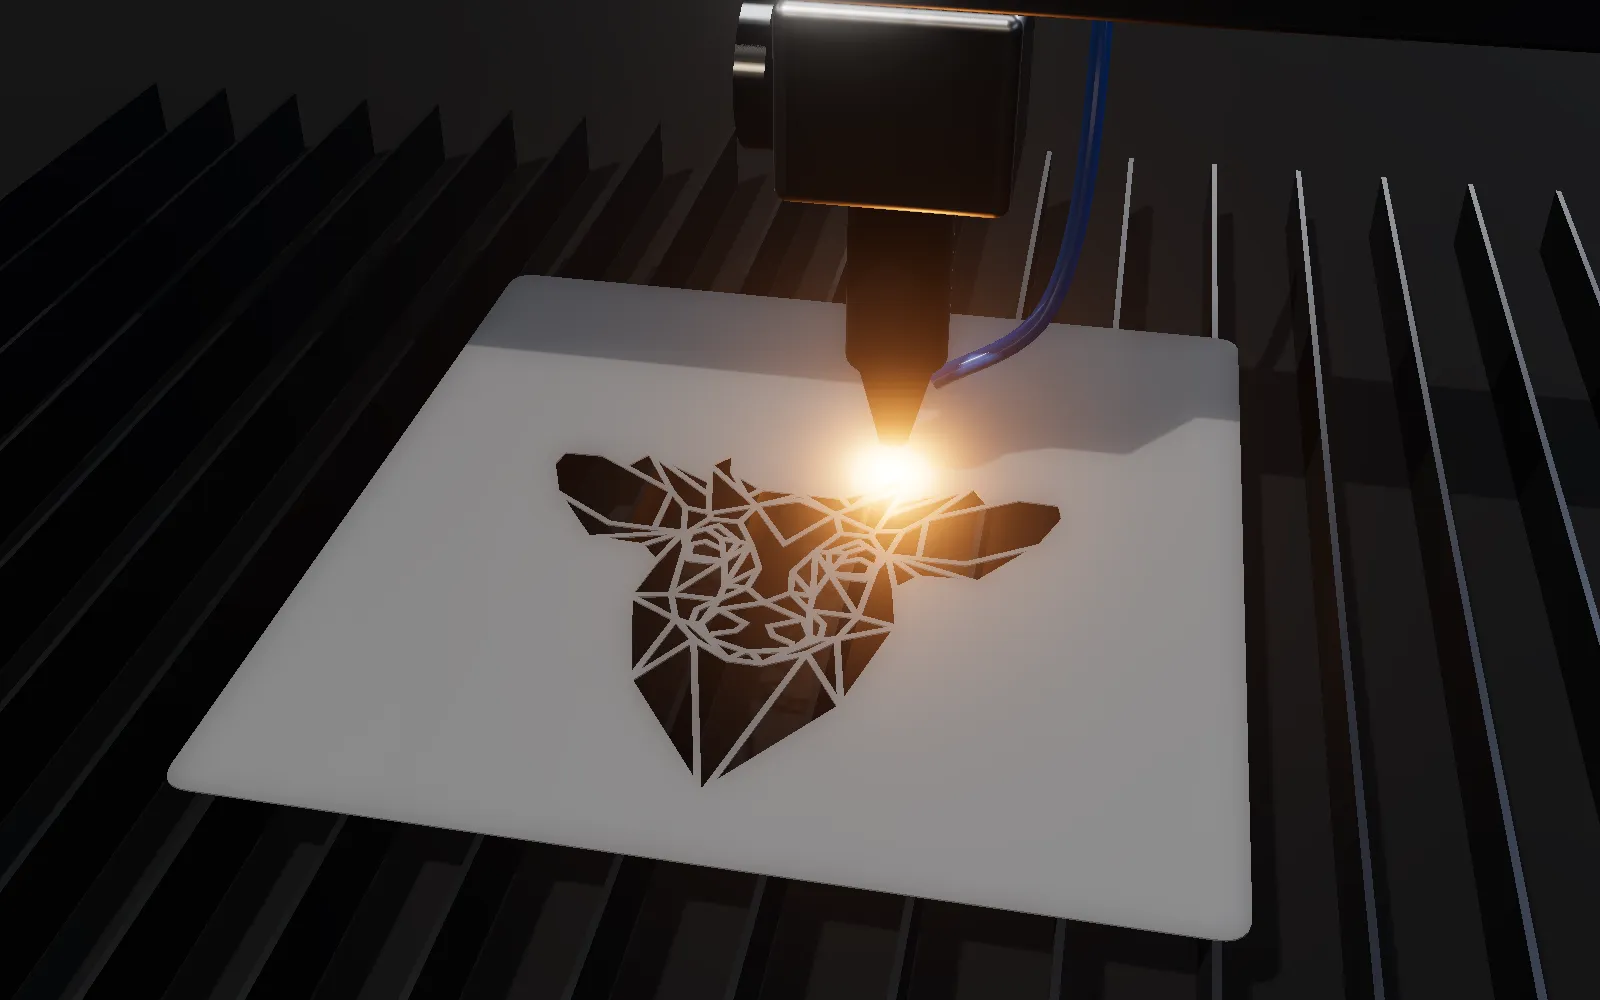
The most common home laser. It cuts by burning along a line, so it works on materials that absorb blue light: wood, card, felt, leather, dark opaque plastics. It is cheap to run and needs no cooling water, but it is slower than a CO2 laser on thick material, and transparent materials let the beam pass straight through.
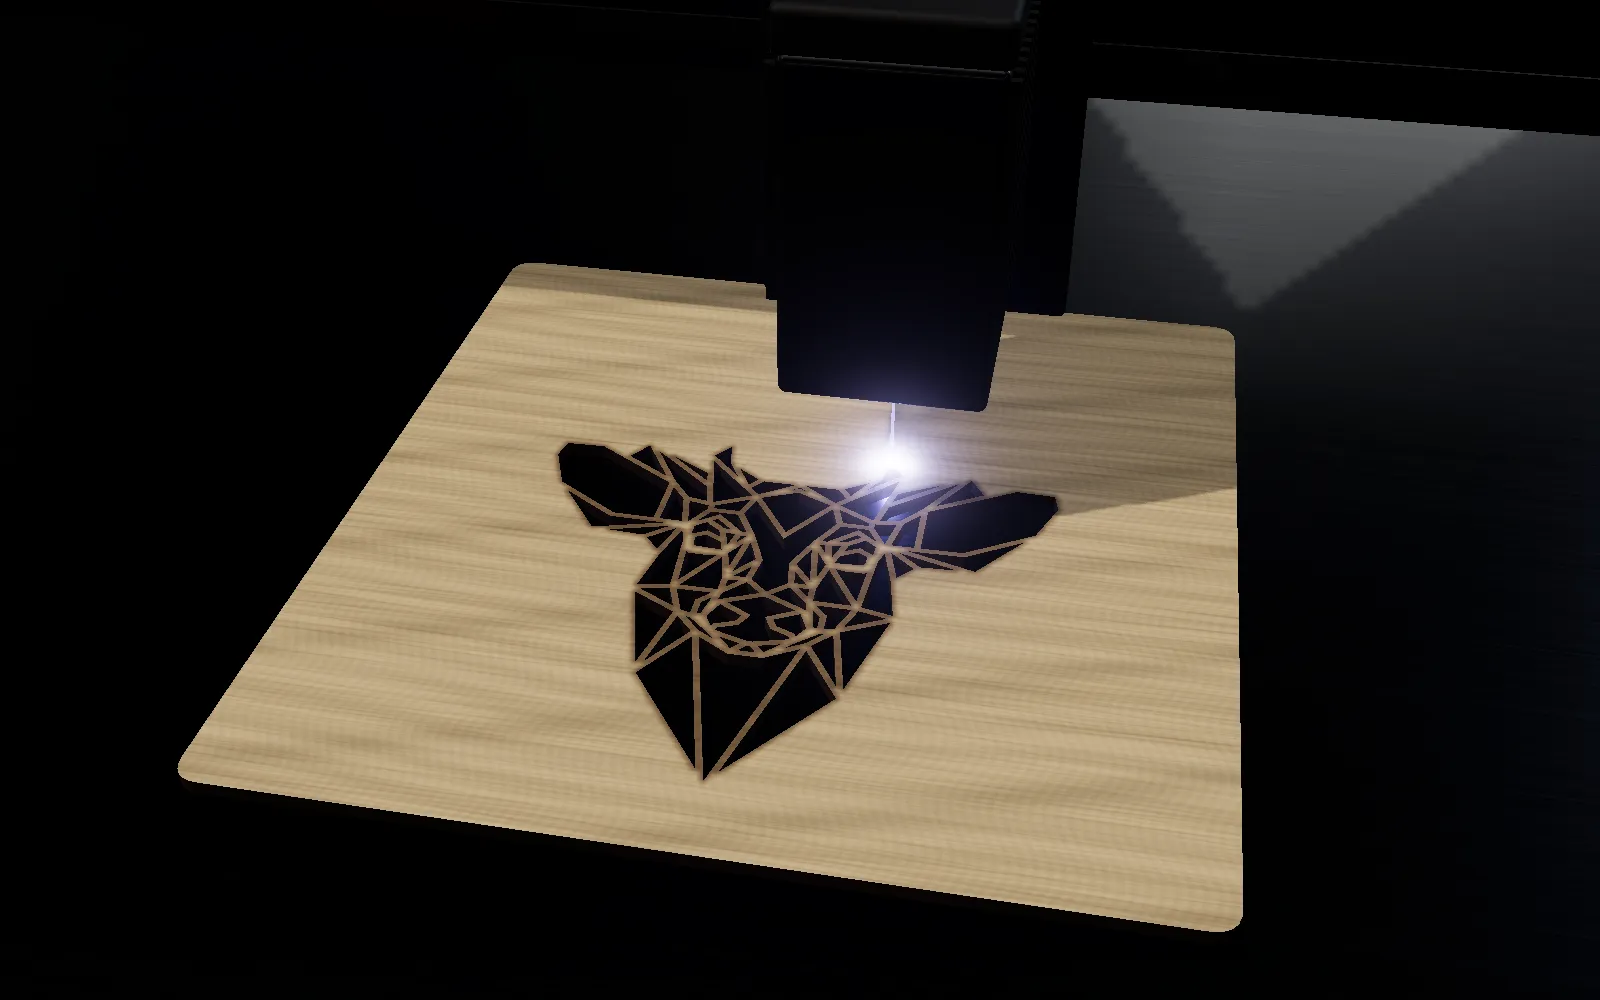
Good for
- Card and cardstock, very quickly
- Thin plywood, basswood and veneer (thickness depends on power and number of passes)
- Felt, cork, vegetable-tanned leather
- Opaque or coloured PET film, with care
- Dark, opaque acrylic, thin
Not for
- Clear, white and blue acrylic: the manufacturer states the blue diode cannot cut them
- Clear PET film: most of the light goes through instead of cutting
- Metal sheet (a diode can mark coated metal, not cut a steel stencil)
- PVC and adhesive vinyl: never, with any laser (see safety)
Making a stencil with a diode laser
Stencil materials and how they behave
Card 0.3 mm
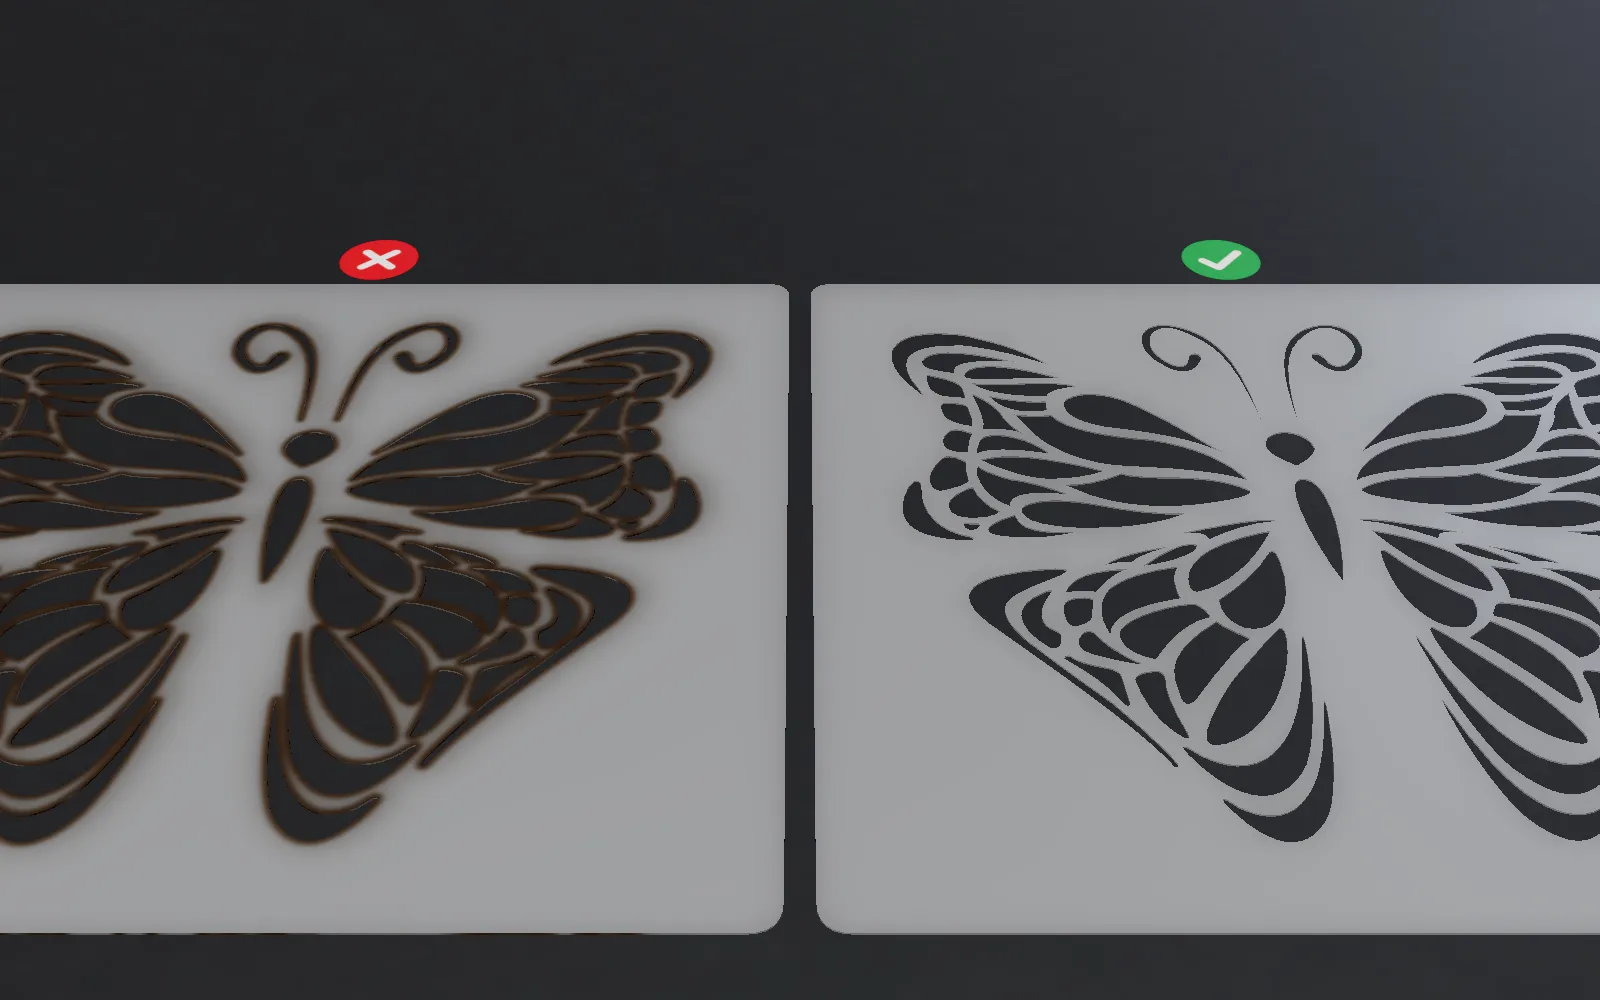
Cuts in one fast pass with low power. Edges turn slightly brown, the stencil is good for a few uses, then softens with paint. Not washable. Perfect for testing a design before cutting it in a better material.
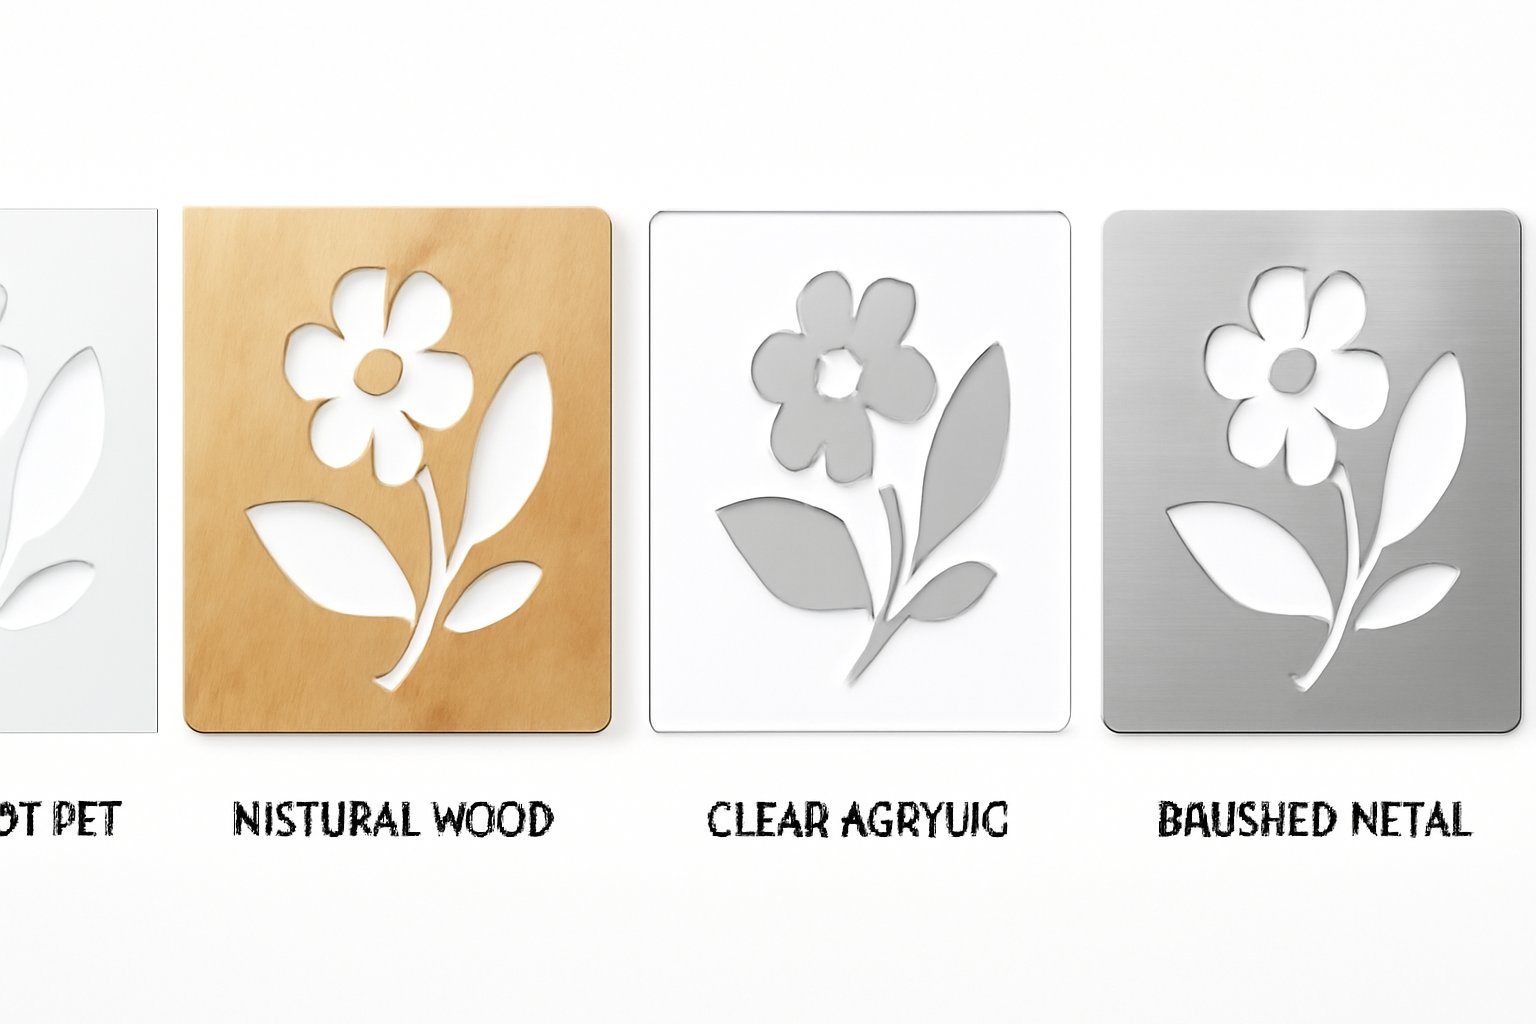
Plywood or MDF 1–3 mm
Stiff, does not move under a roller, lasts a long time if you seal it with a coat of varnish or shellac. Edges come out dark and sooty: wipe them before the first use or they mark the paint. Thin bridges across the grain break easily.
PET / Mylar
Clear film does not cut well with a blue diode. Use coloured or opaque PET, or cover the film with paper masking tape so the tape absorbs the light; peel it off after cutting. Go slowly with power: PET melts and leaves a bead on the edge.
Realistic detail and bridges
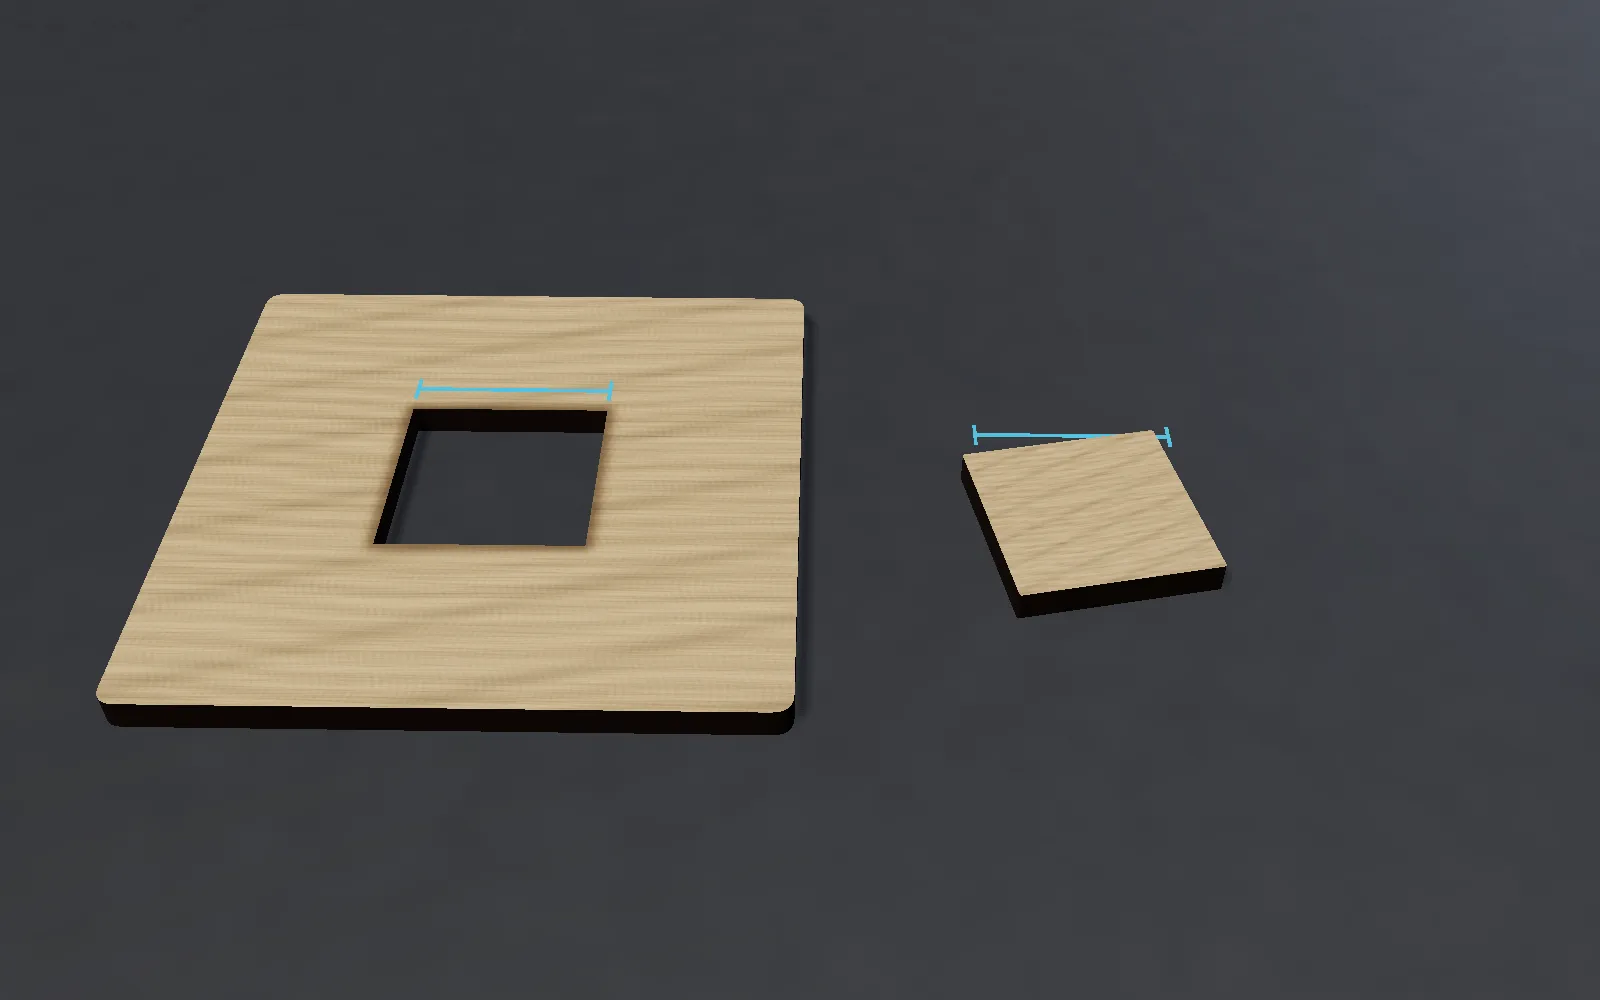
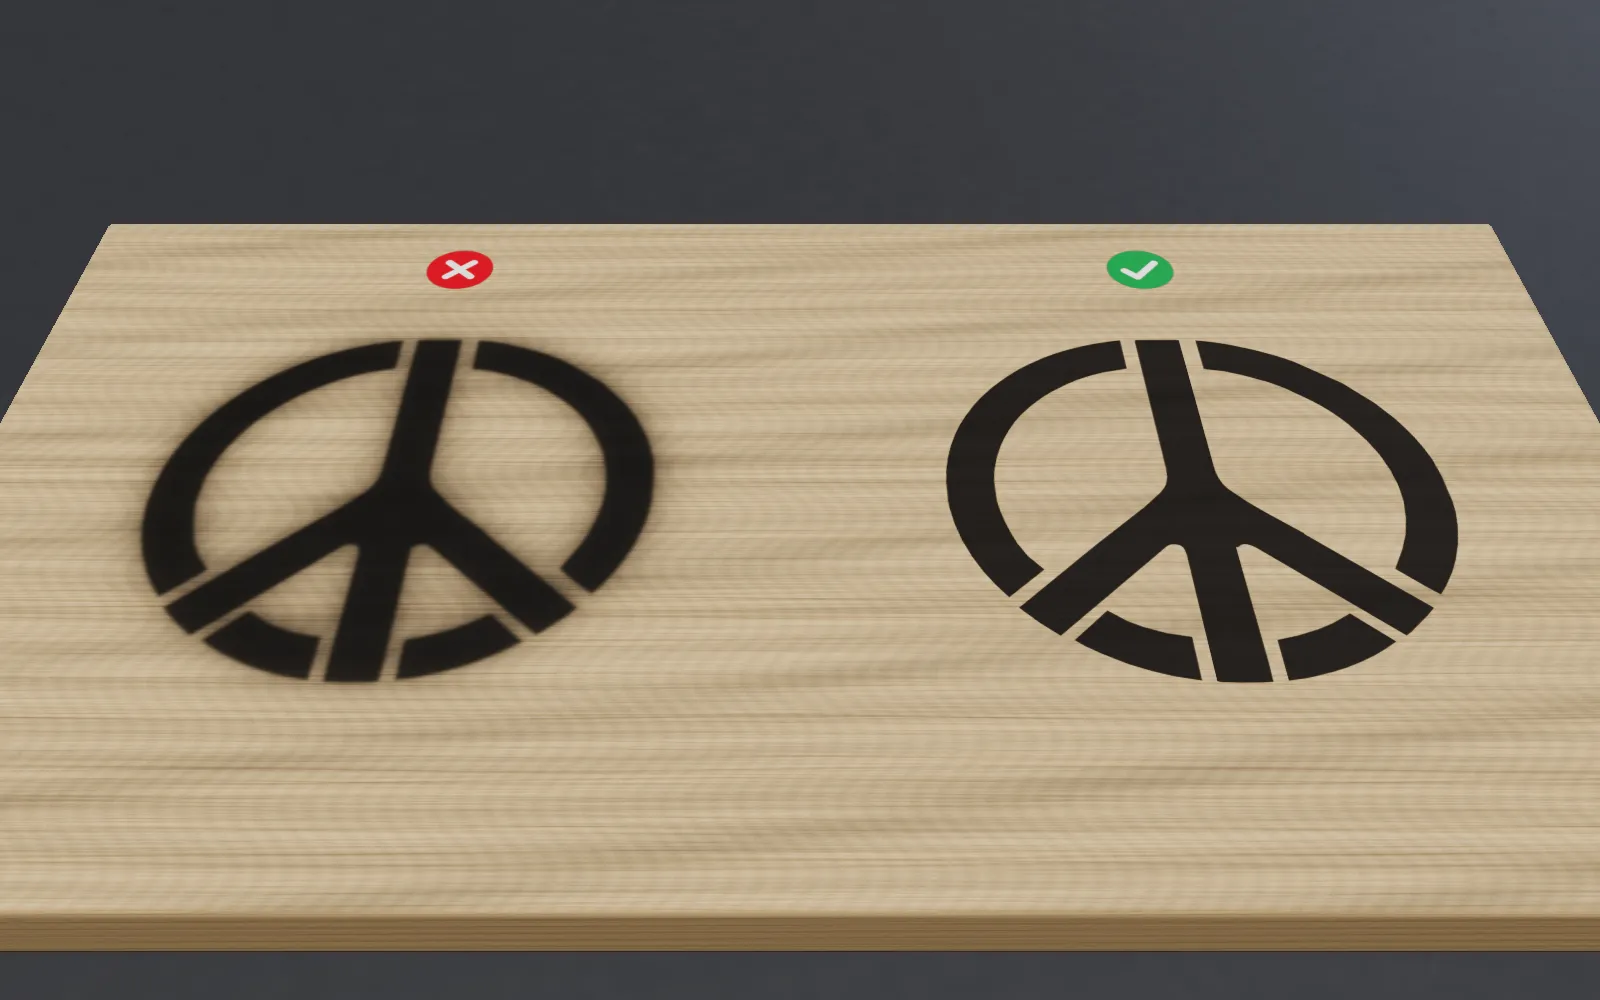
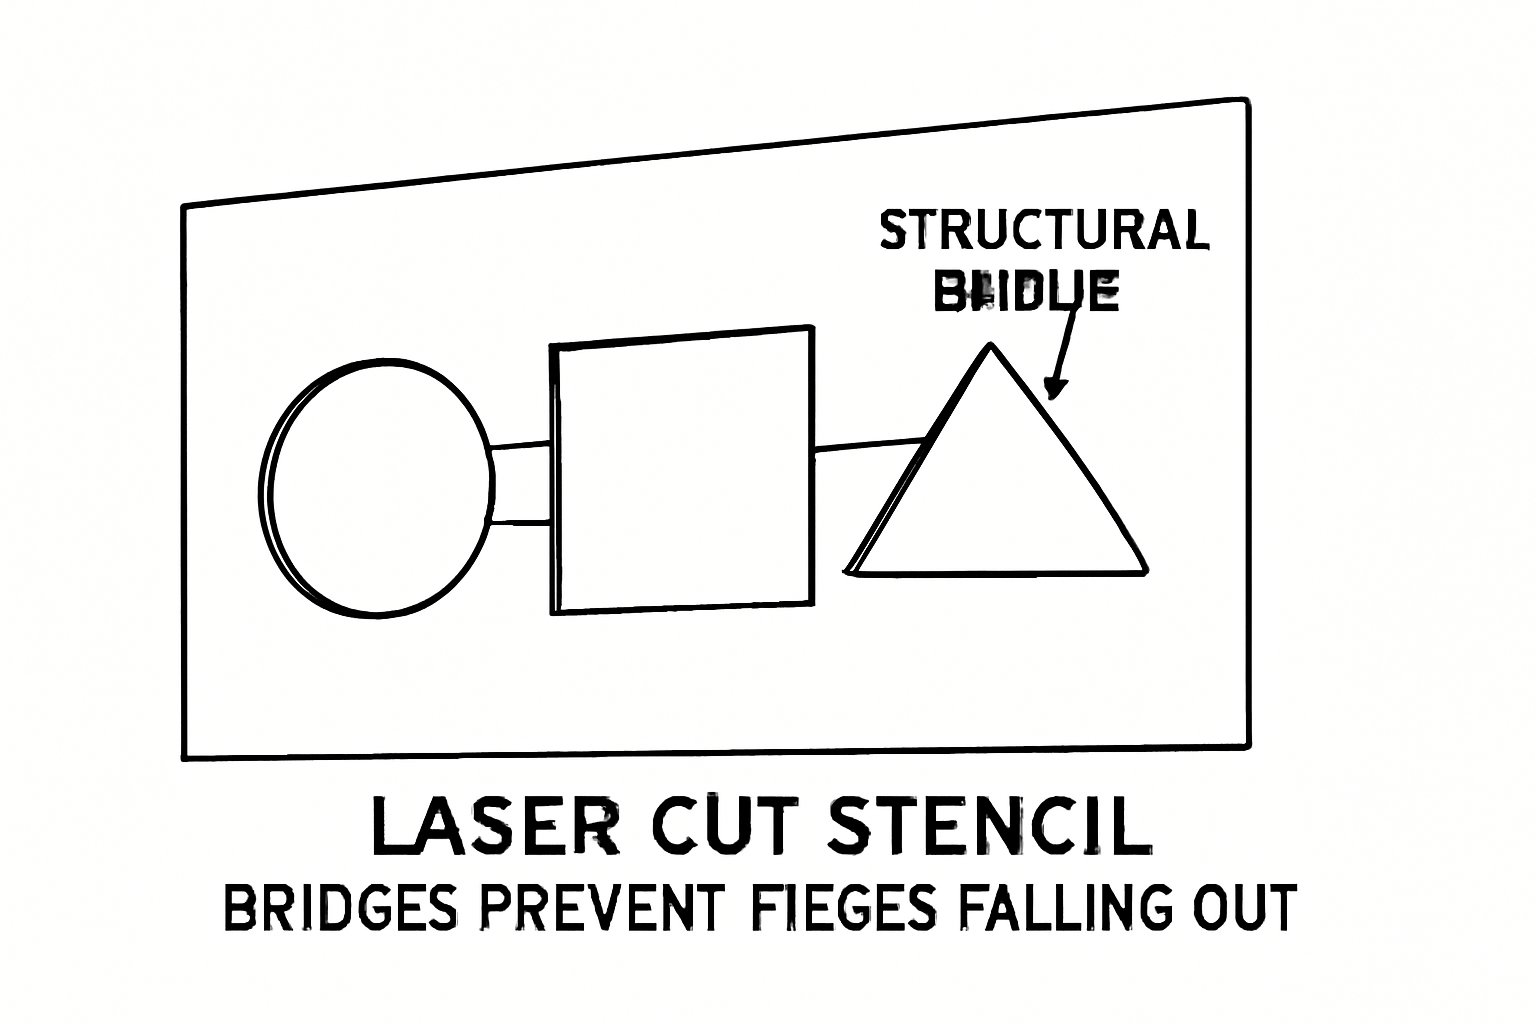
The burned line is wider than the beam, and on wood the char eats into small details. On card 0.3 mm our engine uses 1.5 mm as the minimum detail; on plywood count on bridges of at least 2 mm, more if they run along the grain or if the stencil is large.
Setting up the file in StencilVector
- 01Set the real width of the stencil in millimetres before downloading: the SVG comes out at that size, import it at 100 %.
- 02Bridge width: 1.5 mm is fine for card; for plywood go to 2–3 mm (the slider goes up to 2 mm for stencils up to 150 mm wide, 3 mm up to 300 mm, 5 mm above).
- 03If long thin parts flutter, raise Bridges per island or Structural stability rather than widening everything.
- 04Download the SVG for the laser software; the PNG is a picture and needs tracing.
Typical problems
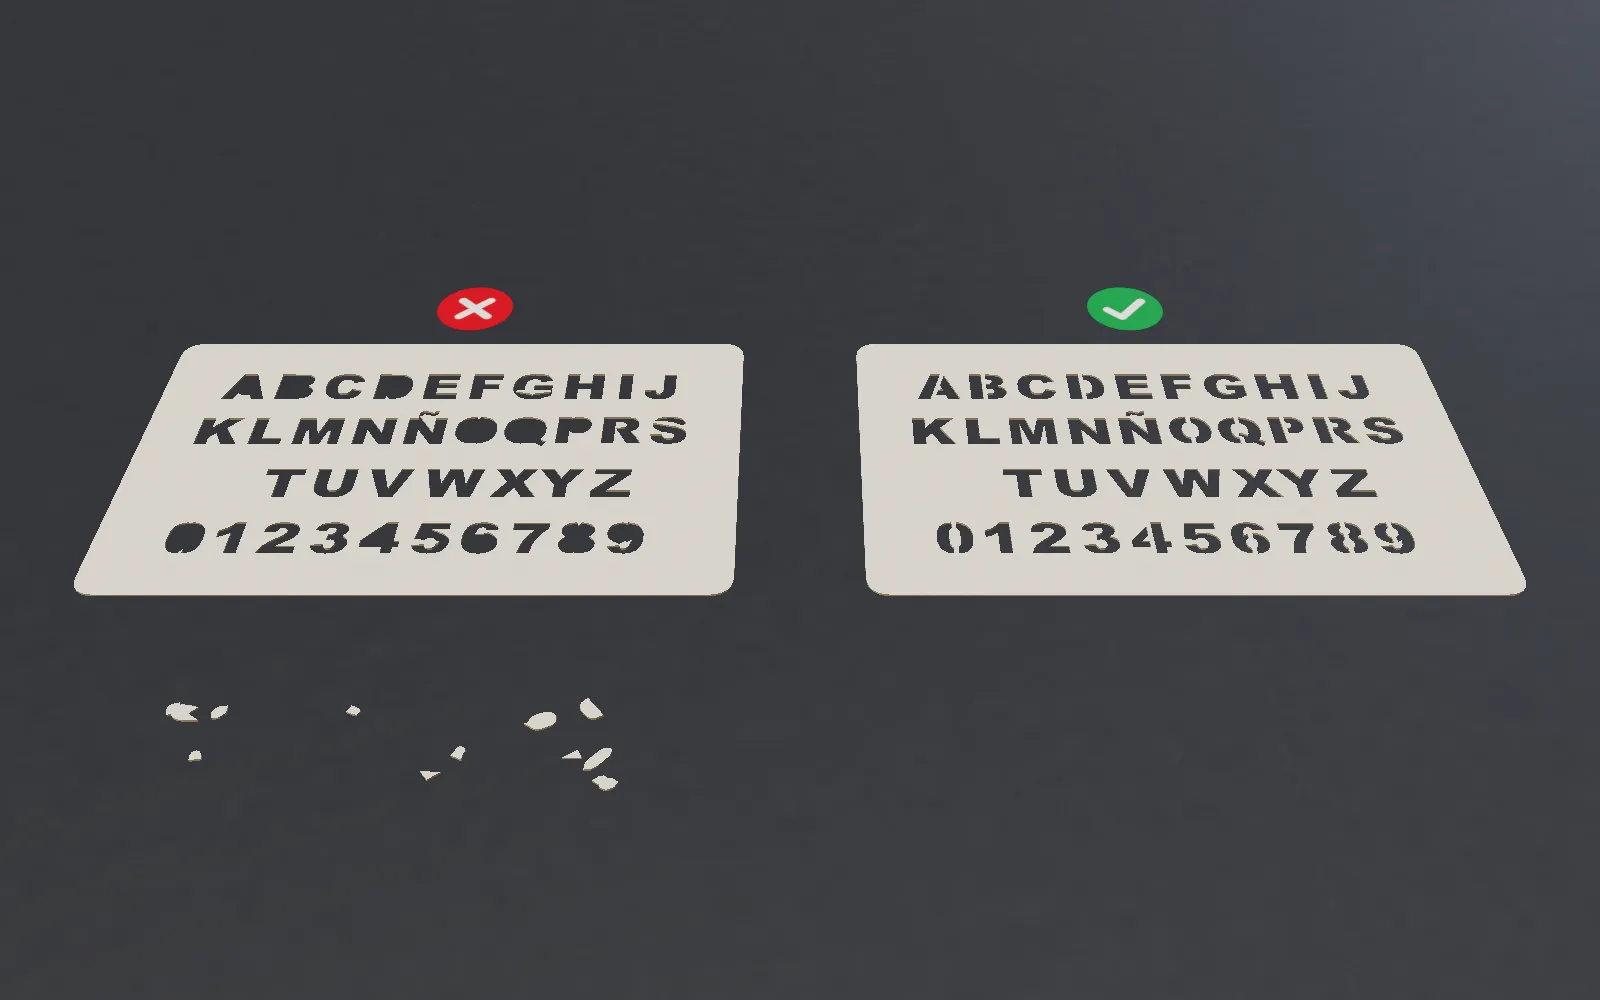
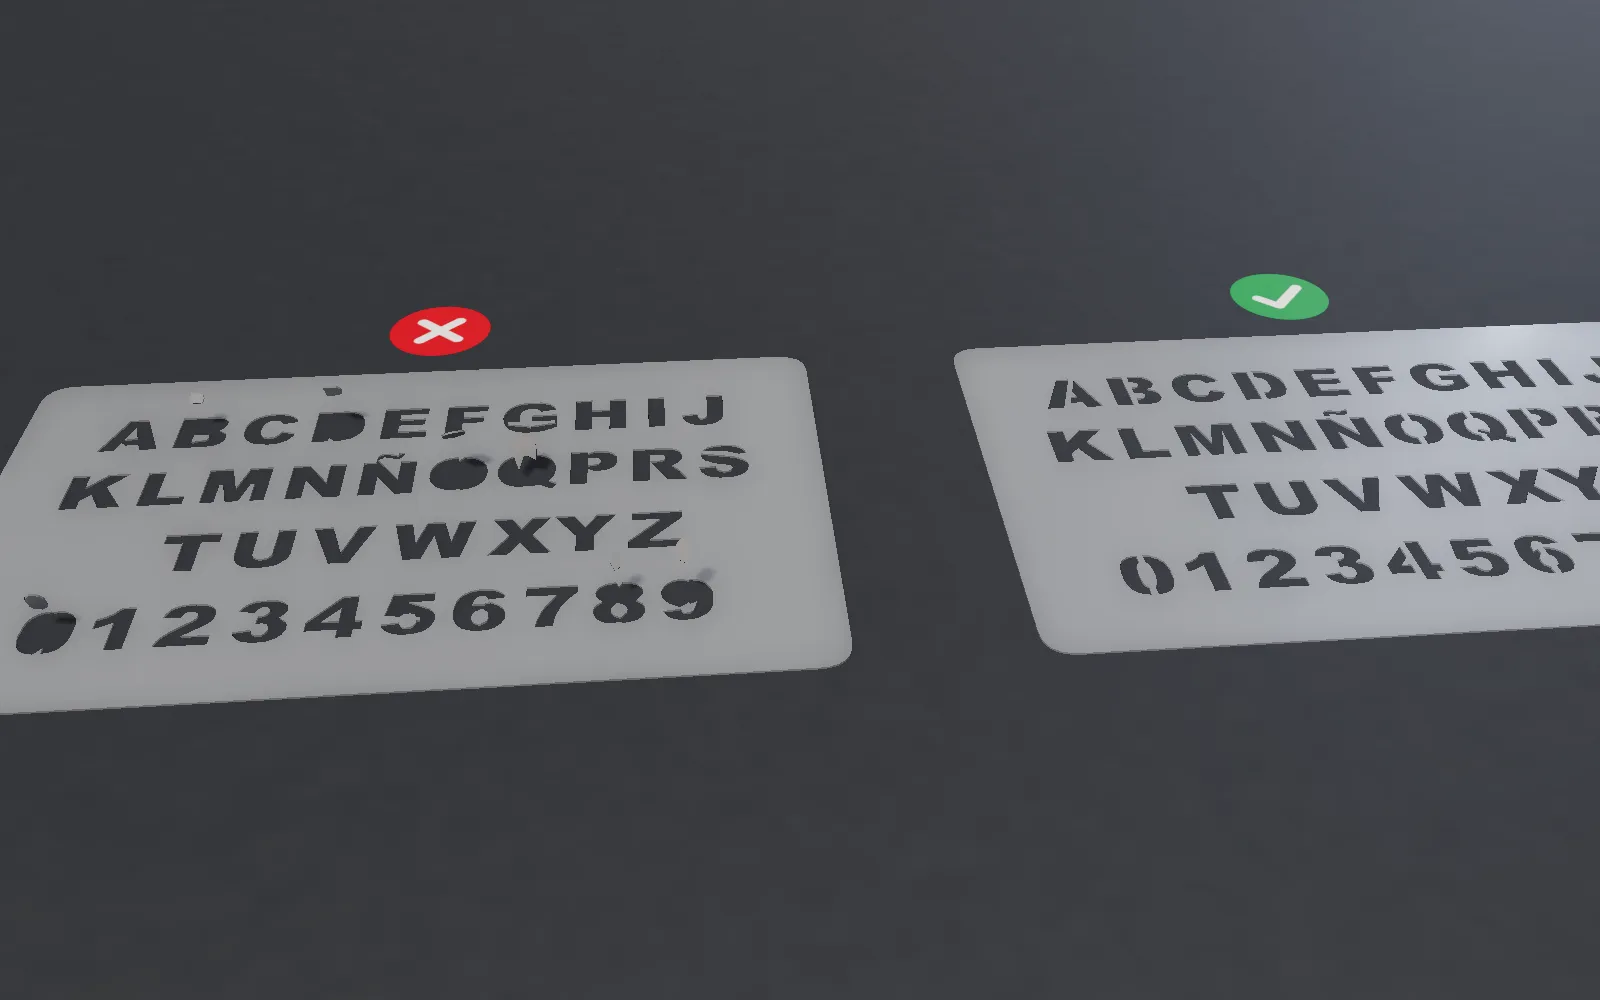
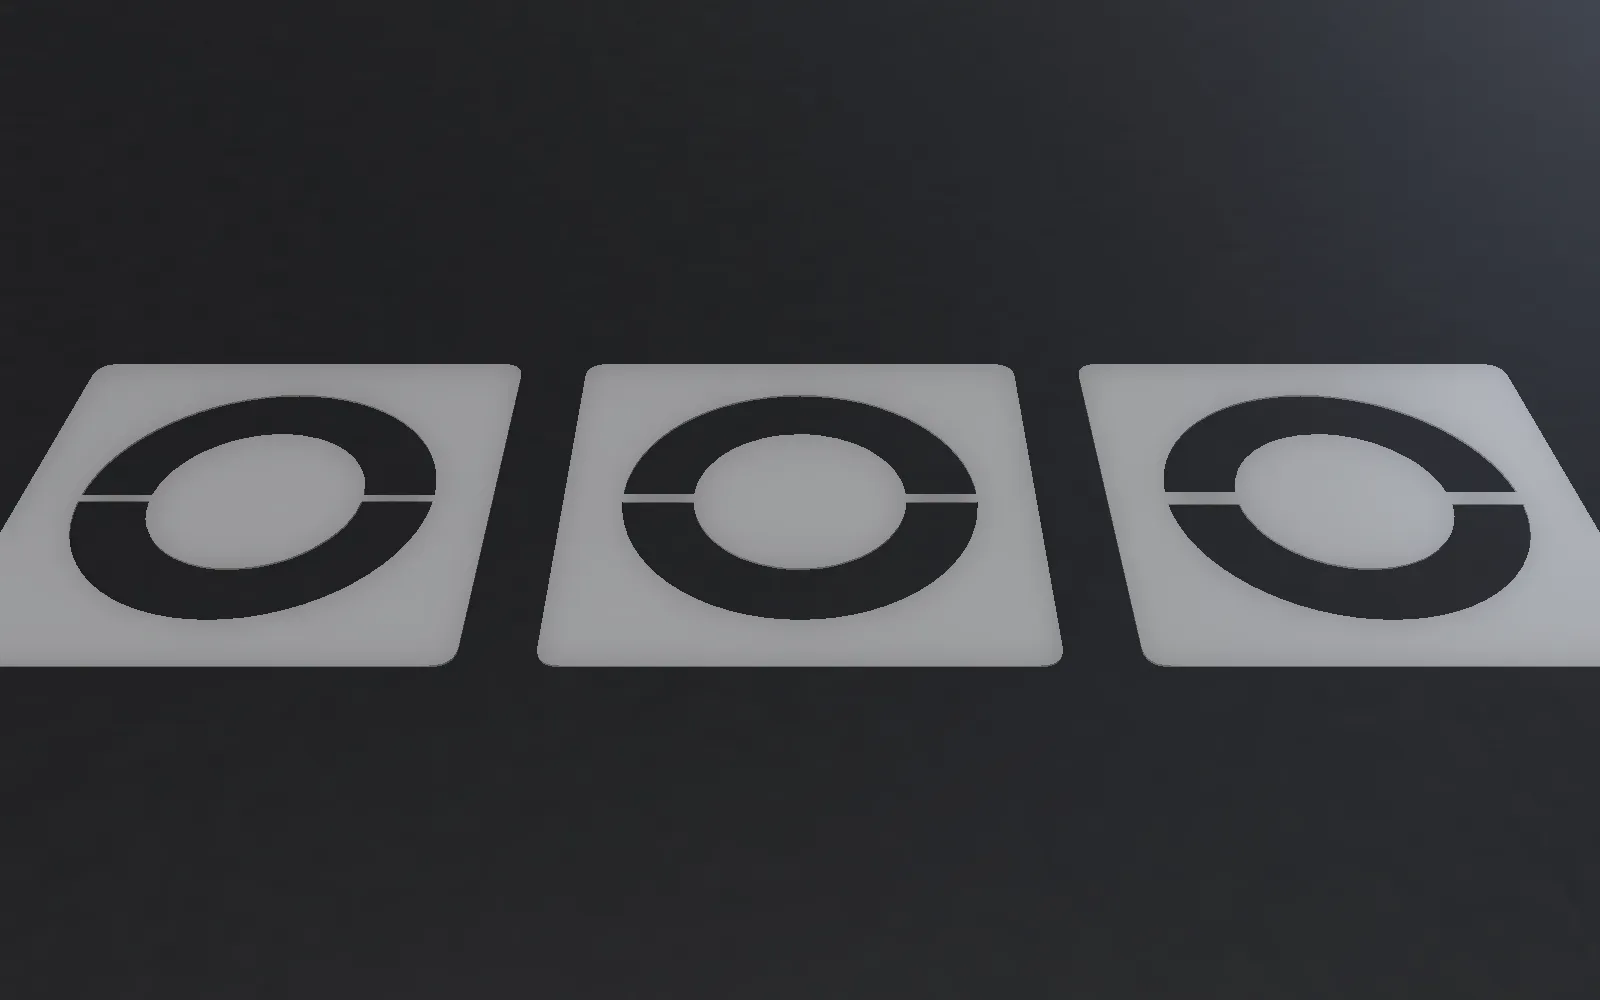
- Islands (the centre of an O, the eye of a face) fall out
- Fix: They need a bridge: check the bridge preview before downloading. In the laser software cut inner shapes first and the outer outline last, so nothing shifts during the job.
- Bridges burn through or snap
- Fix: Wider bridges, less power and two passes instead of one, air assist on. On wood, avoid bridges thinner than the grain can hold.
- Scorch marks and flame on card
- Fix: Air assist, honeycomb or raised bed, masking tape on top, and a faster speed with more passes.
- Thin plywood warps and goes out of focus
- Fix: Hold it flat with pins or magnets; refocus on the actual surface.