guide · 3 min read
How to Create Perfect Laser-Cut Stencils from Photos
A practical guide to turning photographs into precision laser-cut stencils using StencilVector's free tools — from photo selection to final cut.
StencilVector Team1,311 views
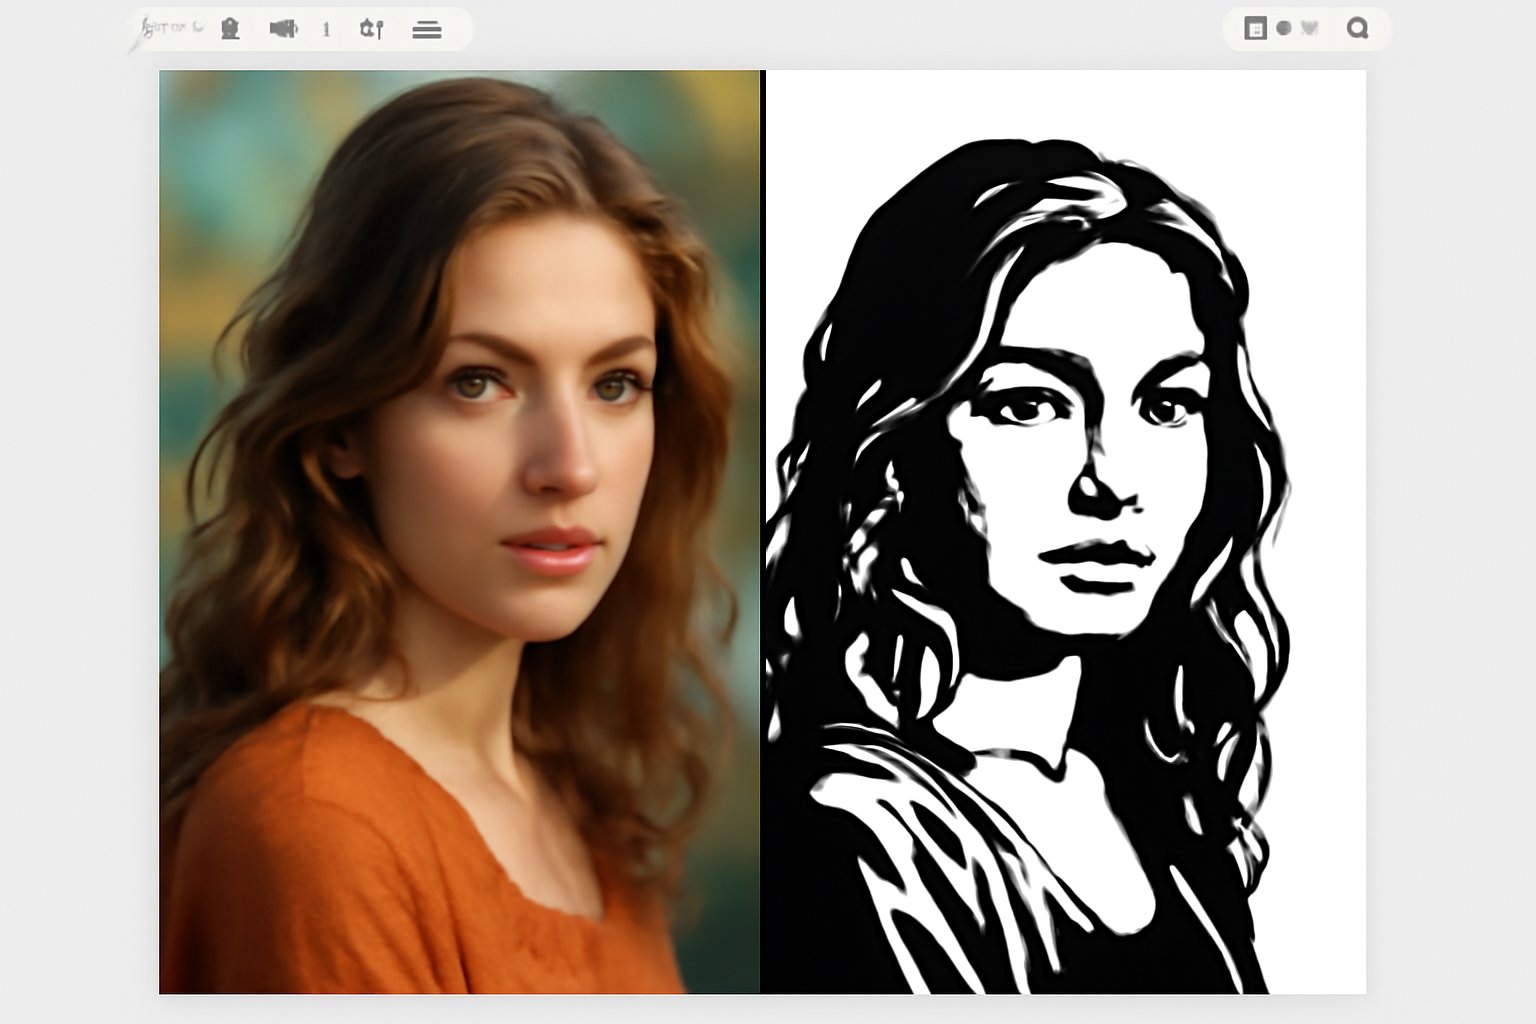
Turning a photograph into a laser-cut stencil is one of the most rewarding — and challenging — applications in the stencil world. Photos contain gradients, shadows, and fine details that do not naturally translate into the binary cut-or-keep format of a stencil. But with the right approach and tools, you can create stunning photo-based stencils that look incredible when sprayed or painted.
Why Photos Are Different from Logos
Logos and text are already high-contrast, making them easy to convert. Photographs, however, contain continuous tones — skin tones, sky gradients, soft shadows. Converting a photo to a stencil means deciding which areas to cut away and which to keep, while preserving the recognizability of the original image.
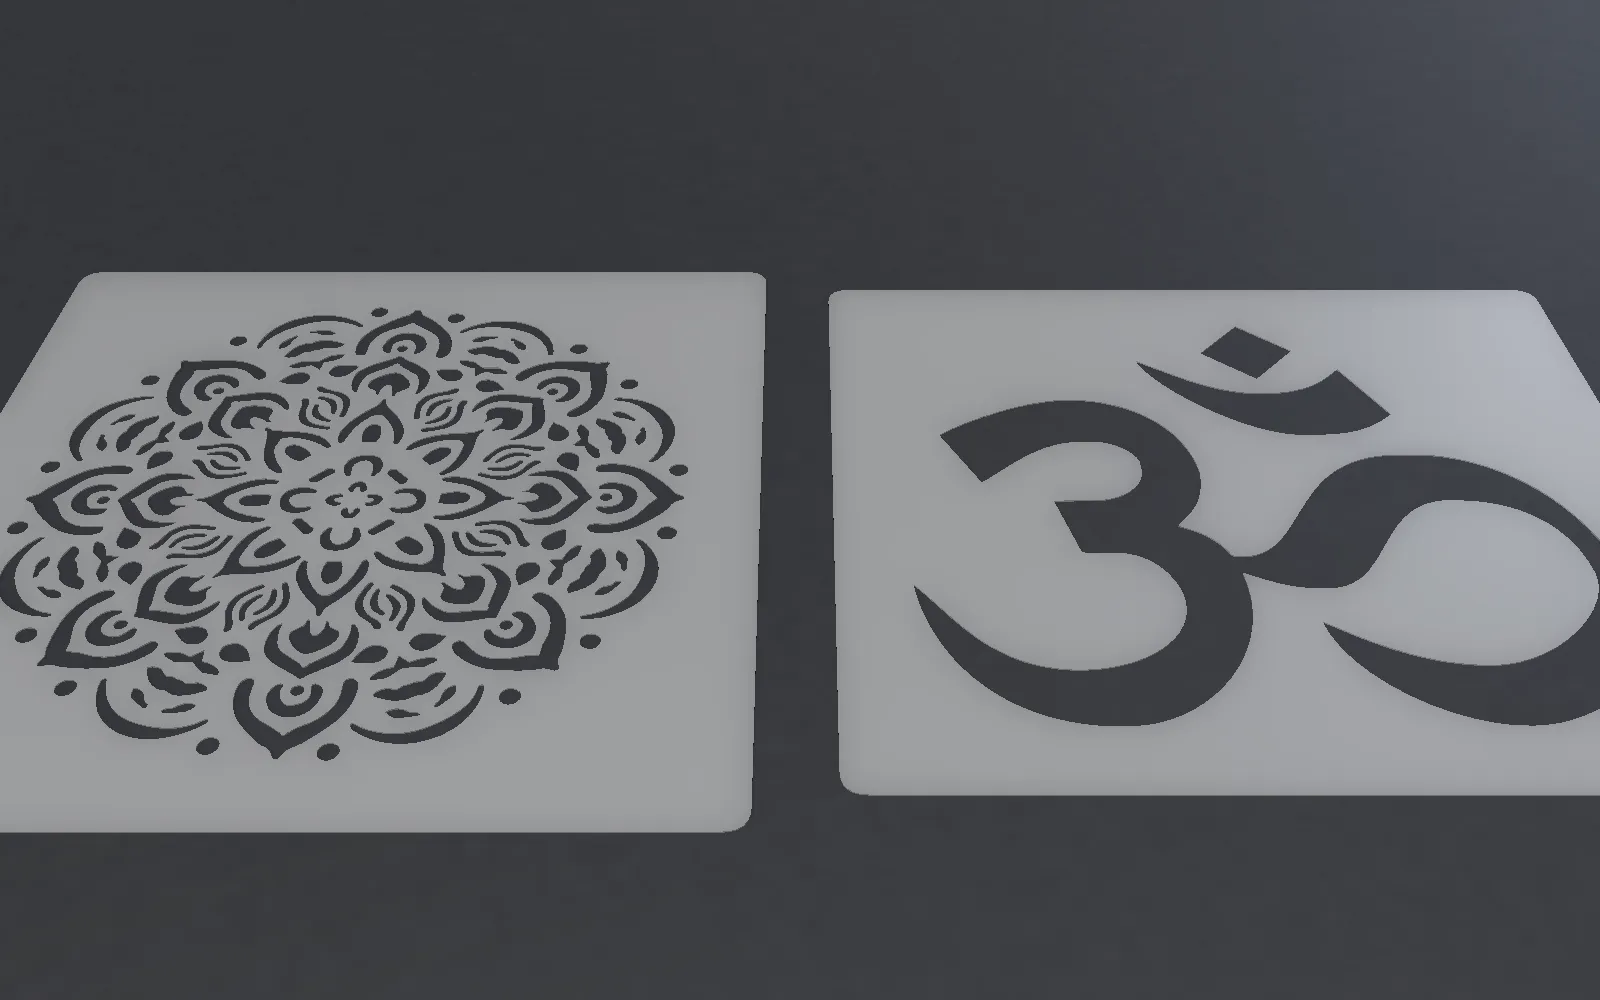
This is where StencilVector's 7 algorithmic conversion methods make a huge difference. Different methods handle photographic content in fundamentally different ways.
Best Methods for Photos
- Threshold — Works well for high-contrast portraits and silhouettes. Adjust the threshold slider to find the sweet spot between detail and clarity.
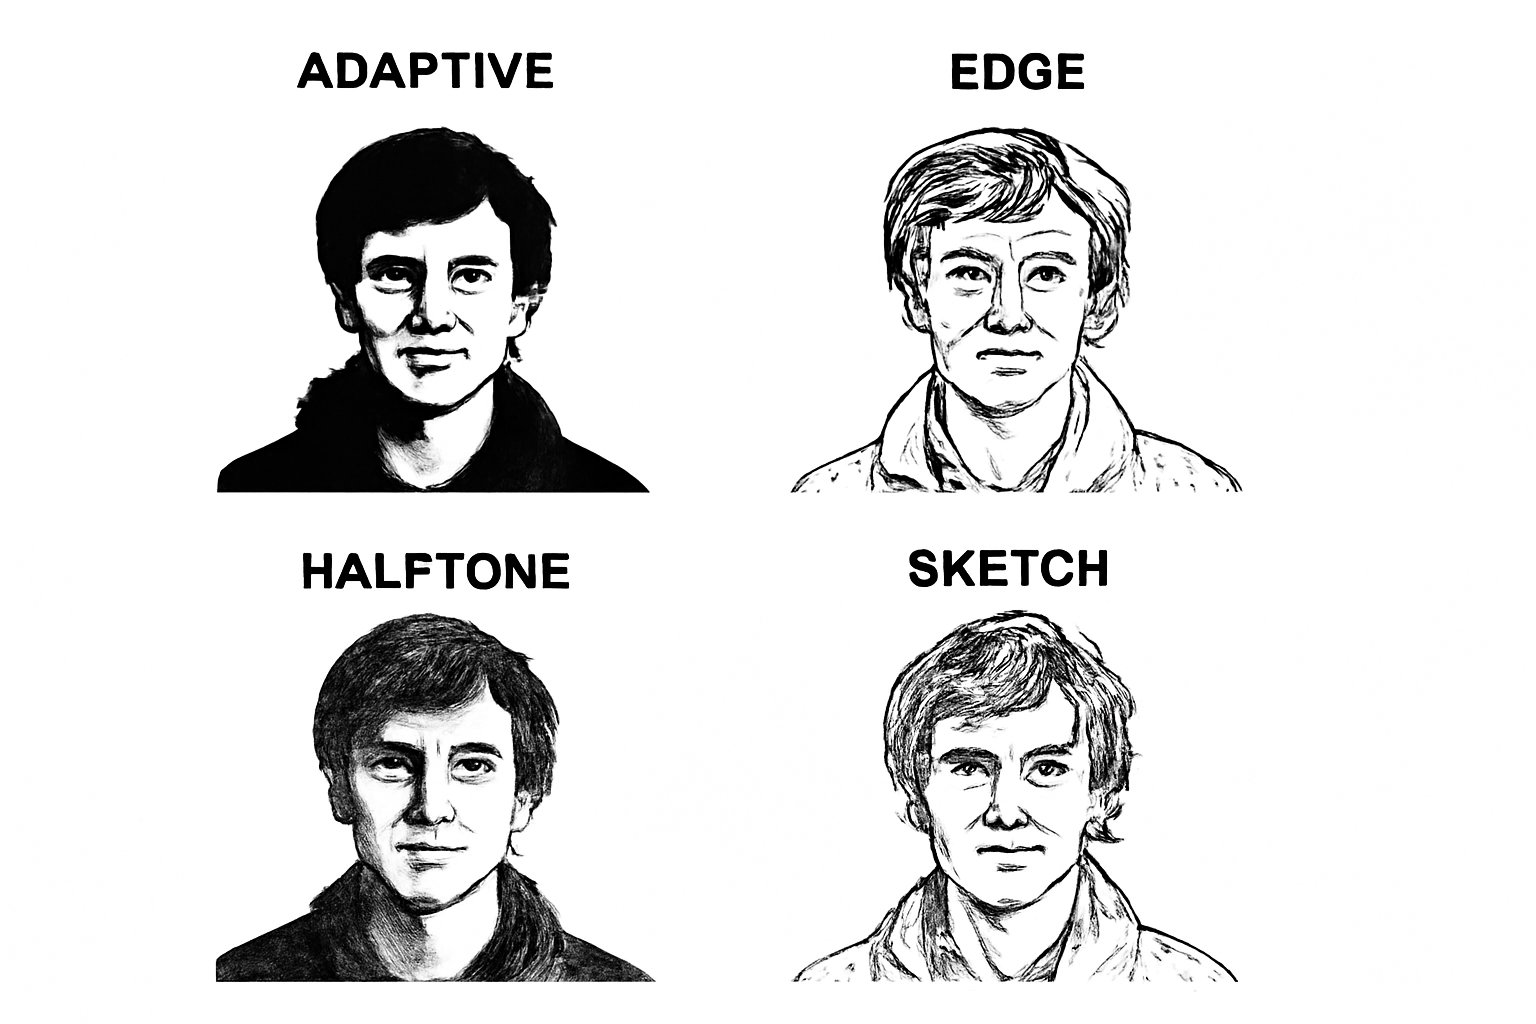
- Adaptive Threshold — Excellent for photos with uneven lighting. It analyzes local regions independently, so a face half in shadow still converts cleanly.
- Sketch — Renders the photo as pencil strokes for a hand-drawn portrait feel. Beautiful on faces, but it leaves by far the most islands, so budget for heavy bridging.
- Posterize — Reduces the photo to a few bold tonal levels. Great for pop-art style stencils.
Preparing Your Photo
Before uploading to StencilVector, optimize your photo for best results:
- Crop tightly — Remove unnecessary background. Focus on the subject.
- Increase contrast — Use any photo editor to boost contrast. More separation between light and dark means a cleaner stencil.
- Simplify the background — A busy background creates noise in the stencil. Plain backgrounds work best.
- Use high resolution — At least 1000px on the longest side. More pixels mean more detail to work with.
The Conversion Workflow
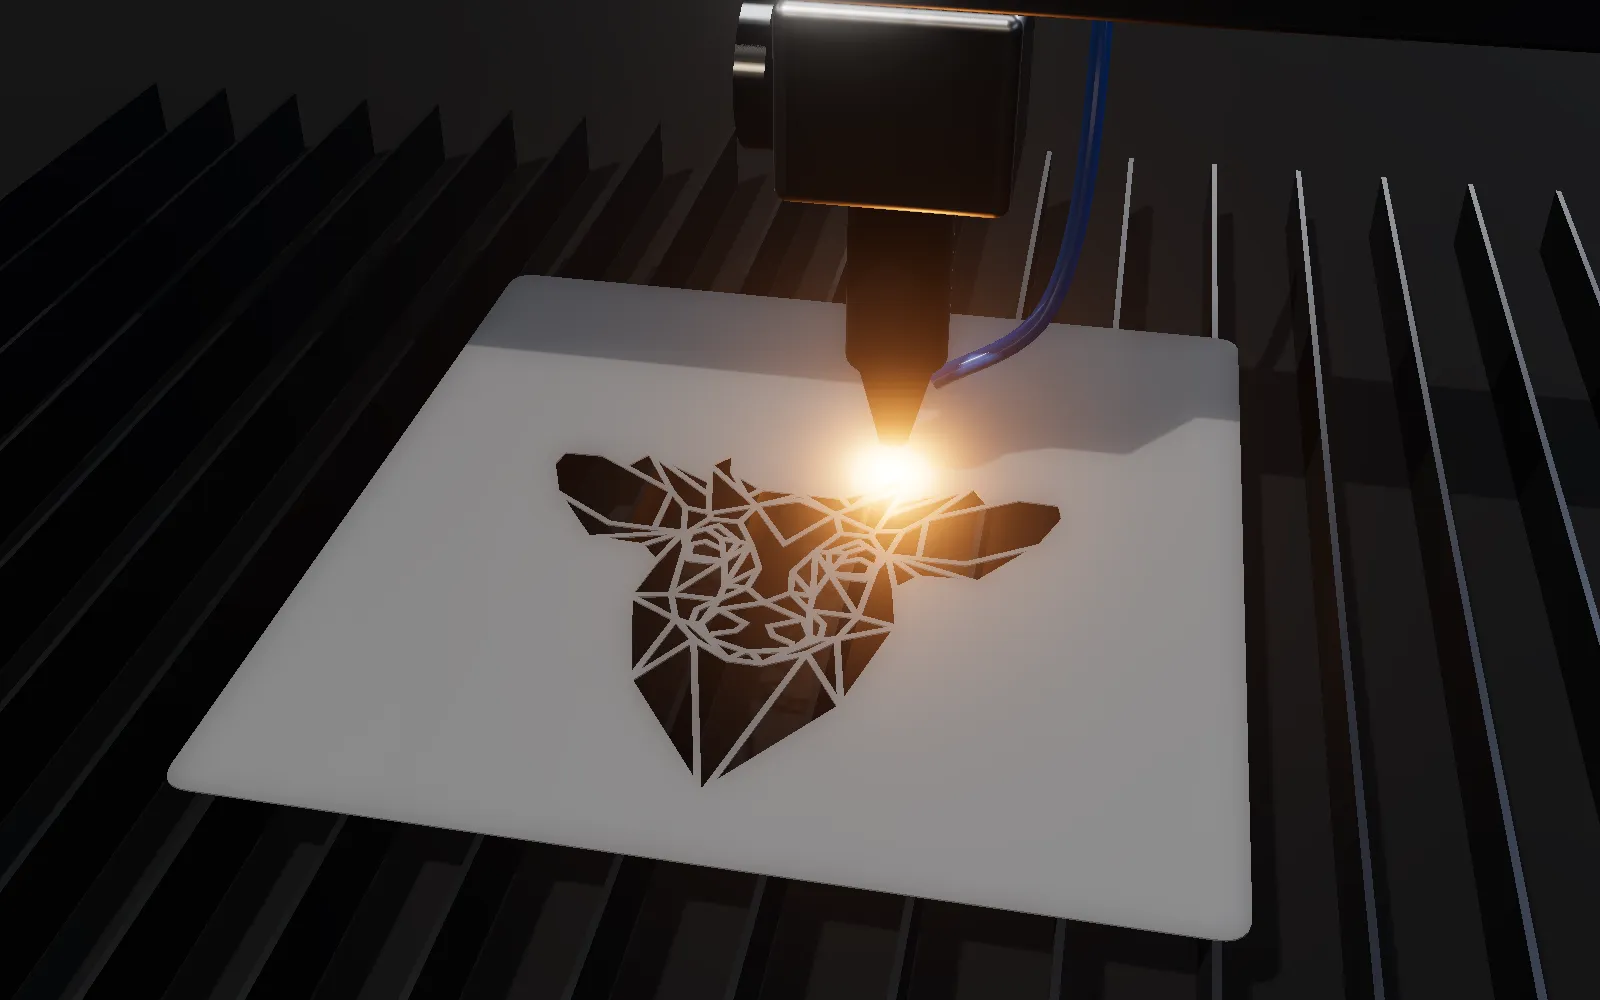
- Upload your photo to the free Stencil Maker
- Try multiple methods — Start with the method Smart Auto picks, then try Threshold and Adaptive. Compare results.
- Adjust parameters — Each method has settings you can tune. Small changes can make big differences.
- Edit with tools — Use the eraser to remove noise, the brush to restore lost details, flood fill to clean up areas.
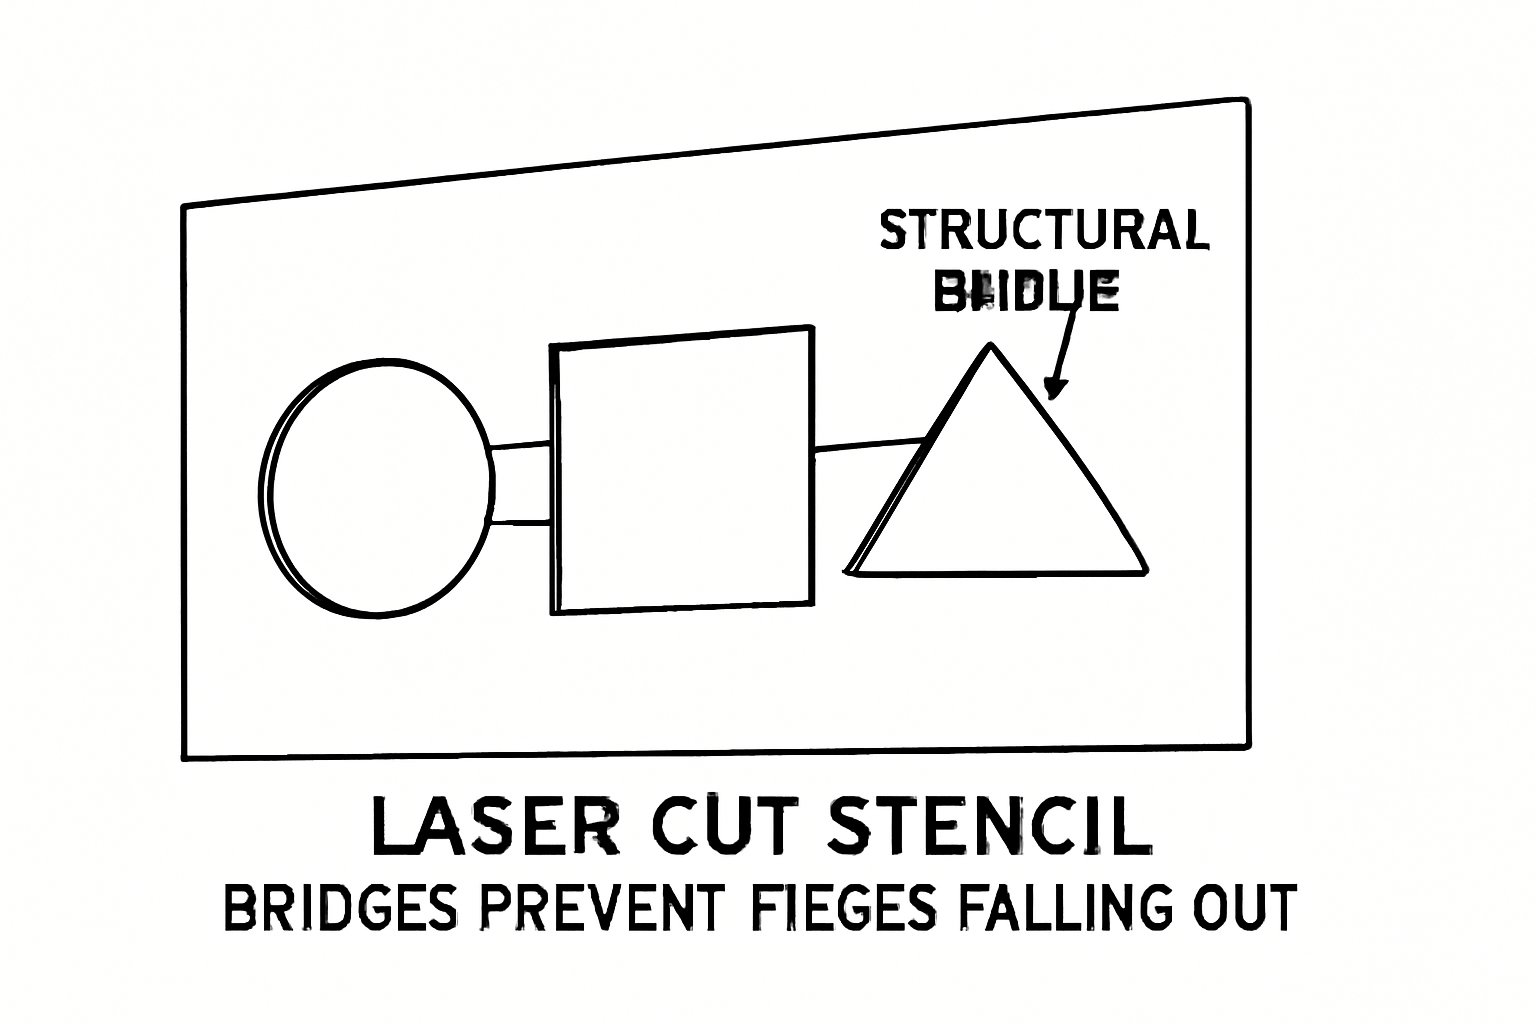
- Check bridges — StencilVector automatically adds structural bridges. Verify they do not cross critical facial features.
- Preview in AR — Use the AR Viewer to see the stencil at actual size before cutting.
- Export SVG — Download and send to your laser cutter.
Size Matters
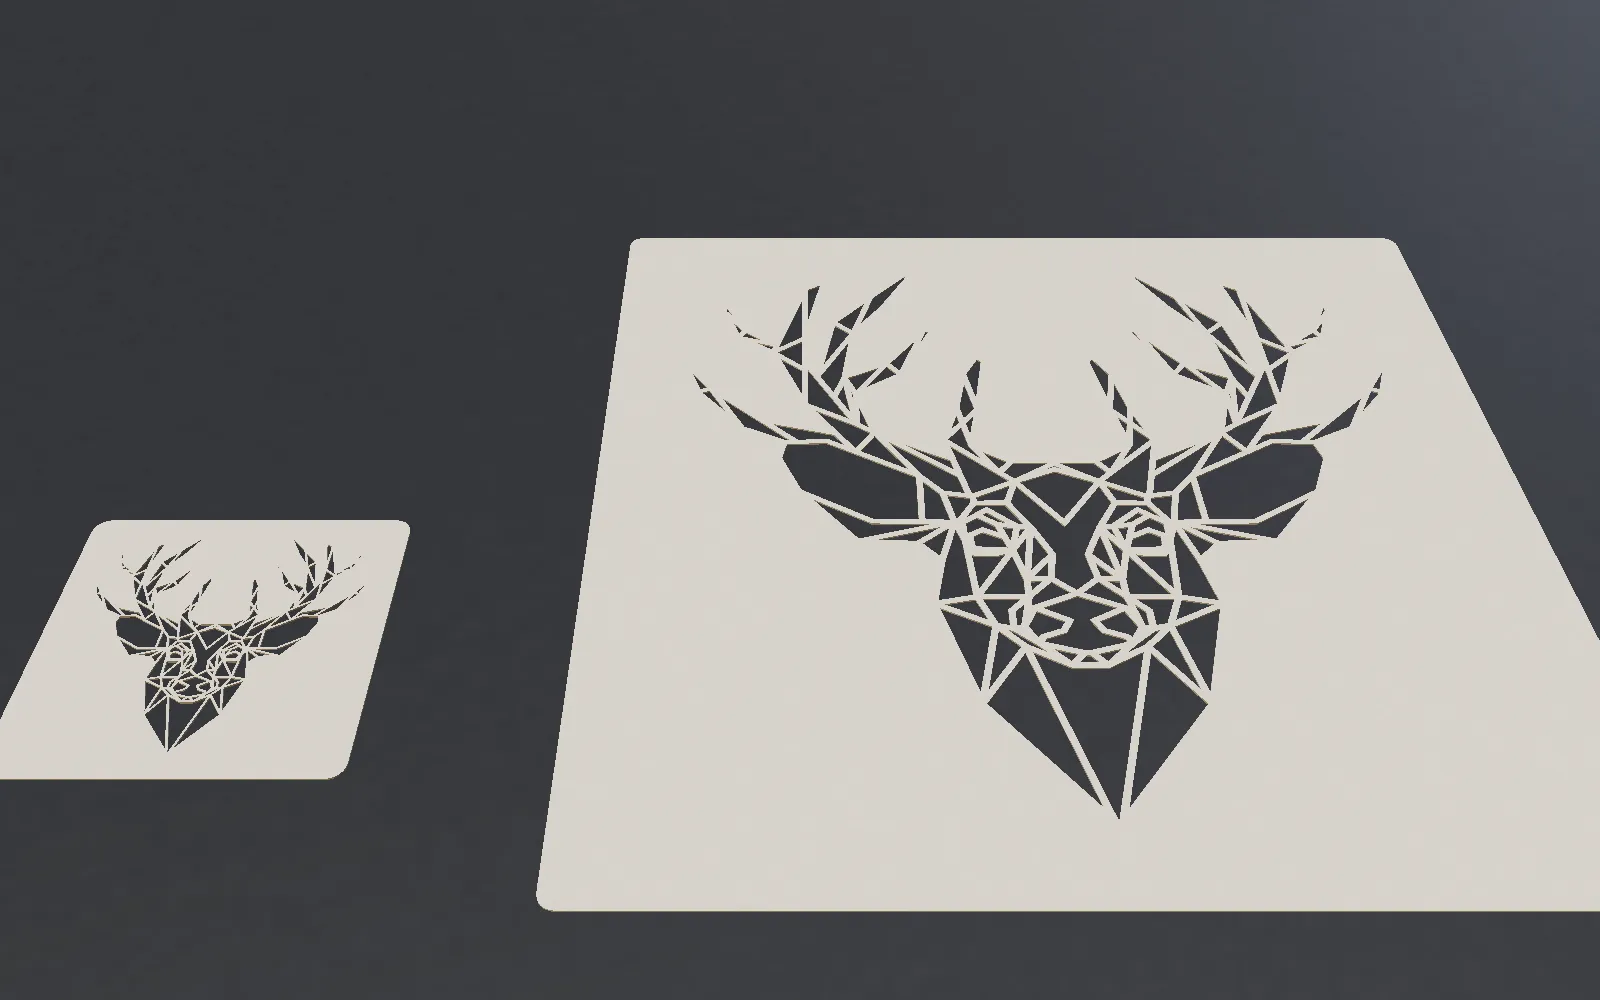
Photo stencils generally work better at larger sizes. Small photo stencils lose too much detail. For portraits, aim for at least 300mm (12 inches) on the longest side.
Material Recommendations
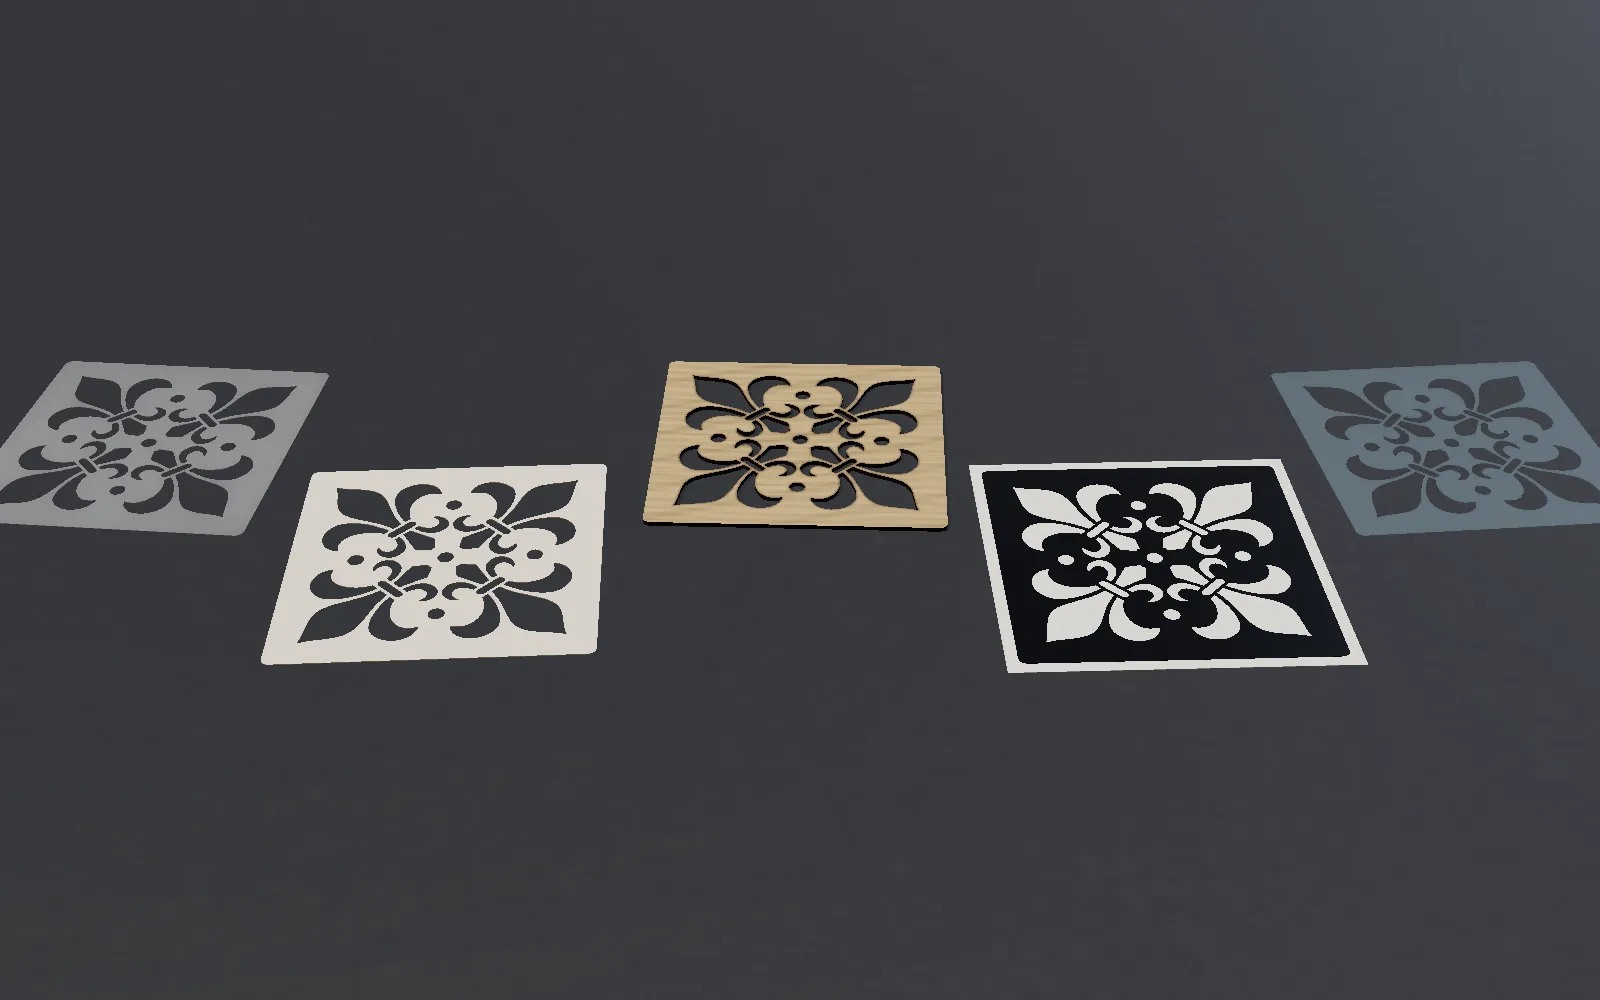
- PET/Mylar (0.2mm) — Best for spray paint stencils. Flexible, durable, and laser-cuts cleanly.
- Cardboard — Good for one-time use and testing. Cut your design in cardboard first to verify it works.
- Acrylic (2-3mm) — For permanent, decorative photo stencils you want to display or reuse hundreds of times.
Ready to turn your favorite photo into a stencil? Open the free Stencil Maker and try all 7 conversion methods to find the perfect look.
Not sure which machine to buy? Answer 7 questions and find the one that fits.
Stencil Maker
Ready to create your own stencil?
Upload any image, check the bridges and download a laser-ready file.