guide · 3 min read
From Image to Stencil: The Complete Guide
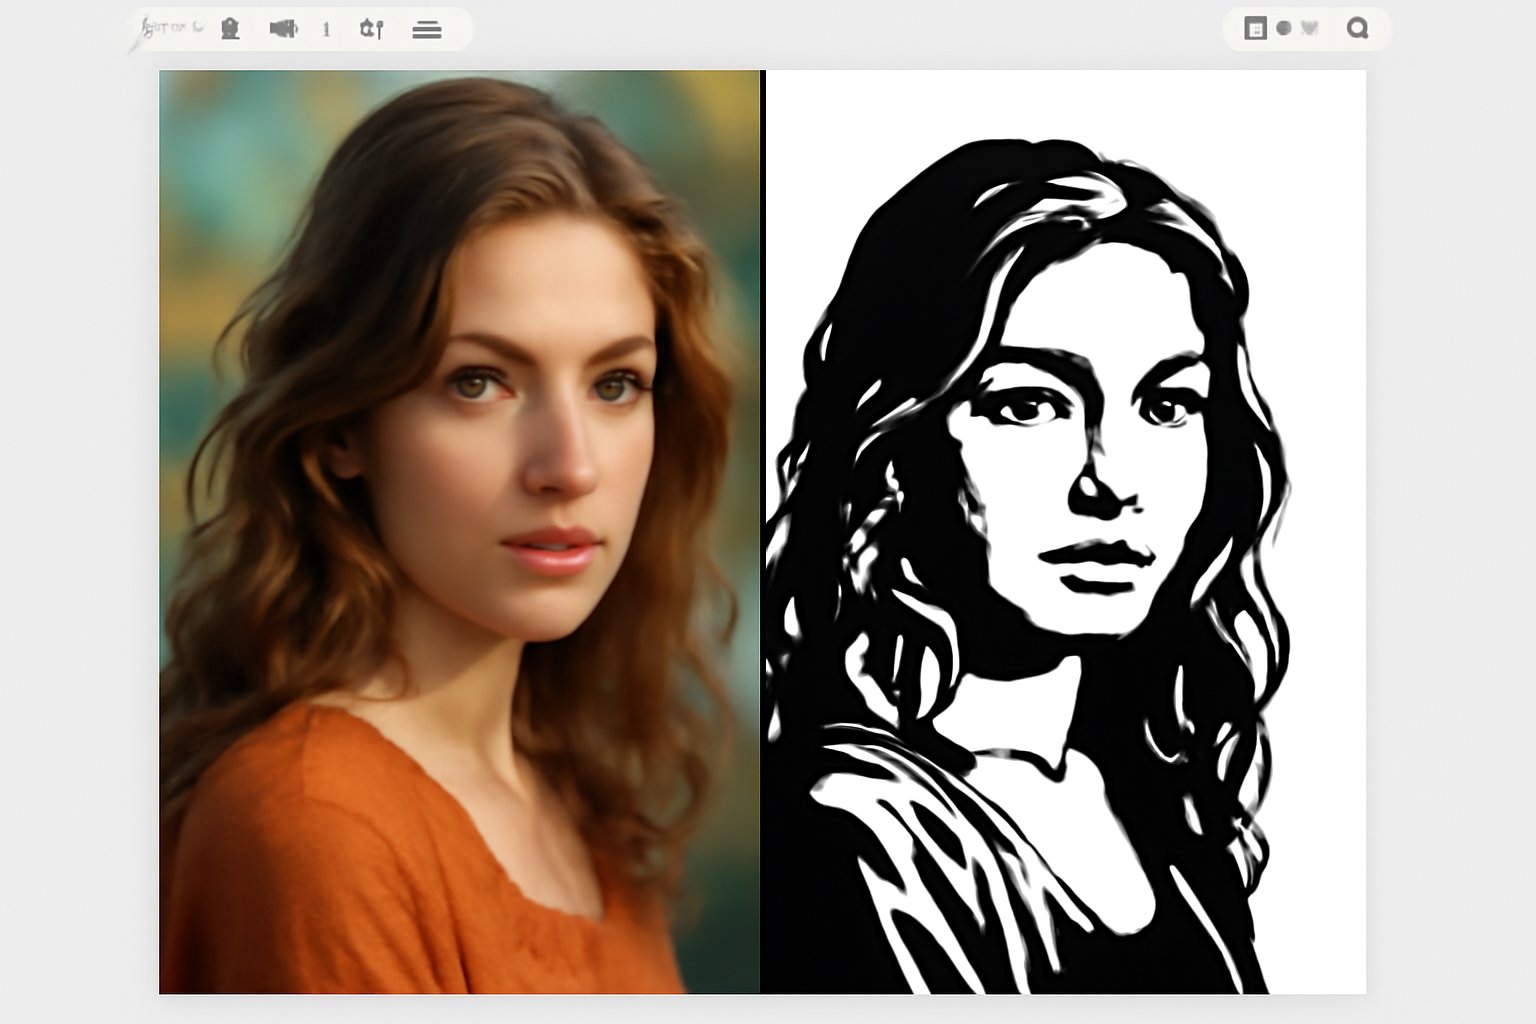
Step-by-step guide to converting any image into a laser-ready stencil: choosing methods, editing, bridge optimization, AR preview, and export.
StencilVector Team1,520 views
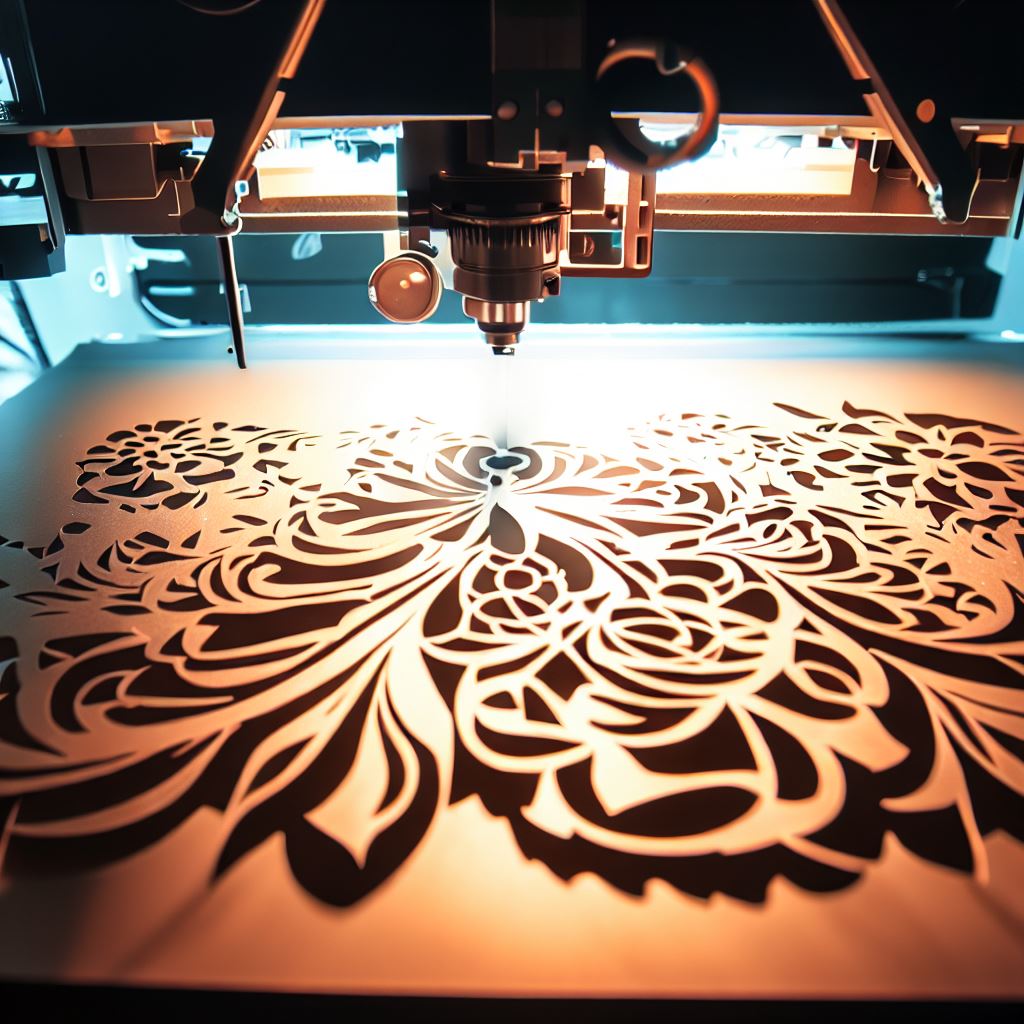
Whether you are a complete beginner or an experienced maker, this guide covers everything you need to know about converting images into laser-ready stencils using StencilVector's free Stencil Maker.
Step 1: Choose the Right Image
Not all images convert equally well into stencils. Here is what works best:
- High contrast images — Clear distinction between light and dark areas
- Simple shapes — Bold outlines and well-defined edges
- Vector graphics — SVG logos and icons convert perfectly
- Silhouettes — Already in stencil-friendly format
- Portraits — Work well with the adaptive threshold or stencil art methods
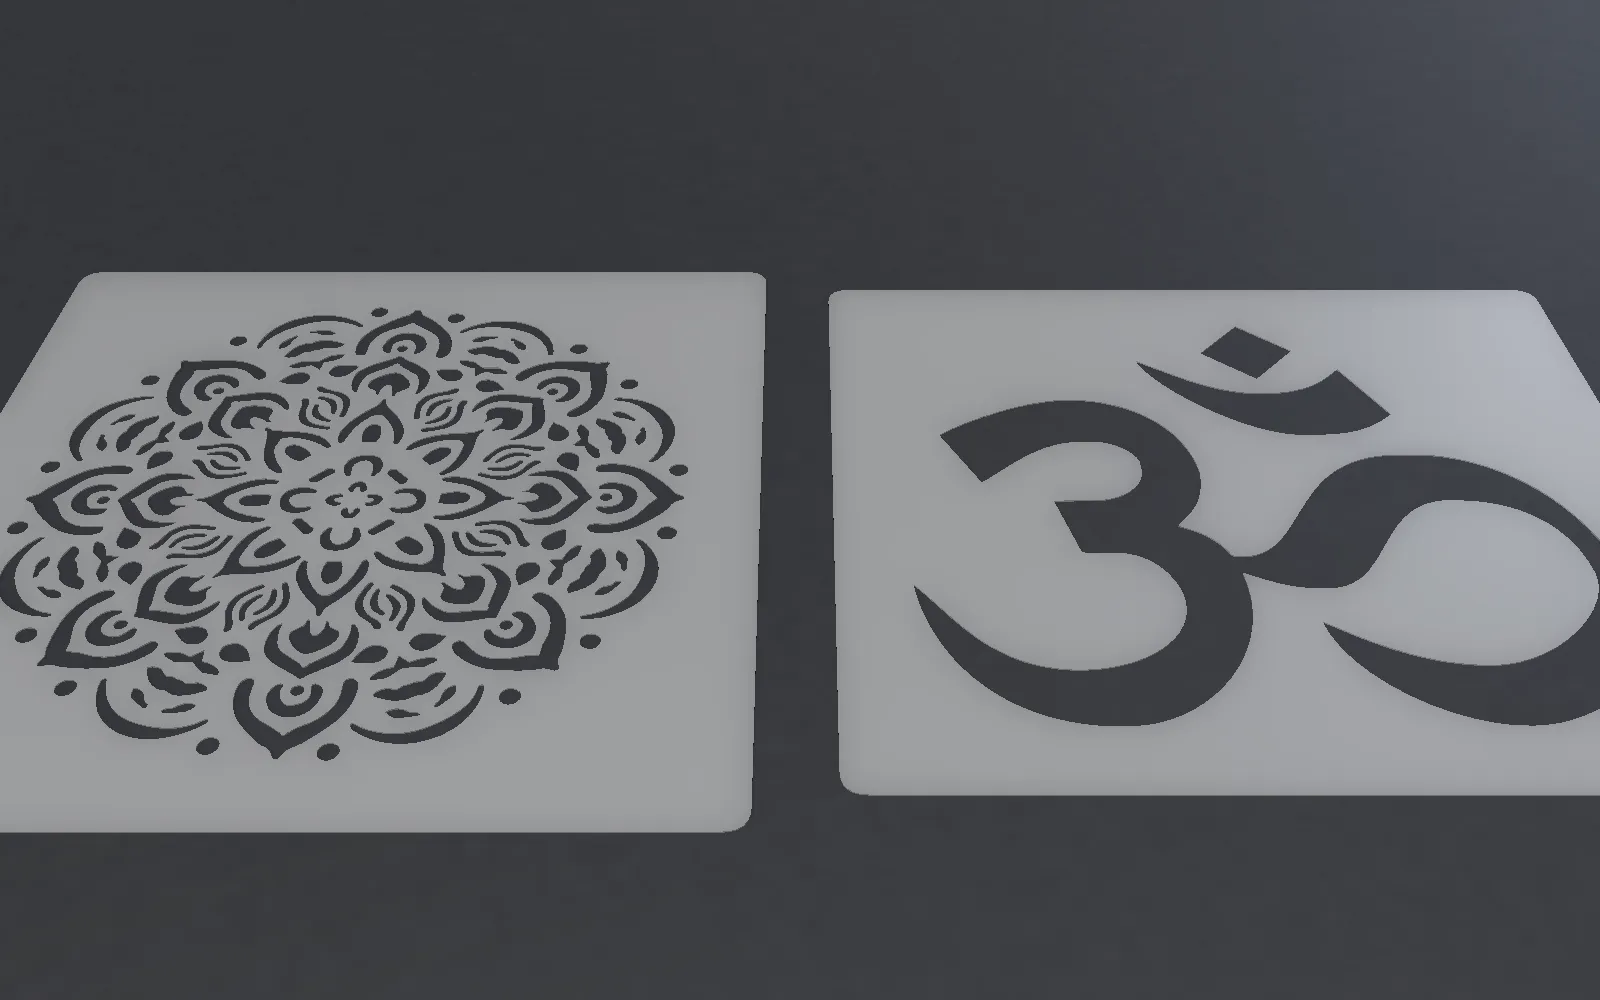
Avoid images with subtle gradients, extremely fine details, or very low resolution. Higher-quality inputs always produce better stencils.
Step 2: Upload and Choose Your Method
Upload your image to StencilVector — it supports JPG, PNG, SVG, GIF, and WebP up to 20MB. Then choose from 7 algorithmic conversion methods, or let Smart Auto pick one for you:
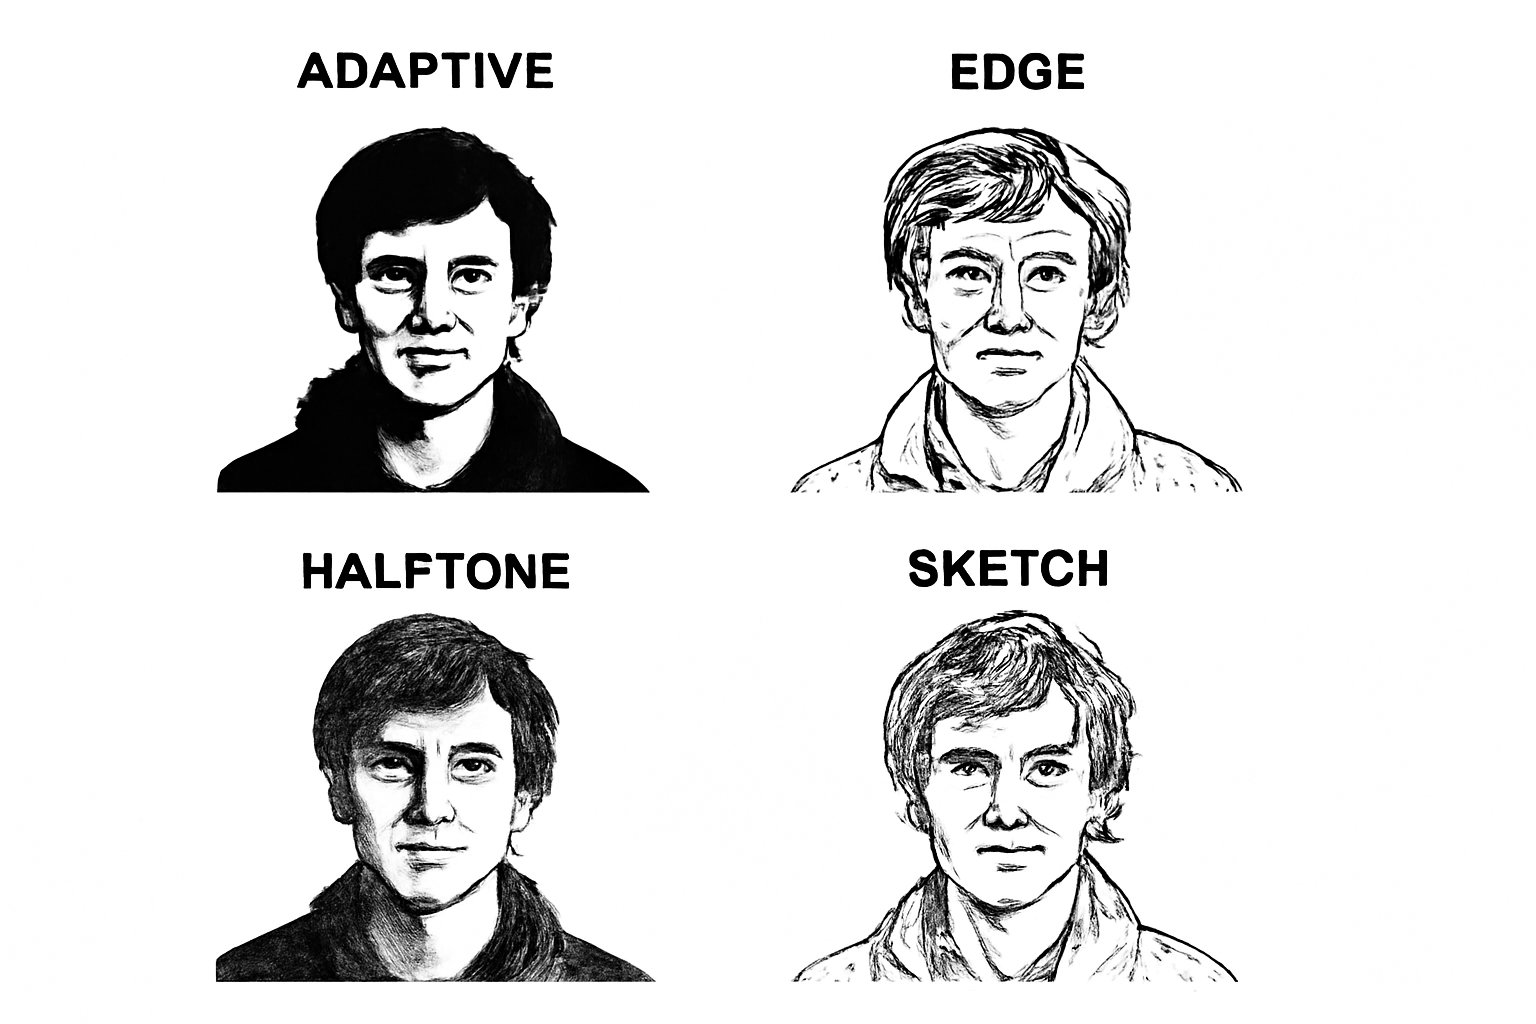
- Threshold — Best for logos and high-contrast images
- Adaptive Threshold — Handles uneven lighting in photos
- Edge Detection — Extracts outlines for contour stencils
- Posterize — Bold graphic style with reduced tonal range
- Sketch — Pencil-style strokes and hatching for a hand-drawn look
- Stamp — Flattens the image into solid masses, like an inked stamp
- Stencil Art — Tuned for wall stencils: simplifies hard and leaves the fewest loose pieces
All 7 methods are free to preview. Try several to see which gives the best result for your specific image.
Step 3: Edit and Refine
After conversion, use StencilVector's built-in editing tools to perfect your stencil:
- Eraser — Remove unwanted areas or noise
- Brush — Add or restore stencil regions
- Flood fill — Fill or clear entire connected areas with one click
For complex images that need extra help, optional AI services (credit-based) can enhance the conversion with intelligent analysis and refinement.
Step 4: Bridge Optimization and Stability
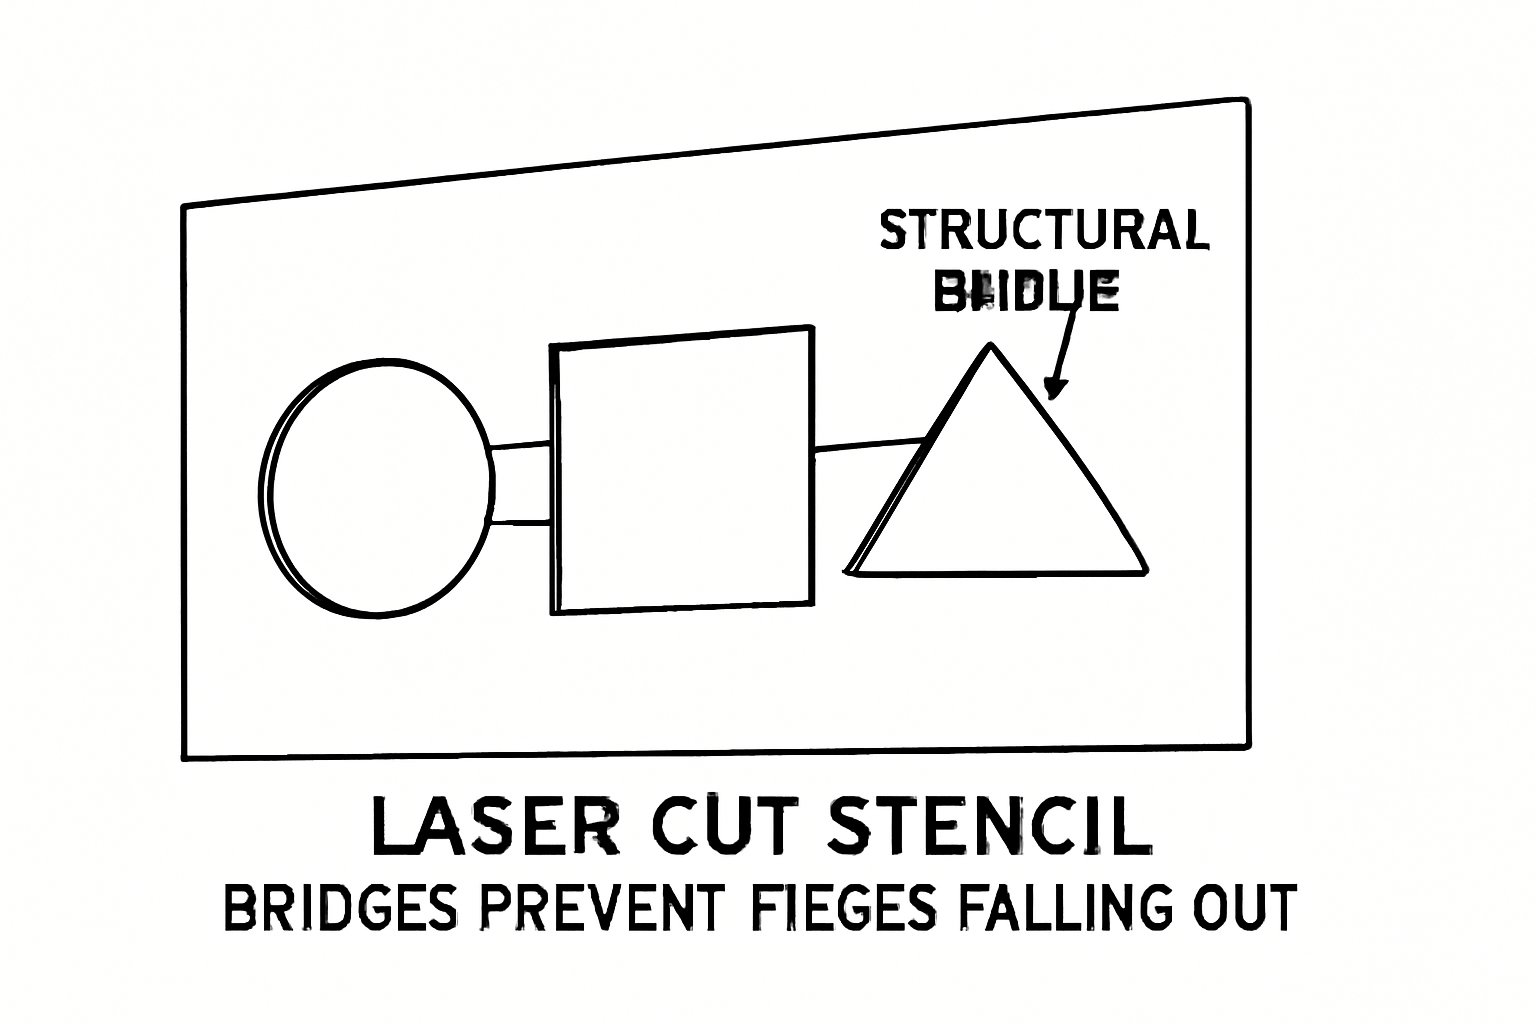
StencilVector automatically detects floating islands — pieces that would fall out when cut — and generates structural bridges to keep everything connected. The stability analysis gives you a structural score so you know your stencil will work before you cut.
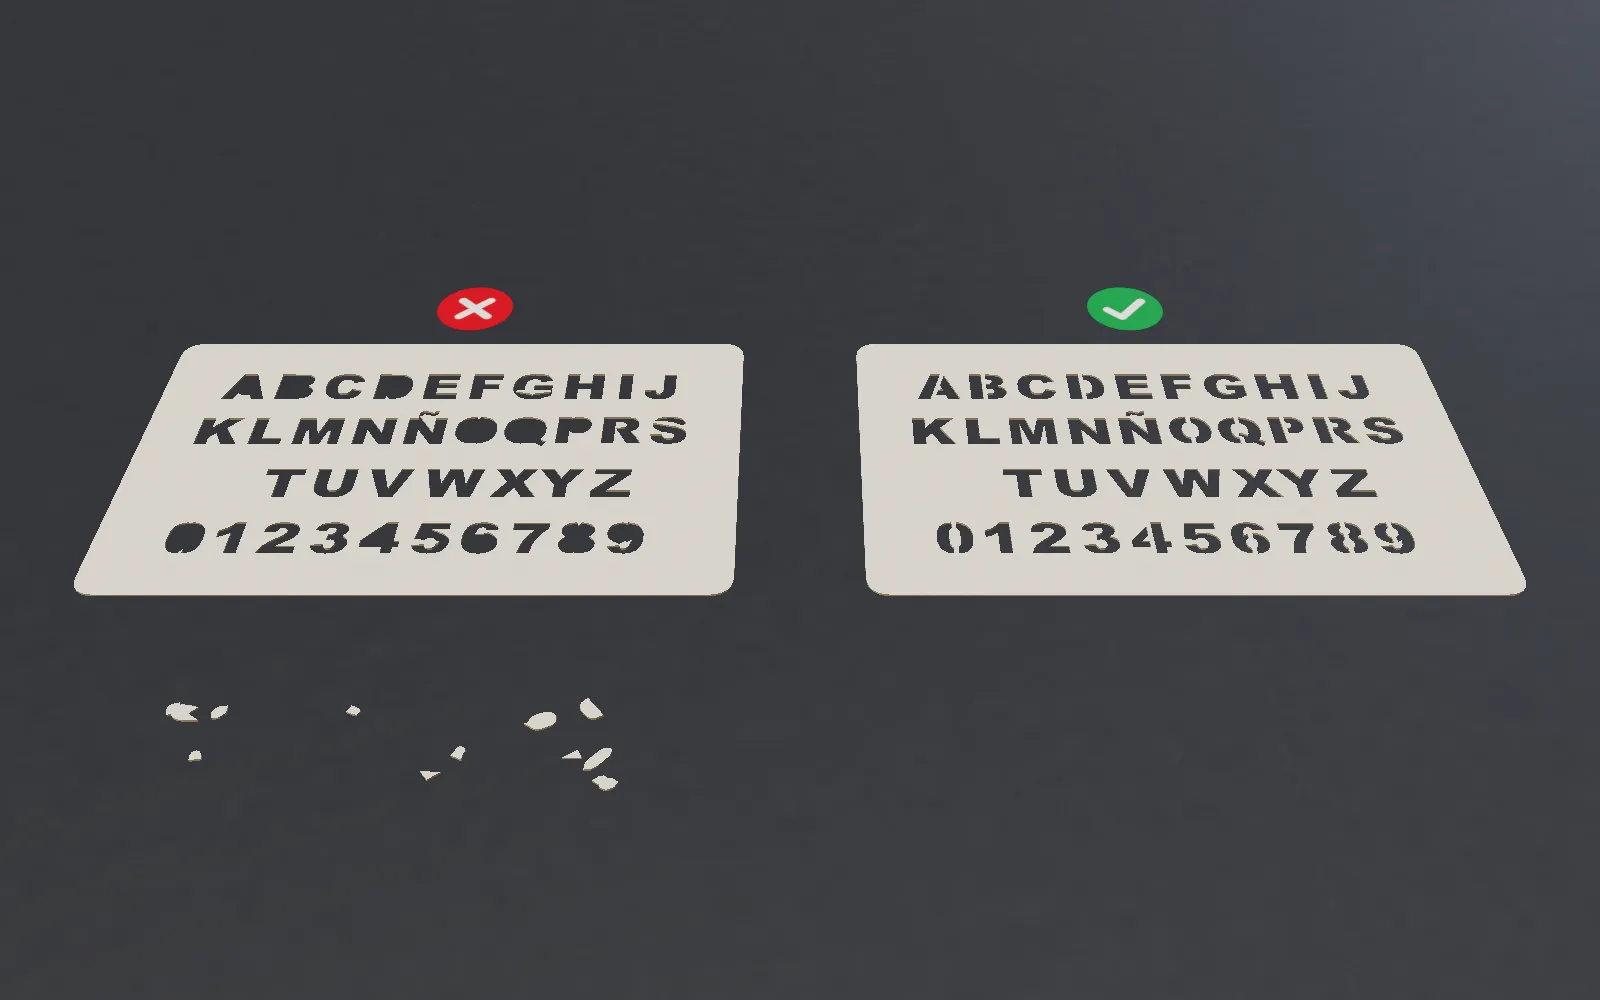
Review the bridge placement and adjust if needed. Aim for a stability score of 80% or higher for reliable cutting.
Step 5: Set Dimensions and Export
Set the physical size of your stencil in millimeters. Consider:
- The cutting area of your machine
- Add margins (at least 10mm) for handling and clamping
- Material thickness affects minimum feature size
- Lock aspect ratio to prevent distortion
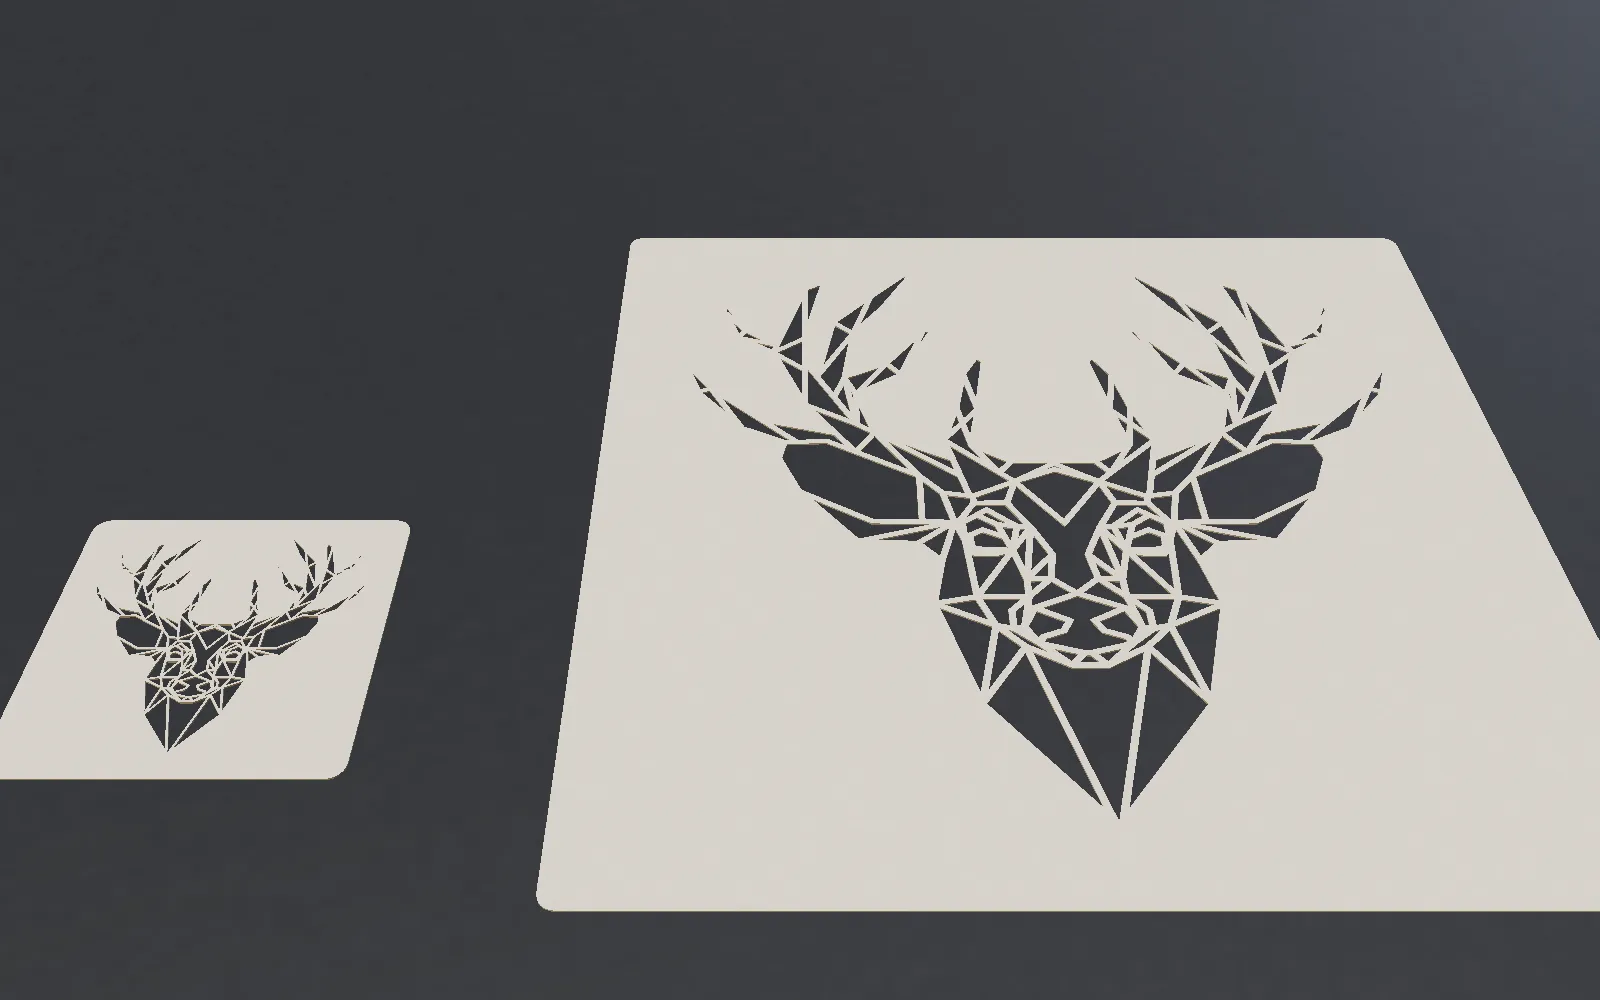
Download as SVG (for laser cutters, CNC routers) or PNG (for printing). Your file is ready for any cutting machine — Epilog, Trotec, Glowforge, and more.
Step 6: Preview with AR (Optional)
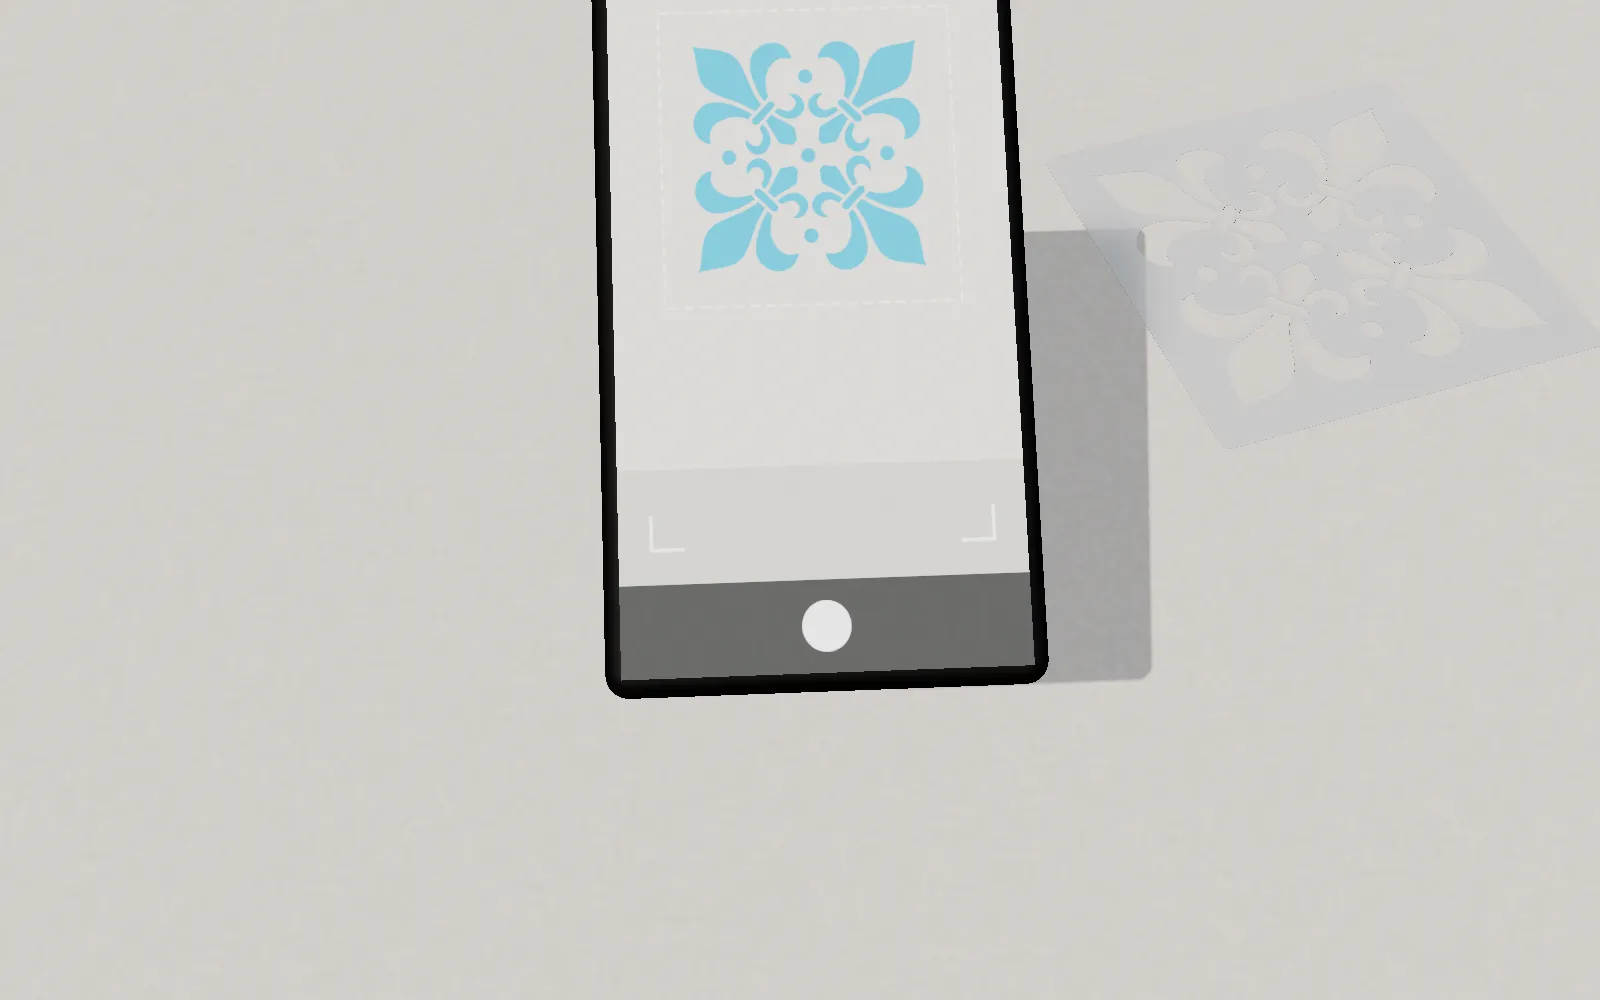
Before cutting, use StencilVector's Augmented Reality Viewer to see your stencil at real scale on any surface. Point your phone camera at a wall or table and preview exactly how it will look. This saves material and catches sizing issues before you commit.
Pro Tips for Better Stencils
- Always do a test cut on scrap material first
- For PET/Mylar, use lower laser power and higher speed to avoid melting
- For wood, cut bridges perpendicular to the grain for maximum strength
- Keep finished stencils flat — store in folders or between heavy books
- Clean stencils after each use to maintain crisp edges
Ready to create? Open the free Stencil Maker or browse 1275+ free designs in the gallery.
Related reading: stencil bridge design — what islands and bridges are and where to place them — and how automatic bridge generation works, with the measured numbers.
Stencil Maker
Ready to create your own stencil?
Upload any image, check the bridges and download a laser-ready file.