guide · 9 min read
Automatic Stencil Bridges: How StencilVector Decides Where They Go
Island detection, the real stability formula, minimum-spanning-tree placement, bridge width and the material limits that decide the spacing — measured on real runs of the live engine.
StencilVector Team7,943 views
Every stencil fails the same way. You cut it, you lift it off the bed, and a piece drops on the floor: the middle of an O, the counter of a B, the pupil of an eye. That loose piece is called an island — material completely surrounded by a hole. A stencil with unbridged islands is not a stencil, it is a pile of parts.
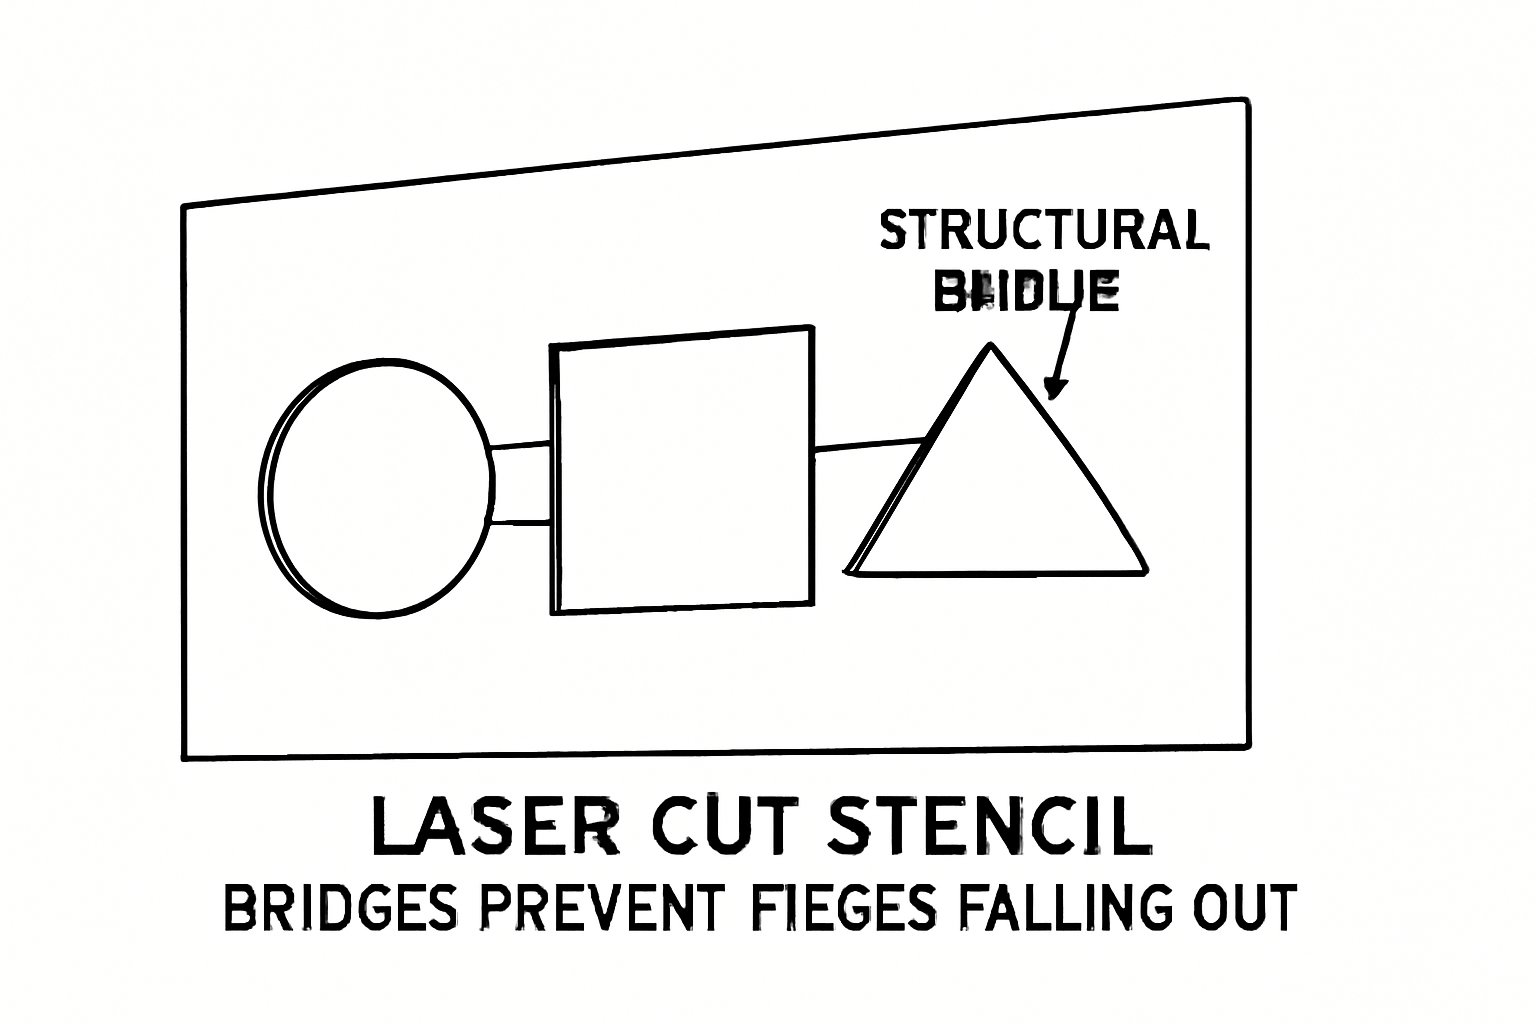
Bridges are the fix: thin necks of material that tie every island back to the body of the stencil. Placing them by hand is slow and easy to get wrong, so StencilVector places them for you. What follows is the honest version of how that works — the actual rules and the actual numbers, measured on real runs of the engine that is live on the site today.
1. Finding the islands
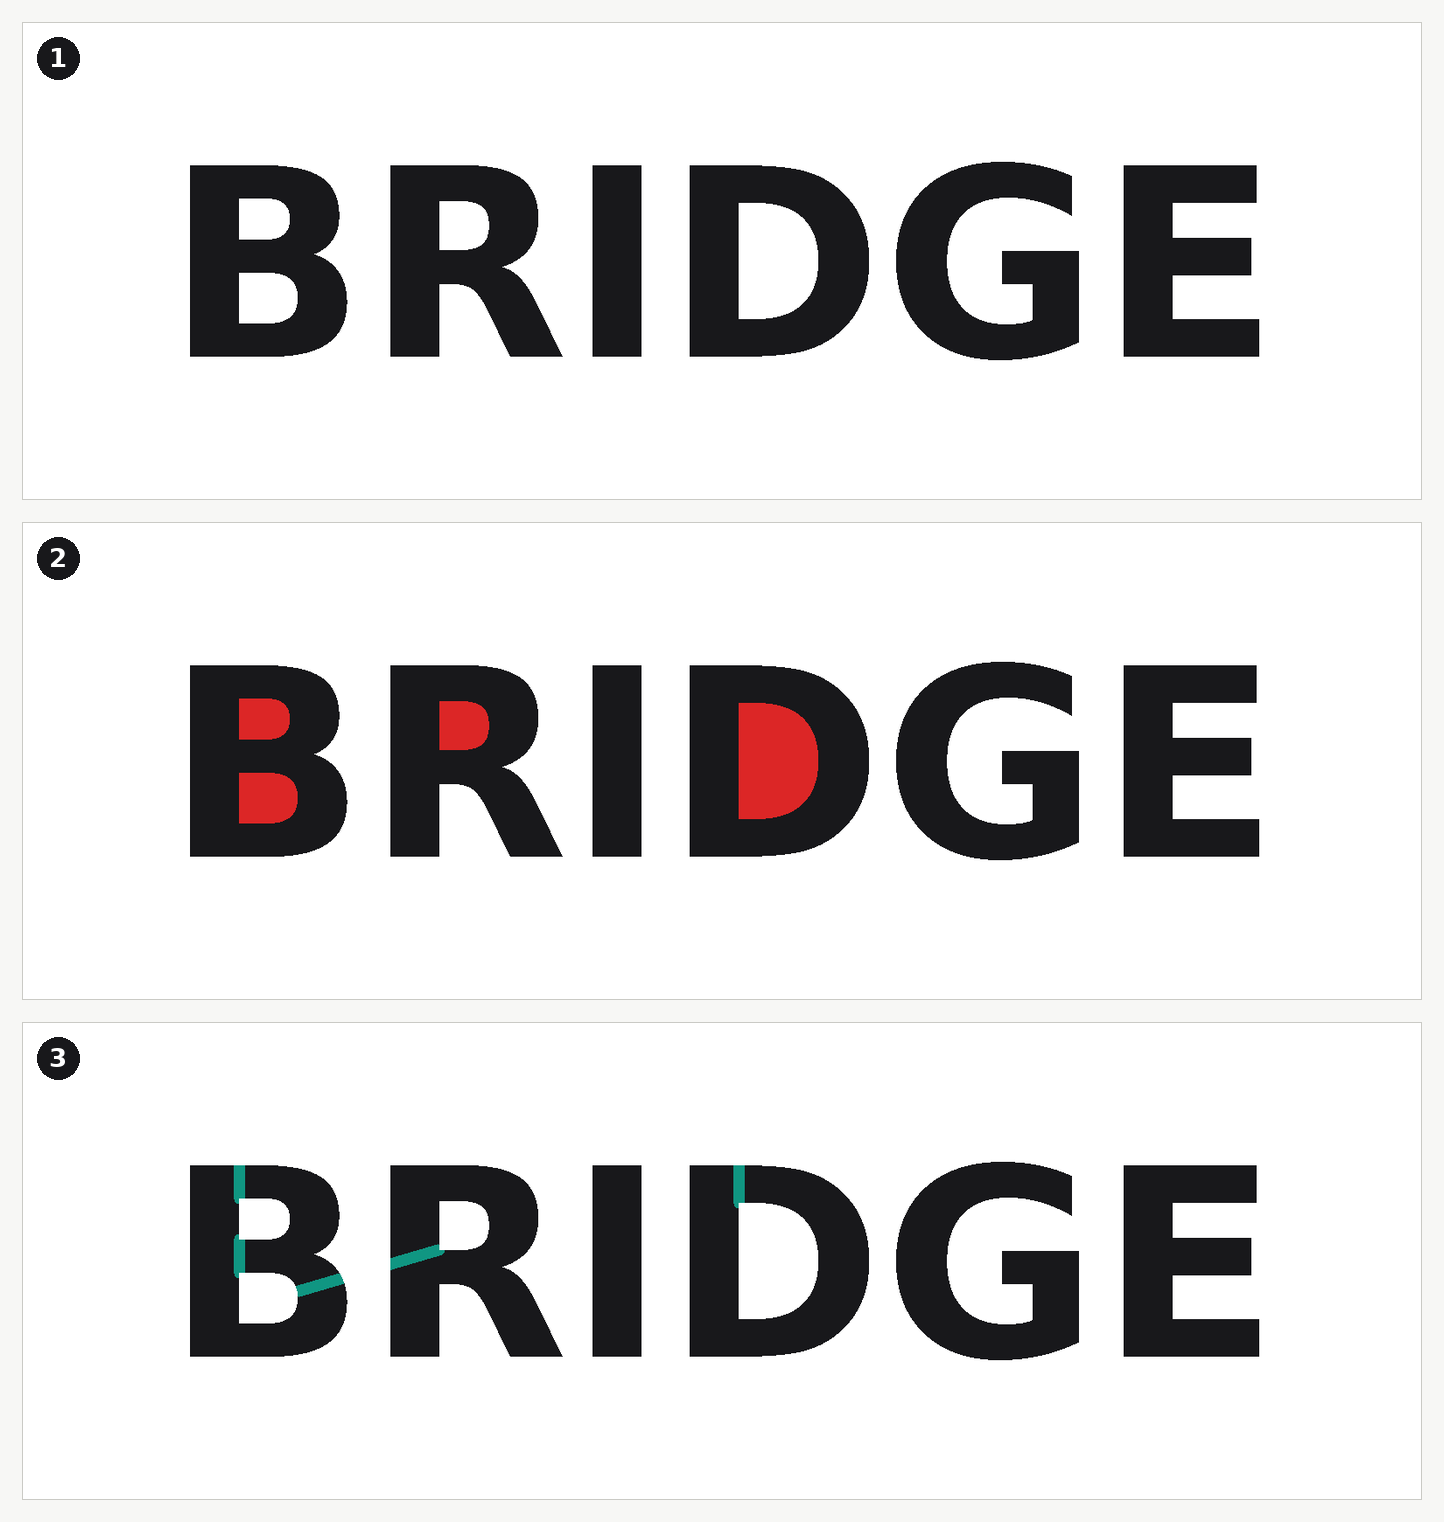
The engine labels every connected region of material. Anything touching the edge of the sheet is the frame; every other patch of material is an island. It is a purely geometric test — no guessing, no model — which is why it behaves identically on a font, a logo and a photograph.
The example above is the word BRIDGE cut at 200 mm wide. Four islands: two inside the B, one in the R, one in the D. Stability before bridging: 0.87. After four automatic bridges: 1.00, at a cost of 0.44% extra material.
2. What the stability score actually measures
Most tools show a "structural score" and never say what it is. Ours is one line of arithmetic, and you deserve to know it:
- score = 1 − 5 × (island area ÷ material area), clamped between 0 and 1.
Three consequences worth understanding:
- 1.00 means zero islands. Nothing is loose. It does not mean the stencil is strong.
- 0.00 does not mean "terrible". It means 20% or more of your material is floating; past that point the number saturates and stops discriminating.
- It measures how much is loose, not how well the rest survives handling. Span and material thickness decide that, and we come back to them below.
This is why a stencil can sit at 0.98 and still be unusable: a 2% island can be exactly the pupil you cared about. Read the score together with the island count, never on its own.
One important refinement, because it is the number you will actually look at: the formula above is what the first conversion reports, before any bridge exists. Once you preview bridges, the score shown is a different and stricter one — every part of the stencil is weighed against the support holding it. It catches what the island count cannot see at all, such as a peninsula hanging from a neck that is too thin. Why stencils break when nothing fell out explains that analysis in full.
3. Where the bridges go: the shortest network, not a rule of thumb
You will read everywhere that a stencil needs "at least two bridges per island". StencilVector deliberately does not do that. It treats the frame and every island as nodes of a graph, measures the real gap between them, and builds a minimum spanning tree: the shortest set of connections that turns the whole stencil into one single piece.
The result is exactly (number of pieces − 1) bridges — the smallest number that can possibly work. Every bridge is a scar across your artwork, so the engine spends as few as it can, and it puts each one where the gap is narrowest, which is also where it is least visible.
If a particular island genuinely needs a second bridge — a long, thin shape that could pivot around a single neck, or a piece that will take pressure from a roller — add it yourself with the brush tool before exporting. That is the one case the automatic pass will not cover for you, and it is worth two minutes of your attention.
4. Islands too small to bridge are removed, not bridged
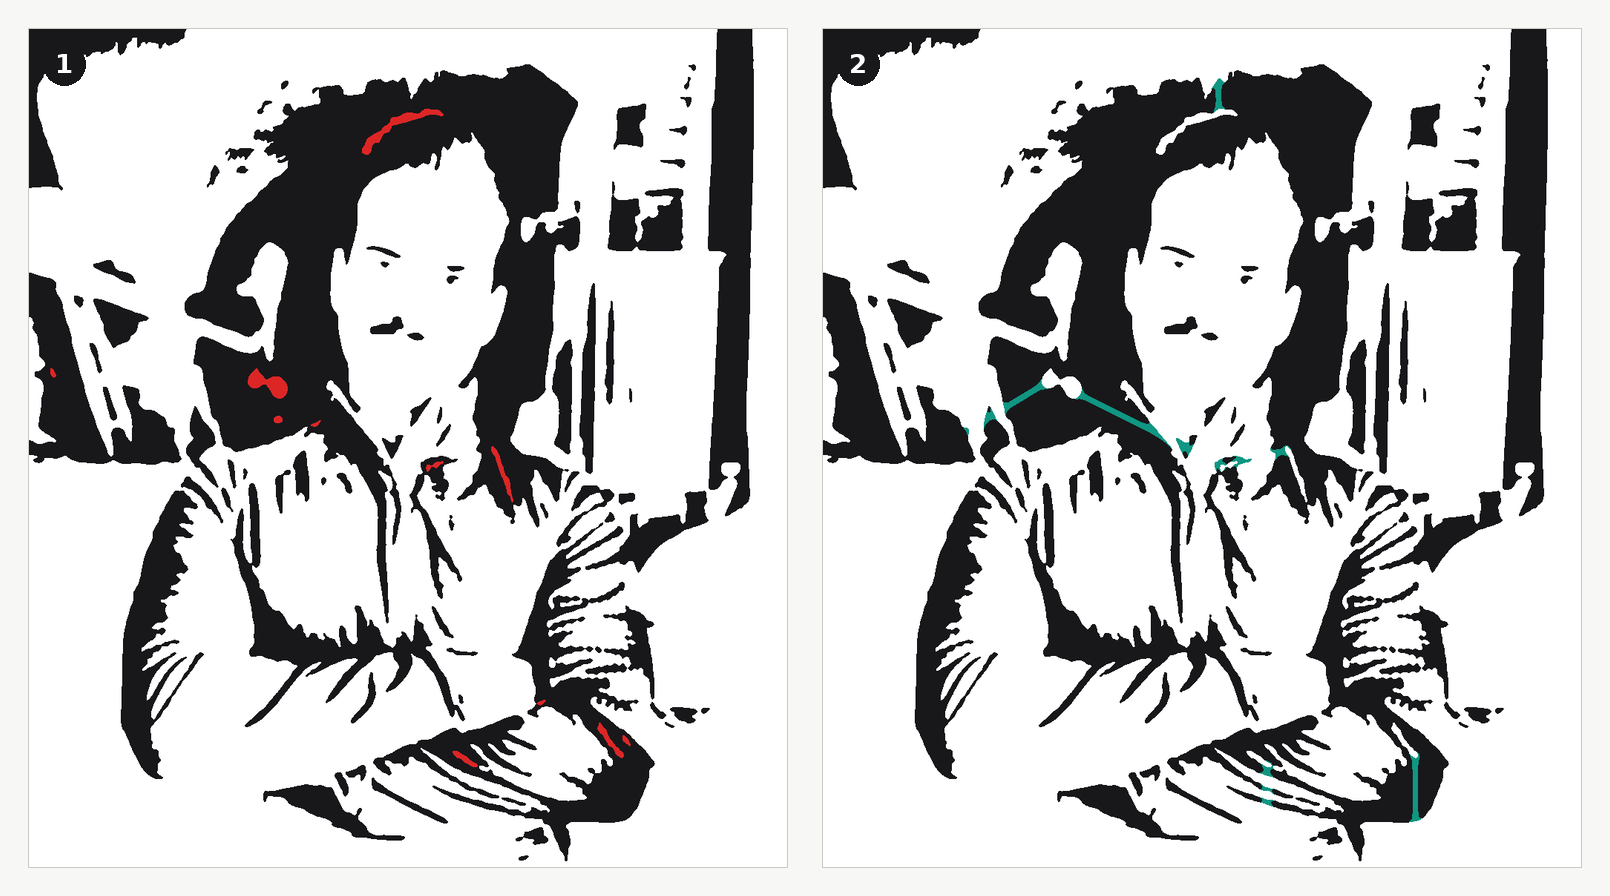
Below roughly 2 mm across, an island does not get a bridge: it is deleted, and the hole closes over it. This is not laziness. A 1 mm fleck of 0.5 mm PET hanging off a narrow neck will tear away during weeding or curl under the paint anyway — keeping it only guarantees a defect in a place you cannot repair. Removing it deterministically is the honest outcome, and it keeps the bridge count meaningful.
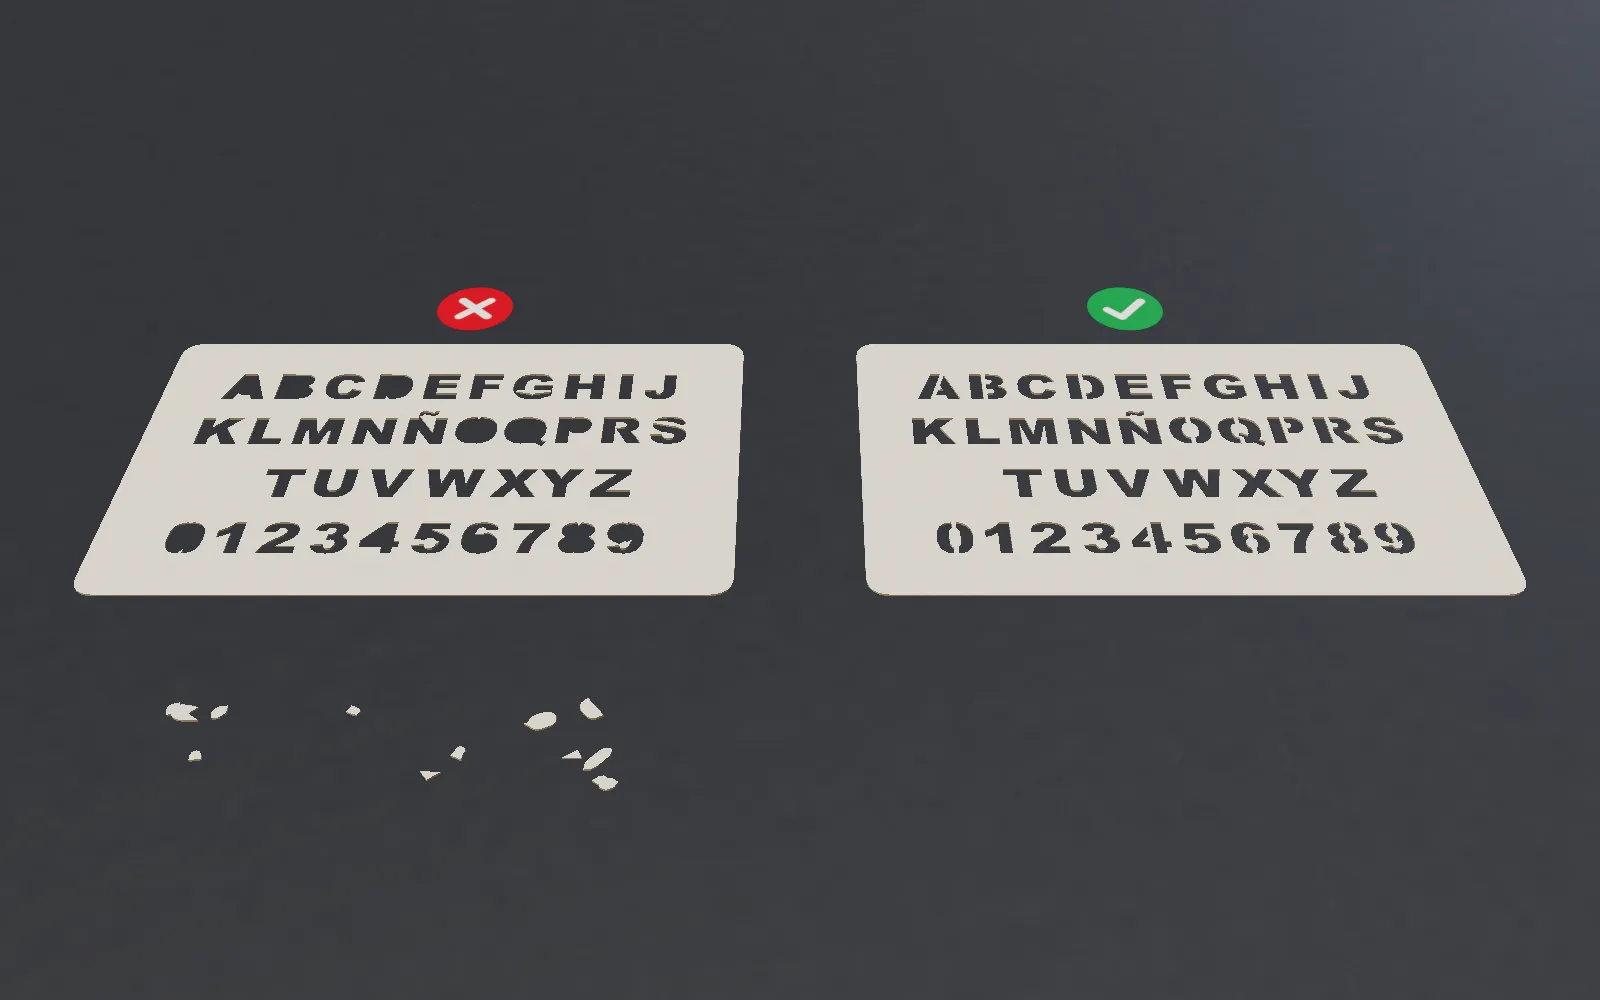
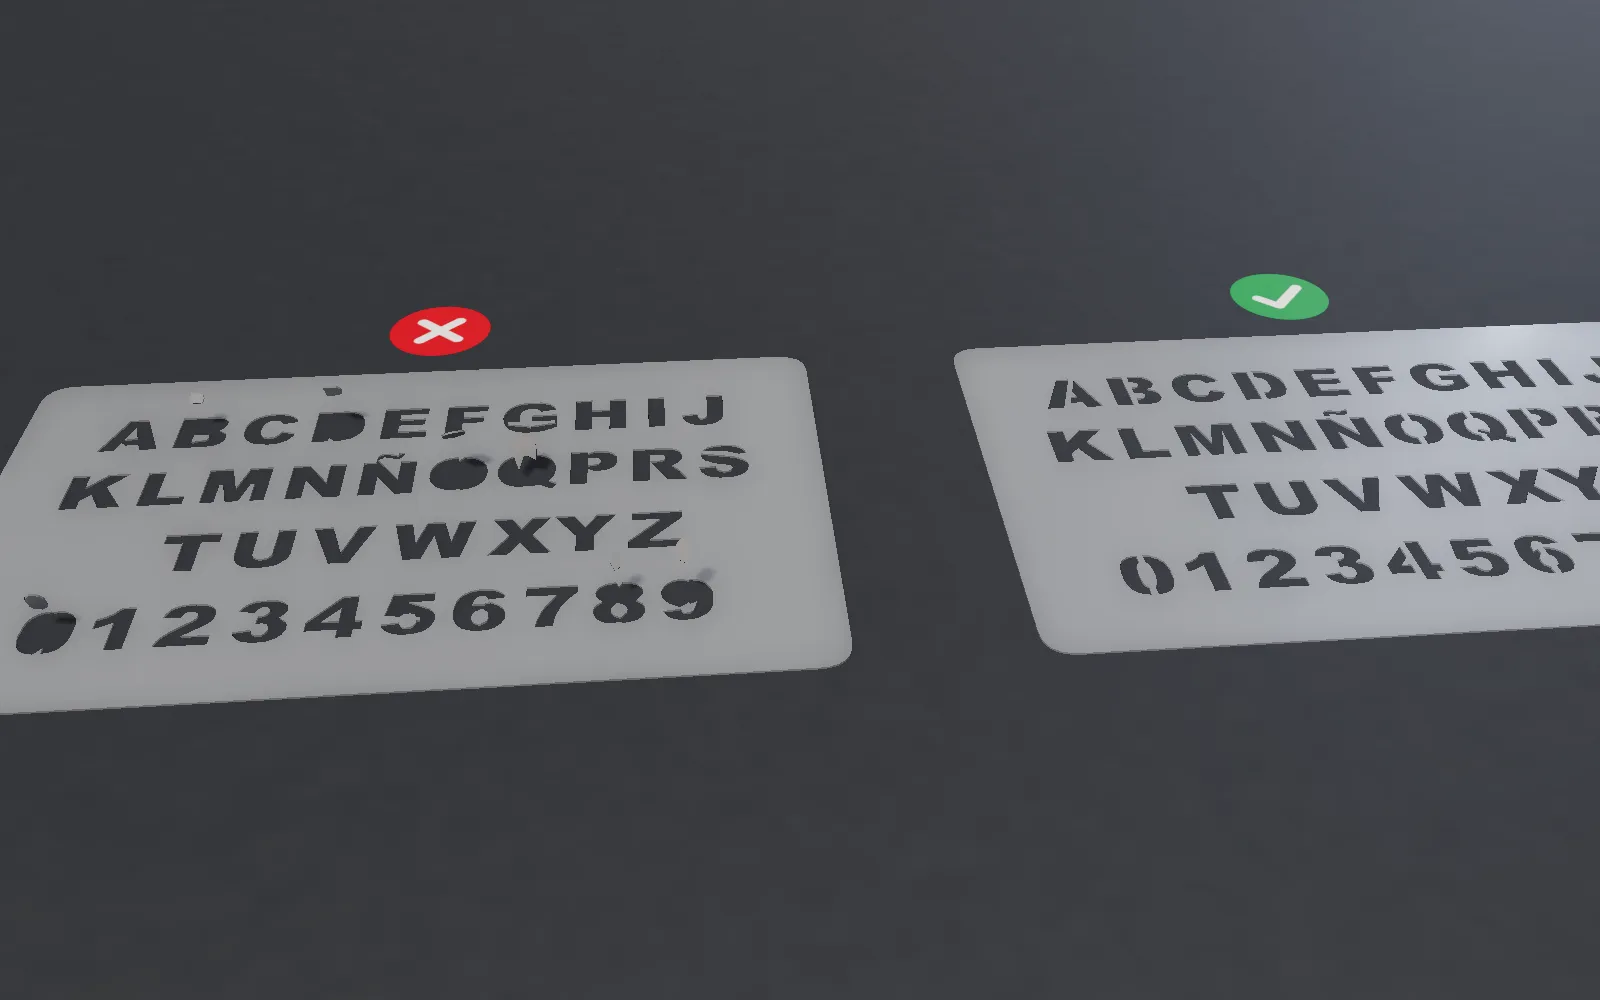
In the portrait above: eleven islands detected, six bridged, five removed. Stability 0.98 → 1.00, for 0.49% extra material.
5. How wide a bridge should be
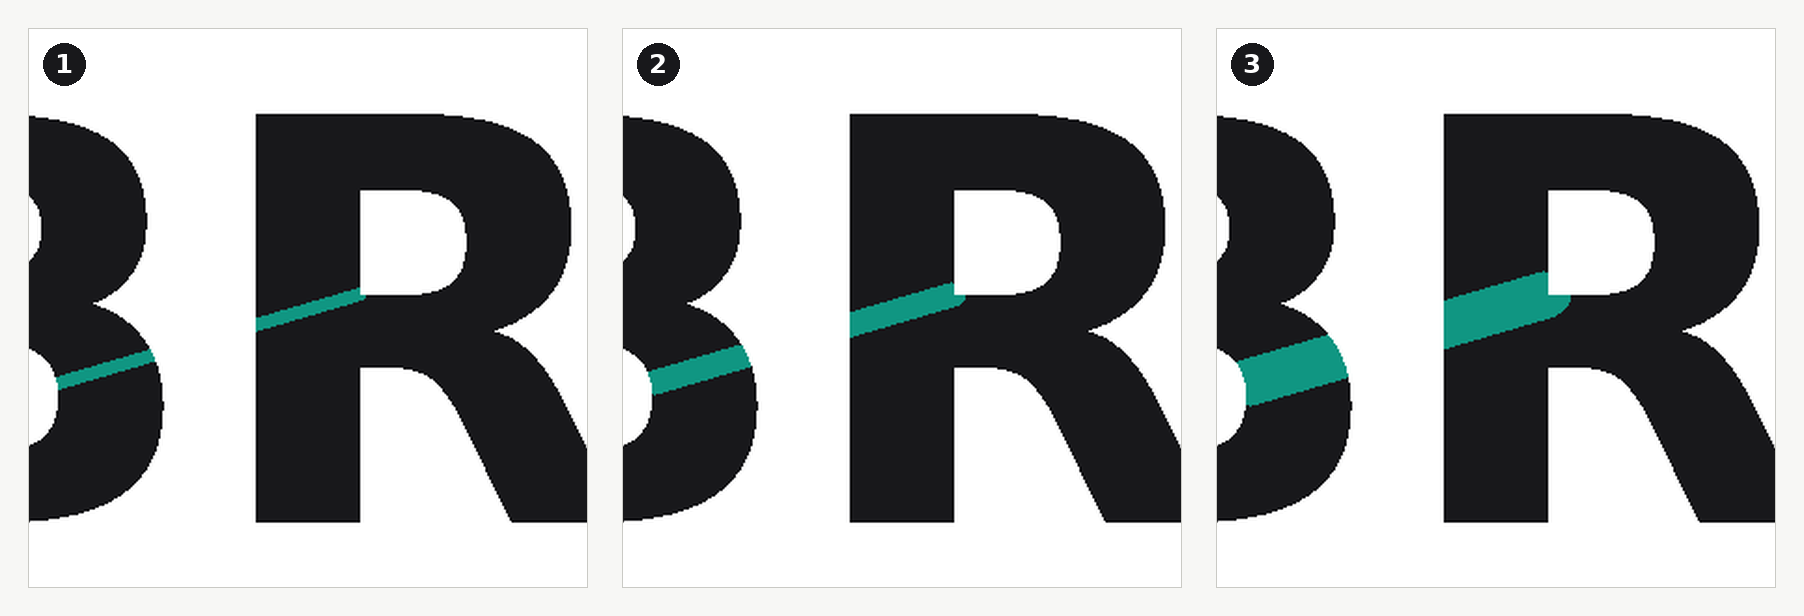
The default width is 0.5% of the stencil's width, rounded to the nearest half-millimetre and never below 1.5 mm. On a 200 mm stencil that gives 1.5 mm; on a 600 mm one, 3 mm. The ceiling moves with size as well: up to 2 mm on stencils of 150 mm or less, 3 mm up to 300 mm, and 5 mm above that. A bridge should stay proportionate to the sheet it lives on.

Practical widths, by cutting method:
- Laser, PET/Mylar 0.5 mm: 1.5 mm is the working minimum.
- Laser, PET 1.0 mm: 1.5–2 mm.
- Laser, stainless steel 0.8 mm: 1.5 mm is plenty — the metal carries itself.
- Laser, wood or MDF: 2 mm, and prefer bridges running across the grain.
- CNC routing: 2–3 mm, and never below the diameter of the bit.
- Hand cutting: 3 mm — a knife cannot hold the tolerance a laser can.
Notice how cheap width is. Going from 0.6 mm to 3.0 mm — five times wider — still costs under 1% of the material on this design. A bridge that is too thin will fail; a bridge that is slightly too thick costs you almost nothing. When in doubt, go wider.
6. Three shapes of bridge, and why they exist
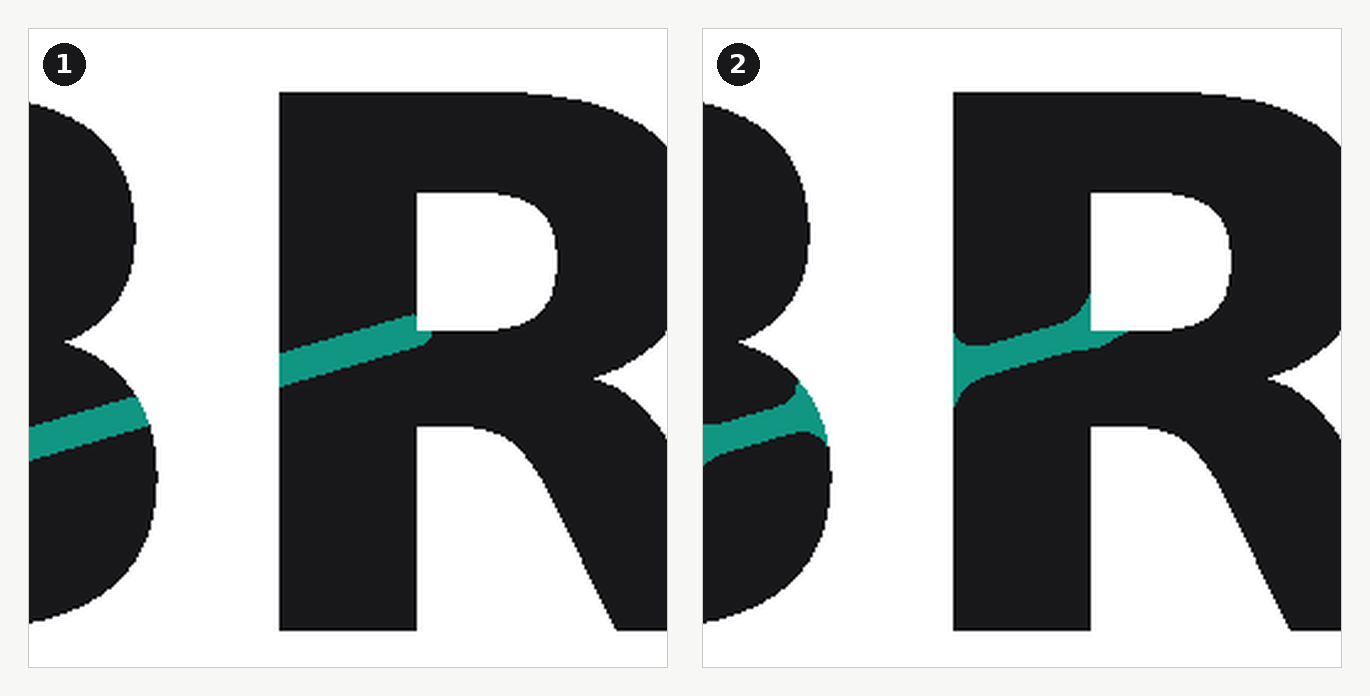
In step 3 of the Stencil Maker you choose the shape of the bridges: Straight, Filleted or Artistic. Where the bridges go and how many there are does not change — only how each one is drawn.
Straight grows the bridge out of the material by dilation: a neck with straight flanks, meeting the design at a corner.
Filleted keeps the same neck but blends it into the design with concave fillets, the way two water droplets merge the instant they touch. It is not decoration. A sharp inside corner is where stress concentrates, and on thin PET that corner is where a tear starts; a fillet spreads the same load over a curve, for very little extra material.
Artistic changes the path instead of the joint. Between the same two anchor points it tries a straight line, arcs and S-curves, keeps the one that best follows the direction of the strokes around it, and discards any curve that would touch the design away from its ends. On portraits and hair, the bridges stop looking like bars and start looking like part of the drawing.
7. The material decides how far apart bridges can be
This is the part no picture can show, and the part that decides whether your stencil survives its first use. Two stencils with an identical score behave completely differently depending on what they are cut from:
- Flexible plastic, 0.5 mm: maximum unsupported span 25 mm.
- Rigid metal, 0.8 mm: maximum unsupported span 80 mm.
The reason is bending stiffness, which grows with the cube of thickness: D = E·t³ ⁄ (12(1−ν²)). Put the real figures in — PET at 2.5 GPa and 0.5 mm, stainless at 200 GPa and 0.8 mm — and you get about 0.031 N·m for the plastic against 9.4 N·m for the steel. The metal is roughly 300 times stiffer in bending.
That is why identical artwork needs noticeably more bridges in PET than in steel, and why "it worked in metal" tells you nothing about how it will behave in film. It is also why thickness matters more than intuition suggests: moving from 0.5 mm to 1.0 mm PET does not double the stiffness, it multiplies it by eight.
8. What happens before any bridge is placed
Two things the engine does first, quietly:
- It guarantees a frame. If your design runs to the edge, a solid border is padded around it — 8% of the stencil width, never below 8 mm and never above 60 mm. On a 200 mm stencil that is a 16 mm frame. Without it there is nothing for the bridges to anchor to, and nothing to hold when you position the stencil.
- It ignores specks. Islands under the minimum size are stripped out before the network is built, so the bridge count reflects the parts that actually matter.
Direct control: Vector Studio (beta)
Everything above runs today on every stencil made with the Stencil Maker. The detection, the network, the score and the bridges are part of the conversion itself — you see the result before you decide whether to download the file.
In the Stencil Maker you steer the automatic pass through the bridge width and shape, and you can retouch the bitmap with brush, eraser and fill before exporting. For direct control there is Vector Studio, in beta since September 2026 as step 4 of the Stencil Maker, Touch-up. On a computer, individual bridges can be placed, moved and reshaped on the finished vector artwork, the material brush and the cut brush add or remove material, and Fix automatically: islands + supports adds the connections the analysis asks for — with the structural verdict updating as you work. It is a beta, and we would rather say so plainly.
Whichever route you take, you can check the automatic pass yourself: convert an image, look at the islands it highlights, and count the bridges it draws.
Related reading: the design principles behind bridges, and how the seven conversion methods differ — the method you choose changes how many islands you end up with, and therefore how many bridges your design has to carry.
Try the free Stencil Maker and watch the island count go to zero.
Stencil Maker
Ready to create your own stencil?
Upload any image, check the bridges and download a laser-ready file.