guide · 5 min read
Image to Stencil: 7 Conversion Methods Compared
A detailed comparison of StencilVector's 7 algorithmic stencil conversion methods — when to use each one and what results to expect.
StencilVector Team9,494 views
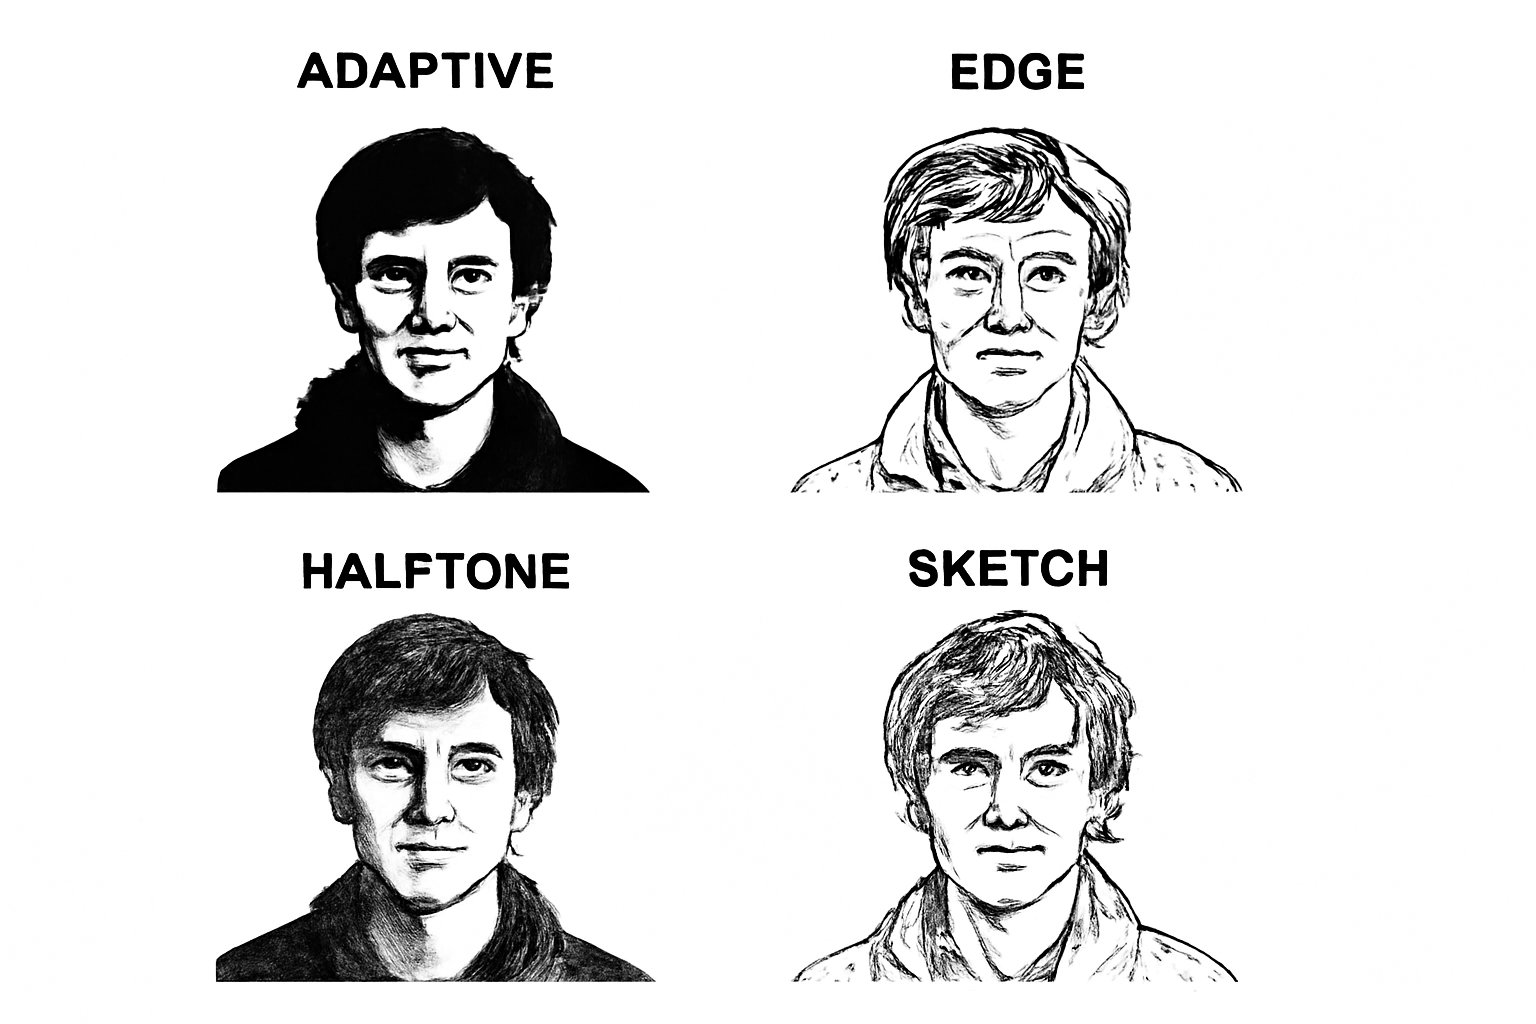
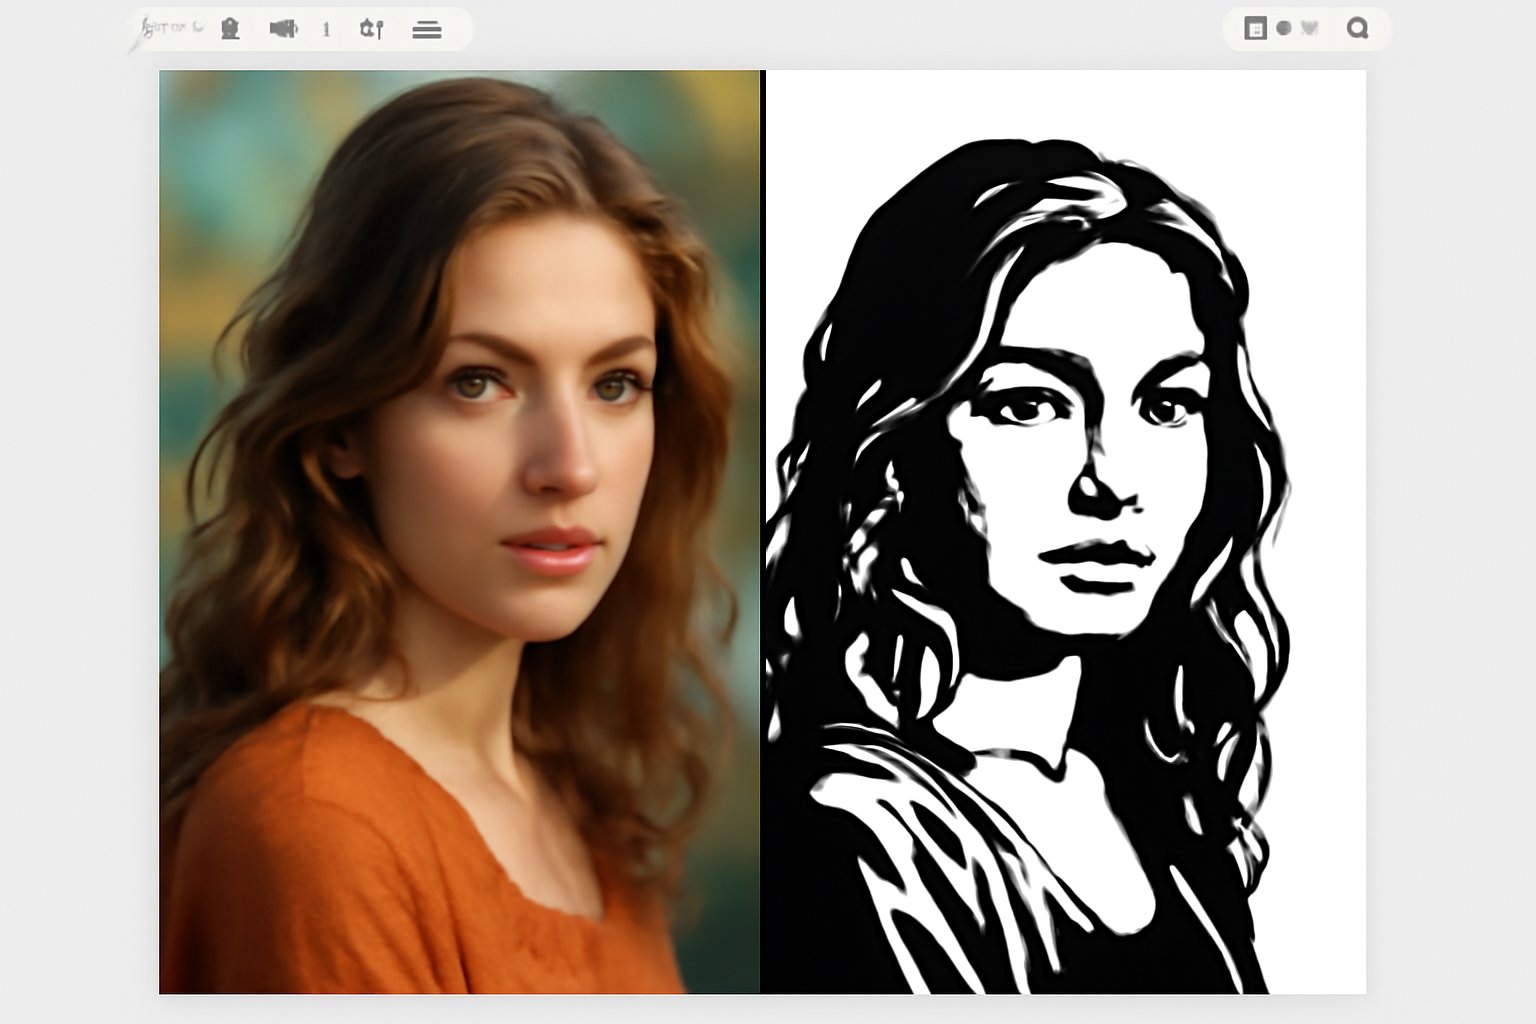
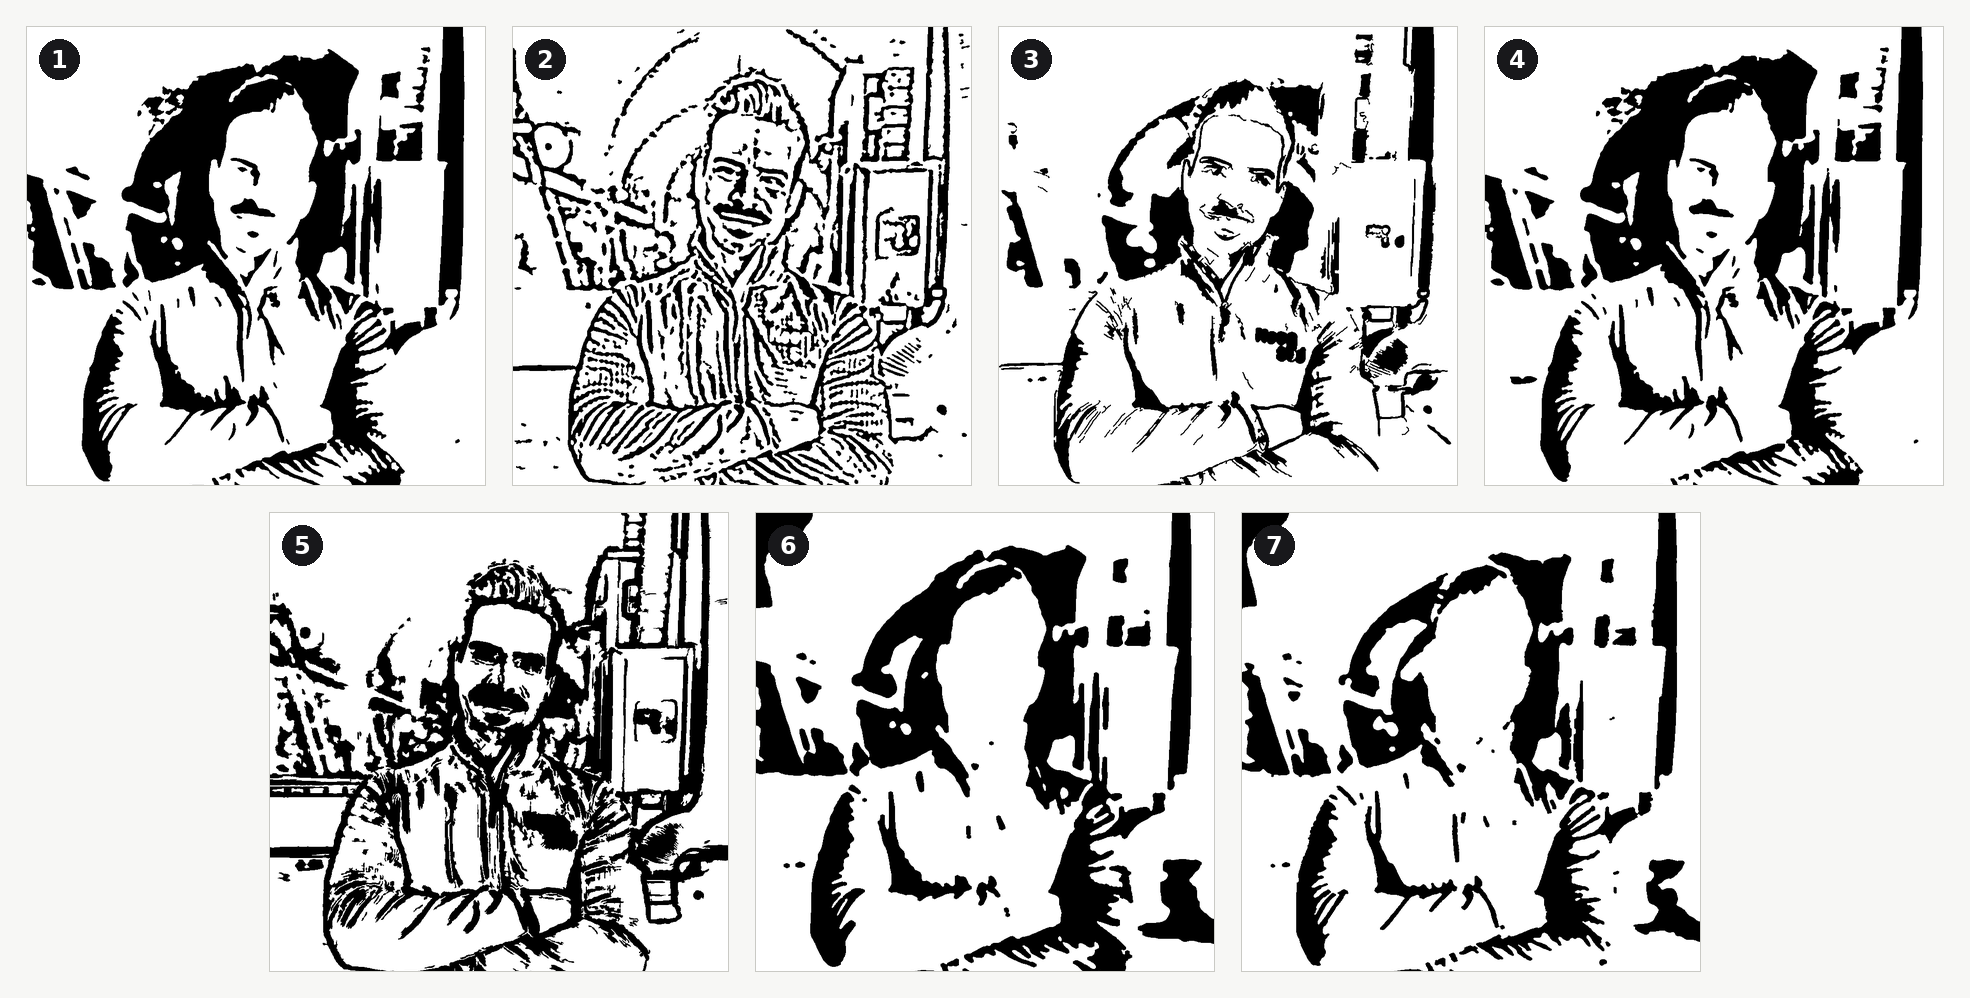
StencilVector offers 7 conversion methods to turn an image into a stencil, plus Smart Auto, which picks one for you; all 7 are free to try. But which one should you use? Each processes the image differently and produces a genuinely different stencil. This guide compares all seven — including the part nobody publishes: how many islands each method leaves behind, and therefore how many bridges your stencil will have to carry.
1. Otsu Threshold
Best for: logos, text, high-contrast images, silhouettes
The classic conversion. Otsu examines the whole image and computes the single threshold that best separates dark from light, then decides for every pixel: cut or keep. Simple, fast, and very effective on images that already have strong contrast.
- Pros: fastest method, clean results on suitable images, adjustable sensitivity
- Cons: struggles with uneven lighting and low-contrast photographs
- On our test photo: 27.8% of the sheet cut away, 16 islands, 12 bridges needed
2. Adaptive Threshold
Best for: photos with uneven lighting, documents, scanned artwork
Instead of one global threshold, adaptive analyses each region of the image independently. It handles shadows, uneven lighting and local contrast gracefully. A portrait half in sunlight and half in shadow converts far better with adaptive than with a global threshold.
- Pros: handles uneven lighting, preserves local detail, good for photos
- Cons: can introduce noise in very smooth areas — and noise means islands
- On our test photo: 23.3% cut away, 17 islands, 15 bridges needed
3. Edge Detection
Best for: outlines, technical drawings, contour stencils, architectural details
Canny edge detection extracts only boundaries and contours, ignoring filled areas. The result is a line-based stencil that shows shape and structure without solid regions.
- Pros: clean lines, works with complex scenes, reveals structure
- Cons: no filled areas, and thin lines can be hard to cut — check the minimum feature size before committing
- On our test photo: 17.3% cut away, 20 islands, 11 bridges needed
4. Posterize
Best for: pop art, graphic designs, bold artistic stencils
Posterize reduces the continuous tones of an image to a few distinct levels before thresholding. The result is a bold, graphic look reminiscent of screen printing.
- Pros: bold graphic impact, great for art projects, forgiving on mid-tones
- Cons: loses subtle detail, may need manual refinement
- On our test photo: 27.0% cut away, 12 islands, 9 bridges needed
5. Sketch
Best for: hand-drawn aesthetic, artistic portraits, decorative work
Sketch renders the image as a pencil drawing: fine strokes and hatching rather than solid masses. It has a character no other method matches — and it is by far the most demanding structurally, because every stroke that closes on itself creates an island.
- Pros: unique artistic feel, organic appearance, excellent on faces
- Cons: enormous number of islands and cuts; expect heavy bridging and a long cut time
- On our test photo: 30.2% cut away, 80 islands, 61 bridges needed
6. Stamp
Best for: silhouettes, bold marks, rubber-stamp look
Stamp flattens the image into solid black-and-white masses, like an inked stamp. Everything ambiguous is resolved one way or the other, which makes it the most predictable method to cut.
- Pros: very clean to cut, strong at small sizes, few surprises
- Cons: discards mid-tones entirely; not for detailed portraits
- On our test photo: 28.8% cut away, 10 islands, 8 bridges needed
7. Stencil Art
Best for: wall stencils, street-art style, reusable stencils that must survive
Tuned specifically for stencil making rather than for image fidelity: it simplifies aggressively, merges fragments and avoids leaving detached specks. On our test photo it produced fewer islands than any other method — which is the whole point.
- Pros: by far the most structurally sound output; fewest bridges; fastest to cut and to weed
- Cons: the least faithful to the original photograph
- On our test photo: 22.8% cut away, 3 islands, 2 bridges needed
The Number Nobody Publishes
All seven rows above came from the same photograph, at the same size, with the same settings. Look at the two extremes:
- Stencil Art: 3 islands, 2 bridges.
- Sketch: 80 islands, 61 bridges.
That is a factor of thirty in structural work, from the same source image. Every one of those 61 bridges is a mark across the artwork and a place the stencil can fail. If your stencil has to be cut in thin PET, used repeatedly, or cleaned between uses, the method you pick matters more than any bridge setting you can adjust afterwards.
Note also that cut area and island count are independent: Sketch removes 30.2% of the sheet and Stamp removes 28.8%, almost the same — yet Sketch leaves eight times as many islands. What creates islands is not how much you cut, it is how fragmented the cut is.
Quick Reference
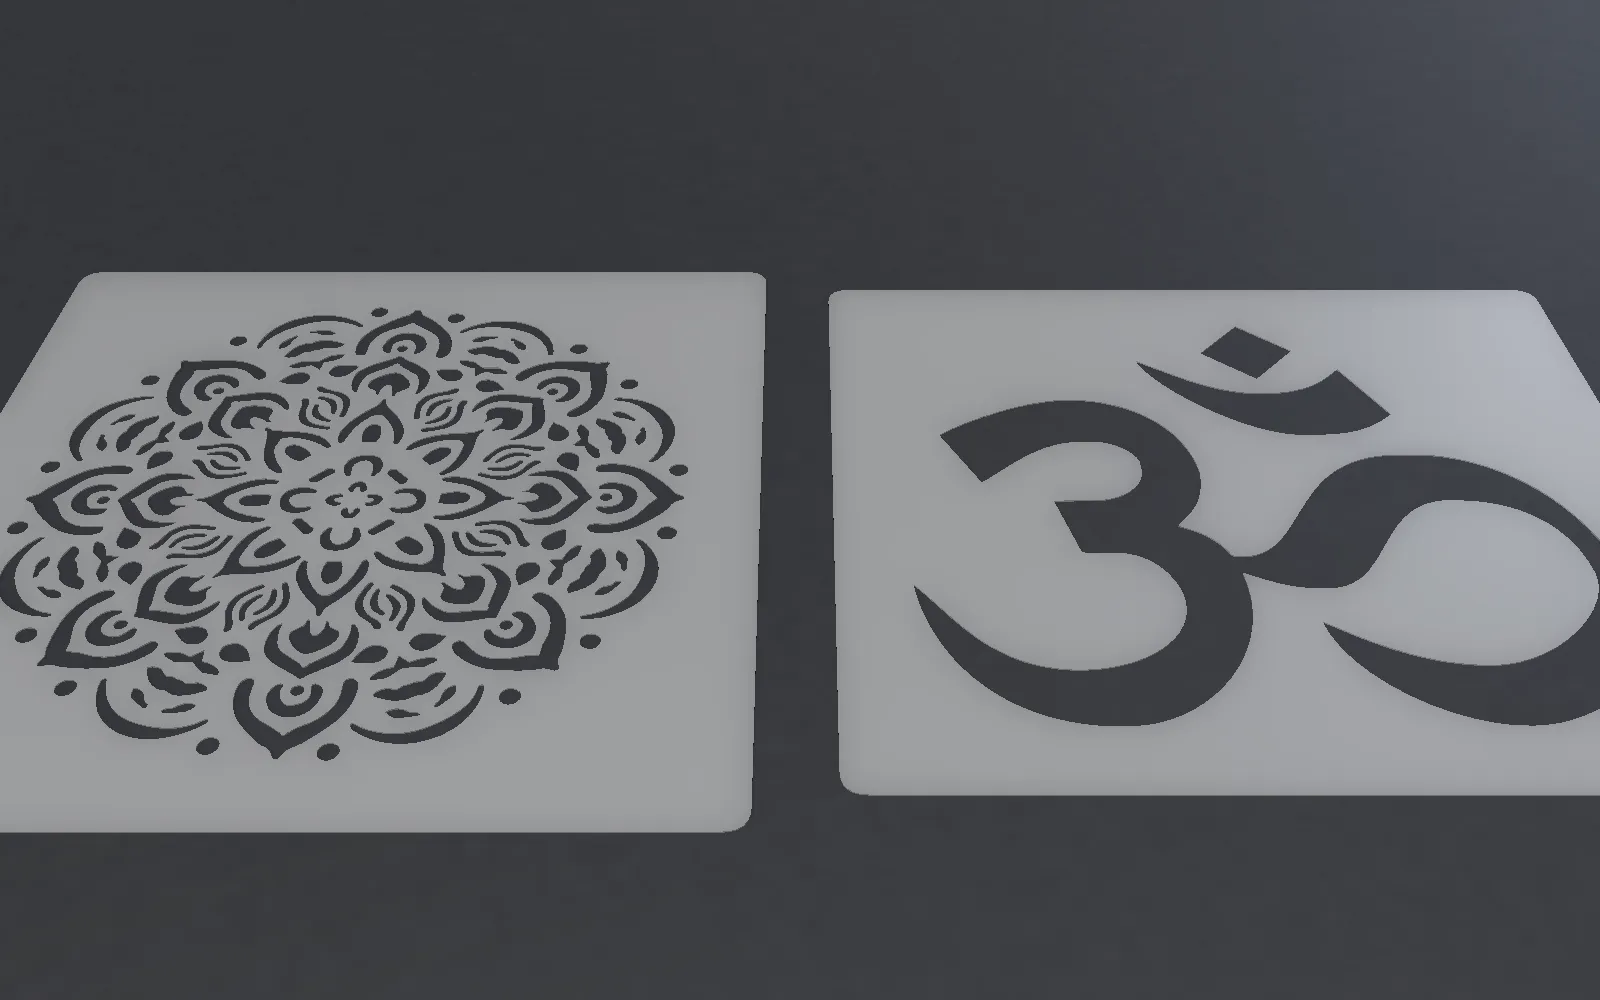
- Logo or text: Otsu Threshold
- Photo with shadows: Adaptive Threshold
- Outline only: Edge Detection
- Pop art style: Posterize
- Hand-drawn character: Sketch — budget for the bridges
- Bold silhouette: Stamp
- A stencil you will actually reuse: Stencil Art
Try Them All — It Is Free
The best approach is to run several methods on your image and compare. Upload your image to the Stencil Maker, switch between methods, and watch both the preview and the island count. After choosing, use the editing tools (brush, eraser, flood fill) to refine, let the automatic bridge system ensure structural integrity, and export as SVG for cutting or PNG for printing.
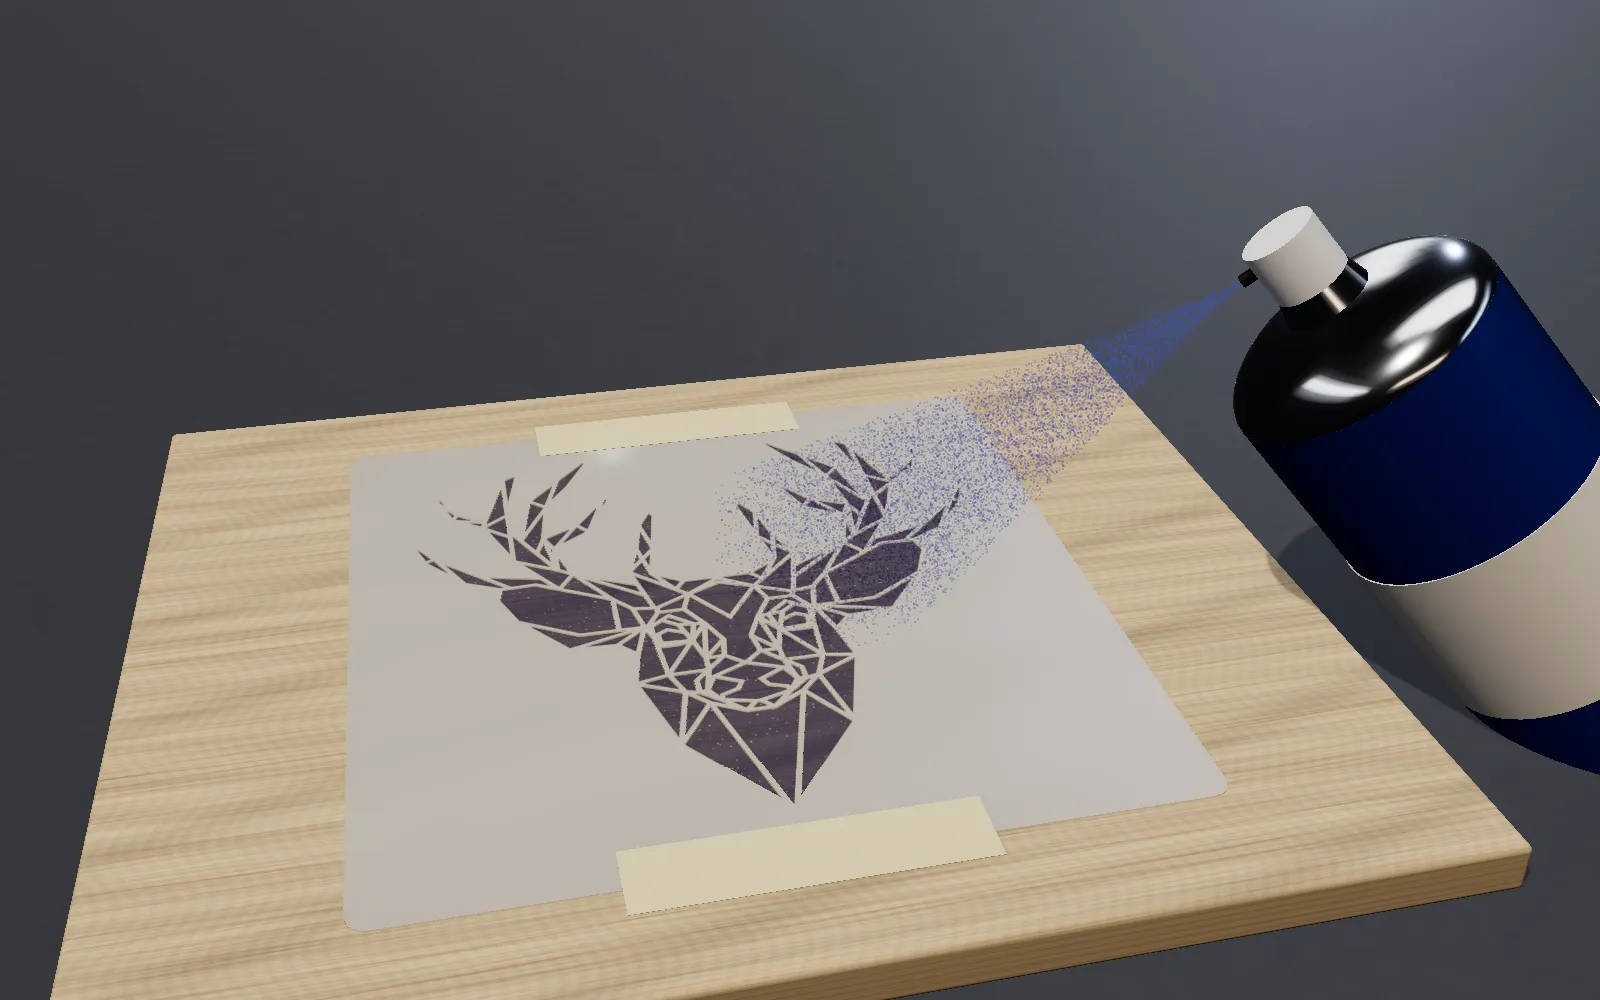
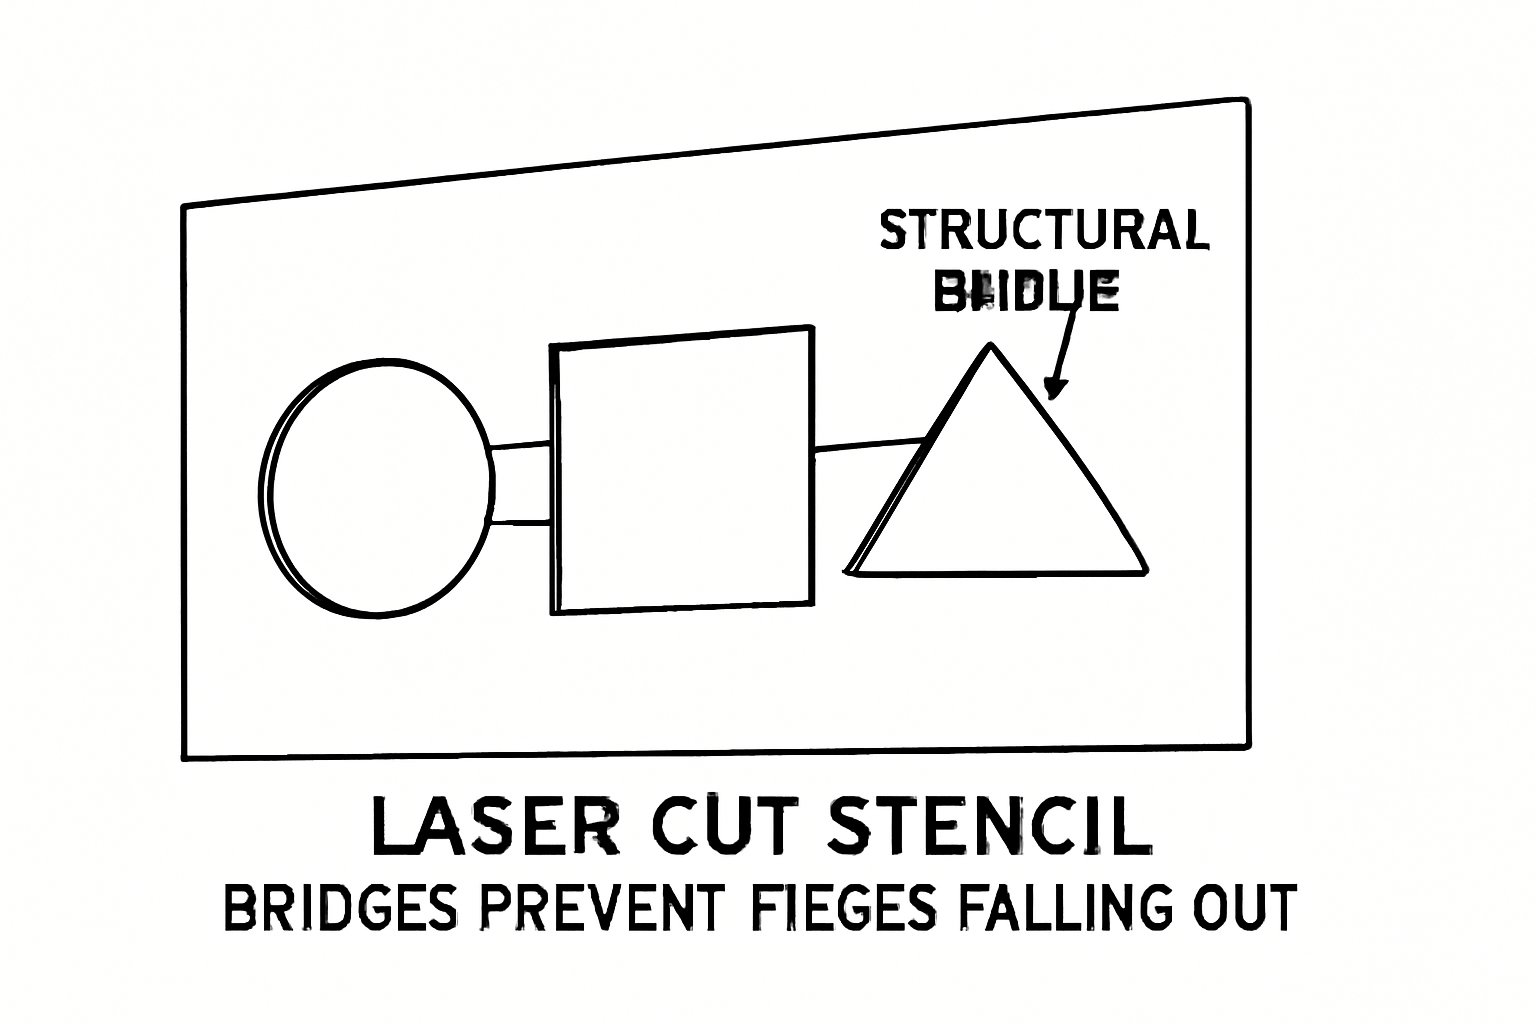
Related reading: stencil bridge design explains what those islands and bridges are, and how automatic bridge generation works covers the algorithm that turns the island count above into a cuttable file.
Stencil Maker
Ready to create your own stencil?
Upload any image, check the bridges and download a laser-ready file.